Have you bought a new iPhone model? Most likely, the first thing you will need to do is set up your carrier's voicemail. This way people who want to contact you can leave you a voice message, in case they can't speak to you directly. The answering machine is automatically configured and controlled by the telephone company with which you signed the contract. On the iPhone, you can configure access to your voicemail using the appropriate button or, if the chosen operator supports it, you can configure the "Visual voicemail" function so that messages are downloaded directly to the device.
Steps
Part 1 of 3: Configure Access to the Answering Machine
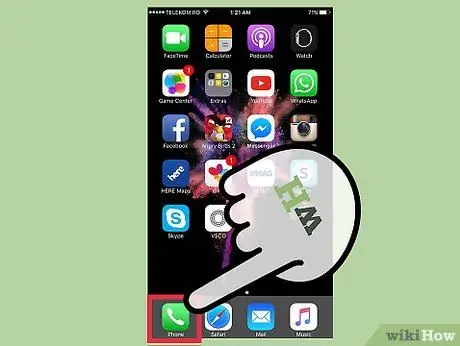
Step 1. Launch the iPhone "Phone" application
It is possible to access the functions made available by the answering machine of the chosen operator by directly using the numeric keypad of the iPhone.
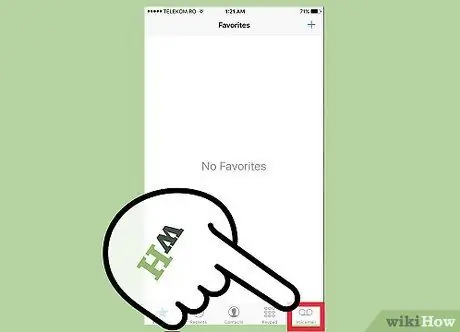
Step 2. Tap the "Voicemail" icon located in the lower right corner of the screen
At this point, two scenarios can occur: you will be redirected to the "Voicemail" menu on the iPhone or the phone will dial the number to access your carrier's voicemail service.
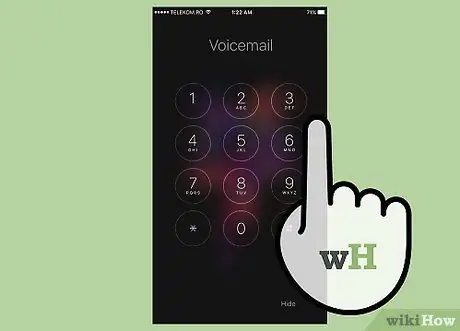
Step 3. Follow the auto responder instructions to set up voicemail (if required)
Depending on your carrier or plan, you will be guided through the initial voicemail setup process using an automated responder. In this case, follow the instructions that will be given to you to configure the access password and possibly customize the welcome message. Alternatively, if you are redirected to a new iPhone menu, continue reading the article.
If you are asked to enter a password to access the voicemail but you do not remember it, contact the customer support of your telephone company to ask for it to be reconfigured
Step 4. Press the "Configure Now" button (if available)
If your carrier or the tariff plan you have subscribed to supports the "Visual voicemail", you will be directed to a new screen where the "Configure now" button will be present. Press it to proceed with the configuration of this iOS feature.
Step 5. Create an answering machine access password
The length of the password depends on the configuration settings adopted by the telephone company. In some cases a password consisting of 4-6 digits will be required, while in others 4-15.
You will be asked to enter the new password again to confirm its correctness,
Step 6. Tap "Customize" to record a new welcome message; alternatively you can choose the "Default" option to use the telephone provider's default message
If you choose "Personalize" you will be prompted to record a short voice message. Once the recording is complete, you will be able to listen to it again before deciding to use it.
- To start recording the voice message tap the "Record" option, or press the "Finish" button to stop it.
- Once the configuration process is finished, press the "Save" button.
Part 2 of 3: Using the Secretariat
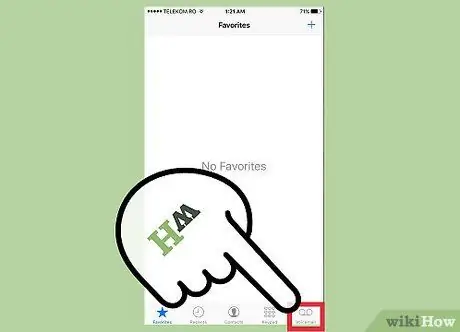
Step 1. Log in to the voicemail
After configuring access to the voicemail directly from the iPhone, you can manage the voice messages received using the "Voicemail" button located within the "Phone" application. You will then be able to consult all the voice messages recorded by people who have tried to contact you without success and to choose which ones you want to listen to.
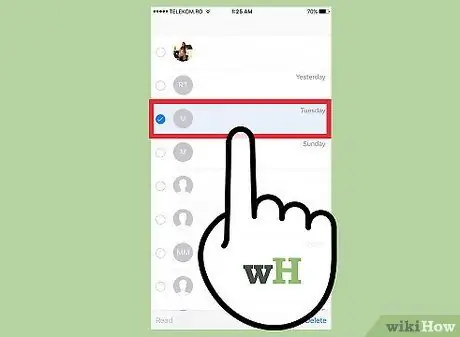
Step 2. To start playing an audio message, select it from the list
You can listen to it directly using the speaker built into the iPhone.
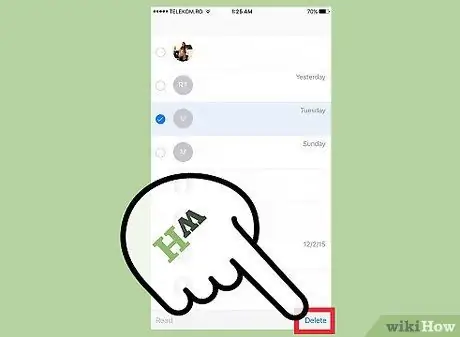
Step 3. When you're done listening, delete any messages you don't want to keep
To do this, select them from the list, then press the relevant "Delete" button. It is also possible to delete multiple messages at the same time: select them all after pressing the "Edit" button, then tap the "Delete" item.
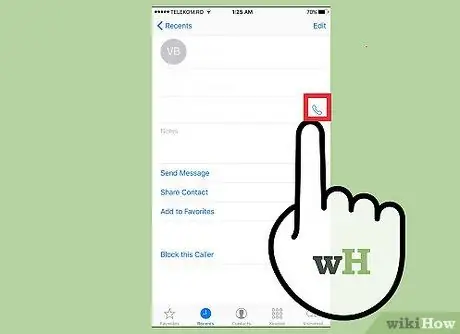
Step 4. Choose the "Call back" option to directly call back the person who left you the voice message in question
You can immediately find out how many new messages there are in the voicemail by looking at the small red badge that appears on the "Voicemail" icon of the "Phone" app
Part 3 of 3: Troubleshooting the Secretariat
Step 1. Restart the iPhone
Often simply restarting the device solves countless minor problems that may be encountered using the answering machine. To perform this step, press and hold the "Standby / Wake" power button until the red slider appears on the screen to turn off the iPhone. Once the device is completely shut down, you can proceed to reboot.
Step 2. Update the iPhone operating system to the latest iOS version available
The cause that generates the voicemail malfunction could be an operating system bug, so installing a more updated version of iOS could solve the problem. To check for new updates, go to the "General" section of the "Settings" app or use iTunes. See this article for more information on the upgrade process.
Also check if there are any new updates released by your carrier. To do this, select the "Info" option located in the "General" section of the "Settings" app
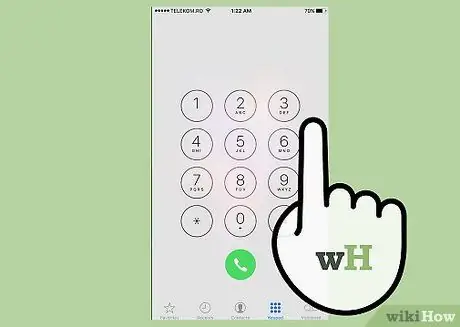
Step 3. If you can't access your voicemail, call your carrier's customer support
There may be a number of problems when setting up access to your answering machine, especially when switching from a very old device to one of the newer ones. Contact your carrier's customer service to guide you through the process of configuring your voicemail settings, changing your login password and, if supported, configuring your "Visual voicemail".
- Three: Call 133 directly from the iPhone.
- Vodafone: call 190 directly from the iPhone.
- Tim: Call 119 directly from the iPhone.
- Wind: call 155 directly from the iPhone.
- Fastweb: Call 192 193 directly from the iPhone.
- PosteMobile: call 160 directly from the iPhone.
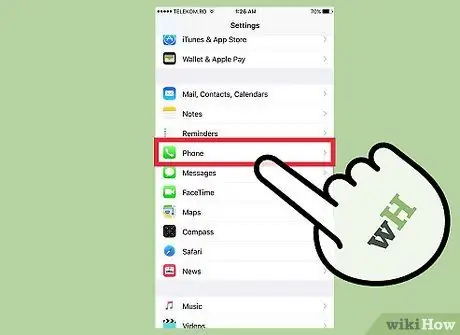
Step 4. Reset the password to access the "Visual Answering Machine"
If you need to change the password to access the iPhone's "Visual Answering Machine", you can do it using the "Settings" app.
- Start the "Settings" app, choose the "Phone" item, then select the "Change voicemail password" option.
- Enter the new login password.
- Press the "Finish" button to save the changes.


