The process of syncing an iPod with iTunes automatically deletes music that is no longer in the program's library from the device and adds the new items. Normally, you can sync an iPod with only one iTunes library on a single computer. When you connect the iPod to a new system, you are asked to completely erase the contents of the iOS device in order to re-sync. To avoid having to deal with this unfortunate inconvenience in the future, you can change the configuration settings of the iPod. If you wish, you can also delete iTunes entirely from the sync process by replacing it with third-party software.
Steps
Part 1 of 2: Manual Management of the Music Library
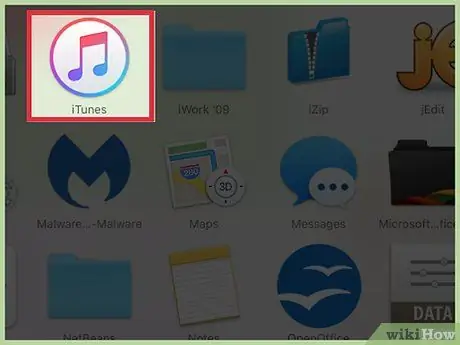
Step 1. Launch iTunes before connecting iPod to computer
When you connect an iOS device to your computer while iTunes is already running, iTunes tries to sync automatically. You need to disable this iTunes feature before connecting the iPod so that the content on it will not be erased.
- Warning: this method still deletes the current content of the iPod, but only during the first configuration and activation of the manual content management. After enabling this feature and doing the initial formatting, you will be able to connect your iPod to any iTunes library to transfer all the music you want. We recommend that you perform this setup procedure before transferring any content to the iPod.
- If you absolutely can't afford to lose the music currently stored on your iPod, check out the next section of this article.
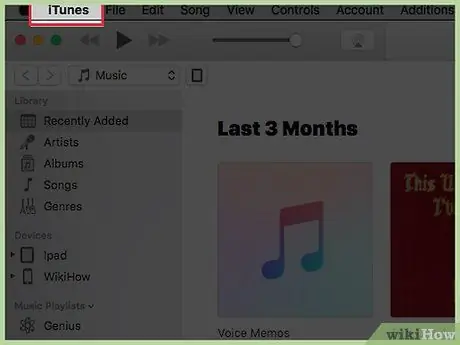
Step 2. Access the "iTunes" (on OS X systems) or "Edit" (on Windows systems) menu
If you are using a computer with a Windows operating system and do not see the menu bar, simply press the Alt key.
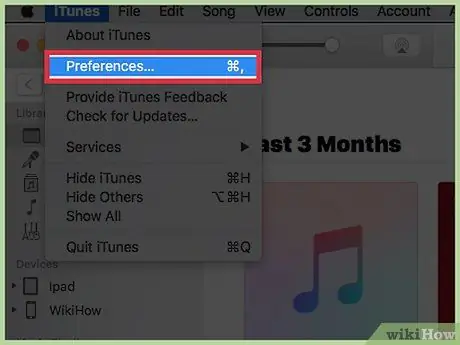
Step 3. Choose the "Preferences" item
The iTunes configuration settings menu will appear.
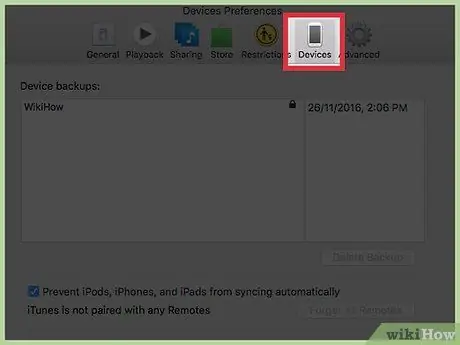
Step 4. Go to the "Devices" tab
The settings for managing the connection of iOS devices, such as your iPod, will be displayed.
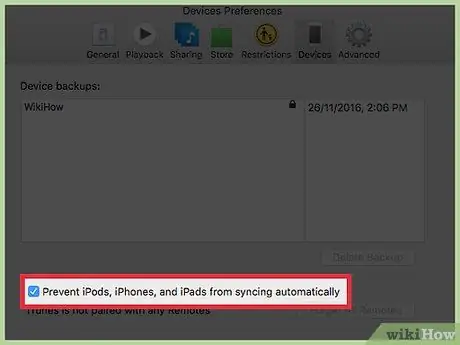
Step 5. Select the "Prevent iPods, iPhones and iPads from syncing automatically" checkbox
This will prevent iTunes from attempting to automatically sync an iOS device as soon as it is detected, effectively avoiding deletion of the content.
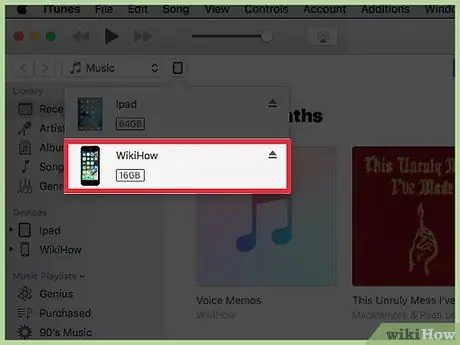
Step 6. Connect the iPod to the computer via USB cable
As soon as it is detected by the system, you will see it appear inside the iTunes window.
By connecting the device to a different library than the one it's paired with, iTunes will force you to format the iPod's internal memory before you can proceed any further. This is a measure taken by Apple to limit the piracy of multimedia content. If you are looking to add new music from a new iTunes library, see the next section
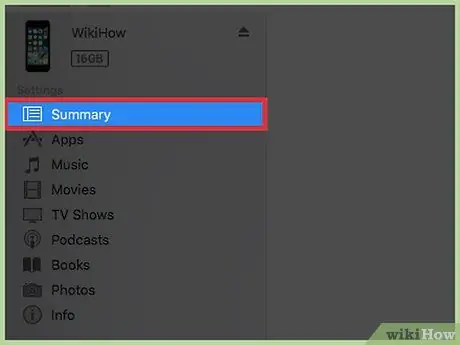
Step 7. Select your iPod using the buttons at the top of the iTunes window
The iTunes "Summary" tab for the selected device will appear.
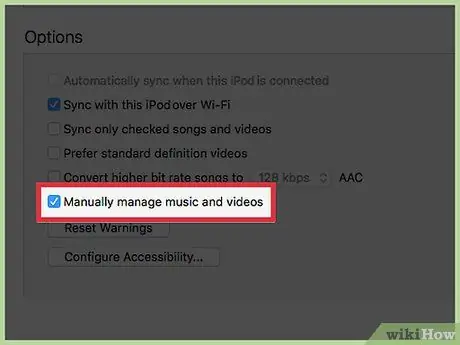
Step 8. Scroll the "Summary" page down to locate and select the "Manually manage music and video" checkbox
This feature allows you to add and delete songs from your iPod without having to use the iTunes sync process.
The initial configuration of this function requires the device to be formatted, an activity that is performed only at the first activation. After activating manual content management, you will be able to connect your iPod to any computer to transfer all the music you want by simply dragging and dropping the related files. If you are not willing to lose the music that is currently stored on the iPod, please refer to the next section of the article
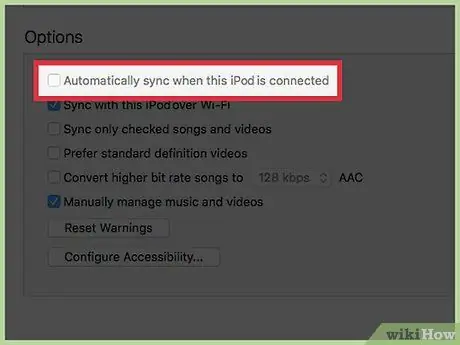
Step 9. Uncheck the "Automatically sync when iPod is connected" checkbox
This prevents the iPod from automatically syncing as soon as it is connected to a new computer.
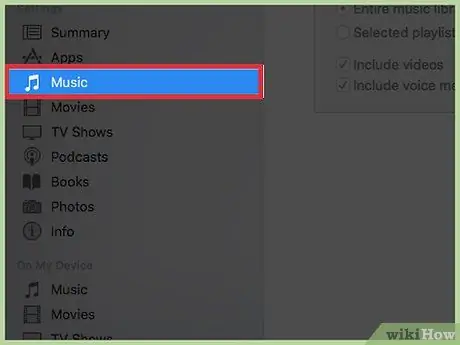
Step 10. Go to the "Music" tab of iTunes, then select the songs you want to transfer to your device
If the music you want to add to iPod isn't in your iTunes library, you'll first need to drag it into the program window to insert it.

Step 11. Drag the selected music
You will see a sidebar appear on the left side of the iTunes window, with your iPod icon in the "Devices" section.
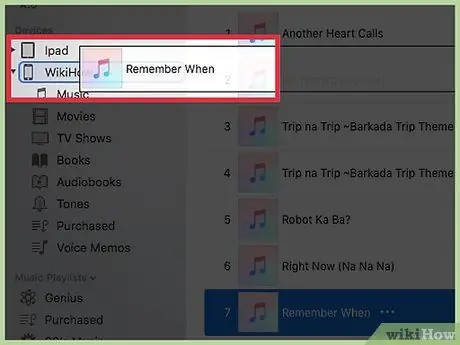
Step 12. Drop the selected music onto the iPod icon located in the sidebar of the iTunes window
This way the chosen files will be copied to the device.
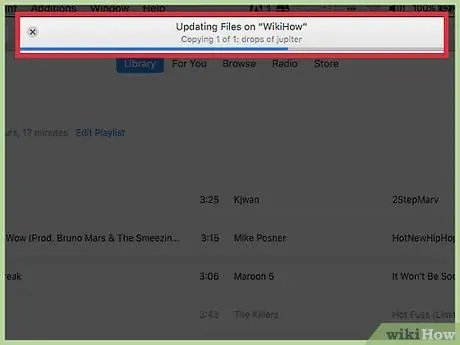
Step 13. Wait for the data transfer to finish
You can check the progress of the copy using the appropriate bar at the top of the window. If you're transferring a large amount of music, chances are you'll have to wait a bit.
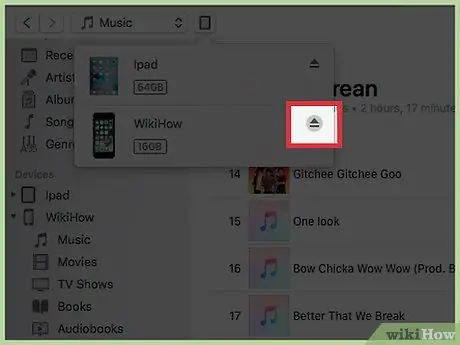
Step 14. Disconnect the iPod, then enjoy your new music collection
Once the data transfer is complete, select the iPod icon present in the iTunes window with the right mouse button, then choose the "Eject" option. At this point, you can physically disconnect iPod from your computer and listen to the newly added audio tracks.
Now you can connect your iPod to any computer and use iTunes to manually transfer the music you want, without worrying that existing songs will be lost
Part 2 of 2: Use a Third Party Management Program
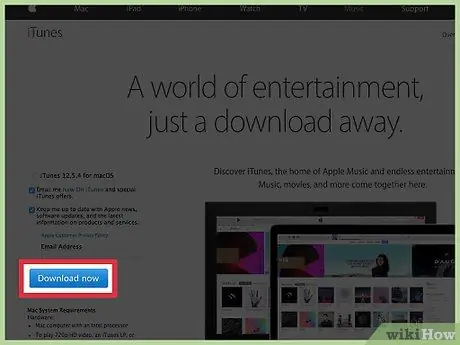
Step 1. Install iTunes (required on Windows systems only)
The PodTrans program requires the installation of iTunes in order to communicate with the iPod. This step is only required on Windows systems, as iTunes is built into the OS X operating system.
- You can download the iTunes installation file from the URL apple.com/itunes/download.
- Remember that you just need to install iTunes, don't use it for data transfer.
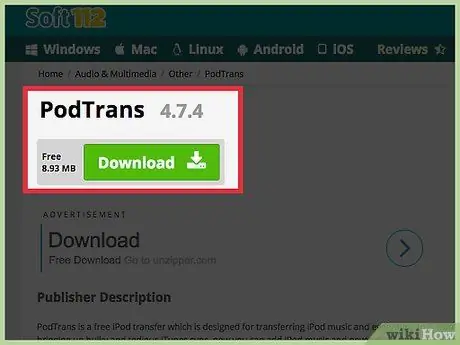
Step 2. Download and install PodTrans
This is one of the simplest ways to copy music to an iPod without having to sync it with iTunes. If you need to add music to iPod without losing the ones already present, use the PodTrans program.
- You can download the free version of PodTrans from the URL imobie.com/podtrans/. PodTrans is available for both Windows and Mac systems.
- You will be asked to choose one of the two versions of PodTrans. If you have a modern computer and one of the latest versions of iTunes, choose the "V12.1 or Later" version. If you are using an older version of iTunes instead, choose the other option available.
- PodTrans does not support data transfer with iPhone or iPad. In this case you will need to use a different program, such as AnyTrans.
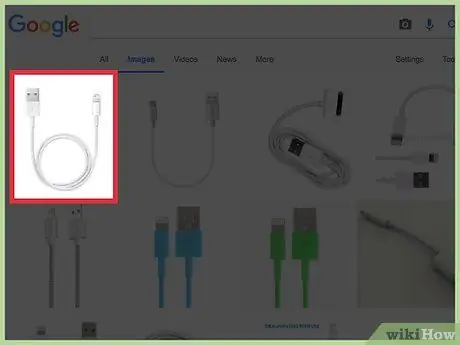
Step 3. Connect iPod to computer via USB cable
If iTunes opened automatically, close it.
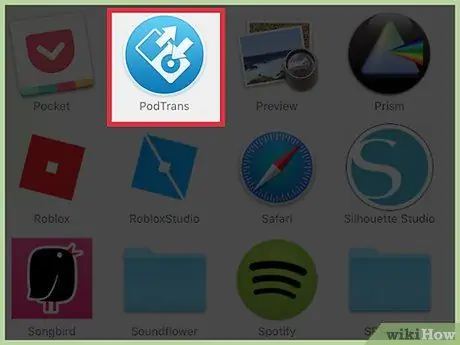
Step 4. Launch PodTrans, then wait for the iPod contents to appear inside the program window
This step may take some time to complete.
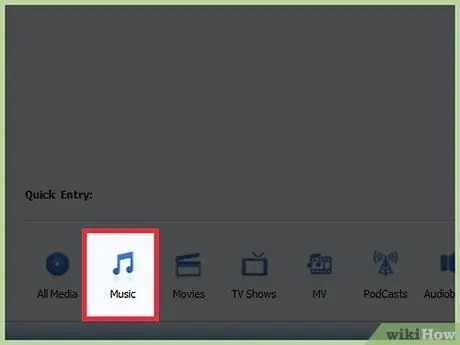
Step 5. Press the "Music" button located at the bottom of the PodTrans window
This will display the list of all the music tracks currently on the device.
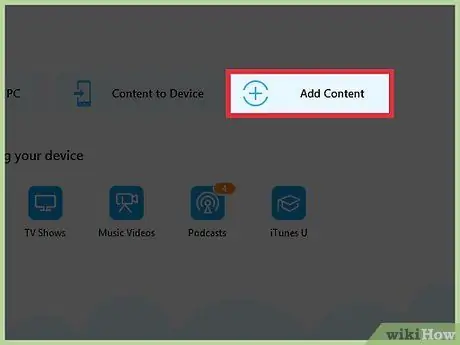
Step 6. Select the audio files you want to add to your iPod music library, then drag them into the PodTrans window
This step will automatically start the data transfer to the device. You can select songs to add directly from your iTunes library or other folders on your computer.
To add new files, you can press the "+" button and use the dialog box that appears to browse the contents of your computer's hard drive
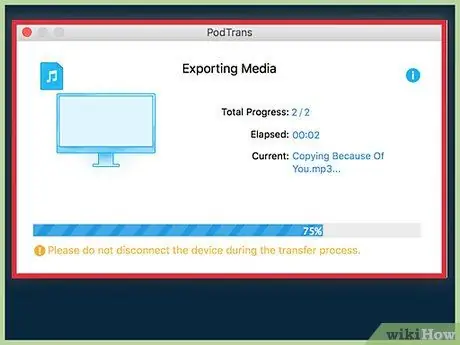
Step 7. Wait for the file copying process to complete
You can check the progress of the data transfer using the appropriate bar at the top of the window. While copying files, do not disconnect the iPod from the computer.
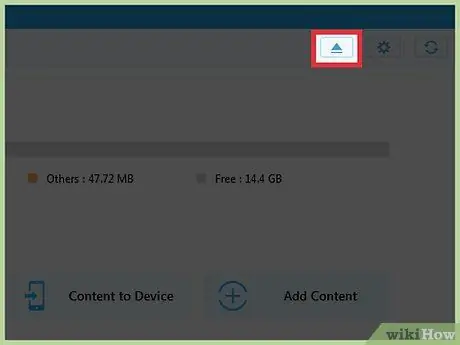
Step 8. When the data transfer is complete, you can disconnect the iPod from the computer
The new audio tracks will be visible within the device's music library and you will be able to listen to them just like you do for any other song.
Advice
- To save storage space on your iPod, choose the "Convert highest bit rate songs to AAC at 128 kbps" option located in the "Options" pane of the "Summary" tab for the selected iOS device. This will convert the audio files into a more compressed format, freeing up several GB of memory on the iPod for other content. The iTunes AAC format converts audio files with a very high sample rate (bitrate) into files compatible with most audio programs, including MP3 players, audio editors and multimedia players.
- You can perform a multiple selection of files by holding down the "Ctrl" key while choosing songs to sync to iPod. Once you've selected all the audio files you want to add, simply drag the entire group of items into your device's "Music" library.


