This article explains how to add your location on Snapchat. You can do this using the Snap Map or by inserting a geofilter into a photo. You will need to allow the application to use location services to be able to appear on the Snap Map or insert geofilters in images.
Steps
Method 1 of 2: Add a Location in a Snap Map
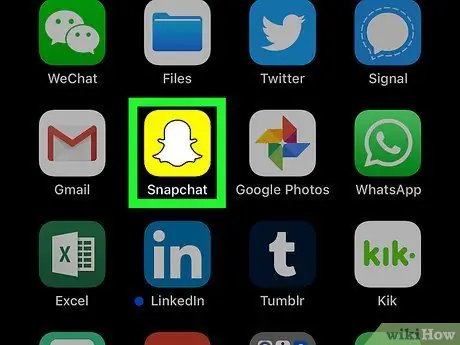
Step 1. Open Snapchat
The icon looks like a white ghost in the center of a yellow square.
Make sure you are logged in on Snapchat
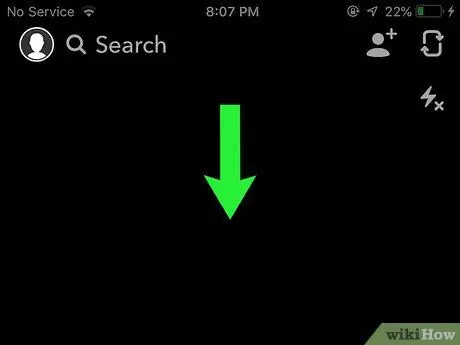
Step 2. Swipe down on the camera screen
This will open the Snap Map.
- To open it more easily, it will help you to slide your finger down in the central part of the screen.
- The screen where the camera is activated is the main Snapchat page, which is displayed when the application is opened.
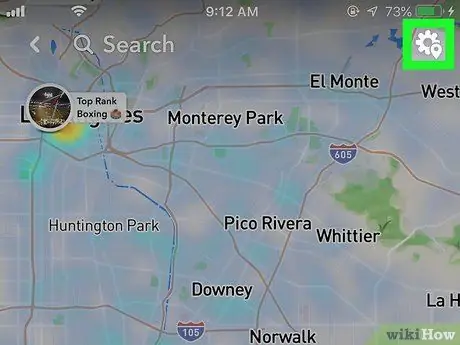
Step 3. Press the settings icon
Snapchat's settings icon looks like a gear. It should be in the upper right corner of the map.
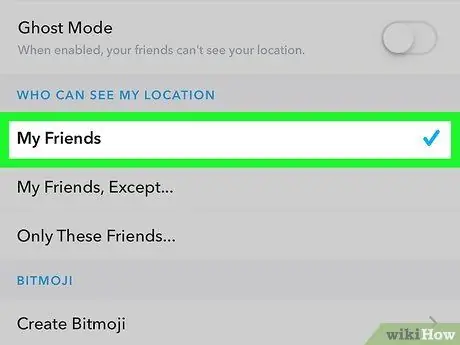
Step 4. Tap on My friends to let your friends know where you are
From that point forward, your location will be updated wherever you open Snapchat!
- You can also create a Bitmoji to display a custom avatar along with your location.
-
To disable localization, click on the checkbox
next to "Ghost Mode".
Method 2 of 2: Add a Geofilter to an Image
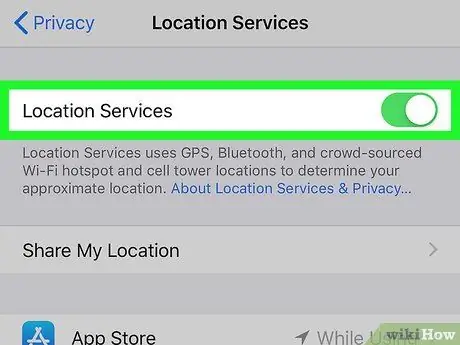
Step 1. Activate Location Services on your smartphone
If they are not activated, then you will not be able to add your location to an image. Check your smartphone settings.
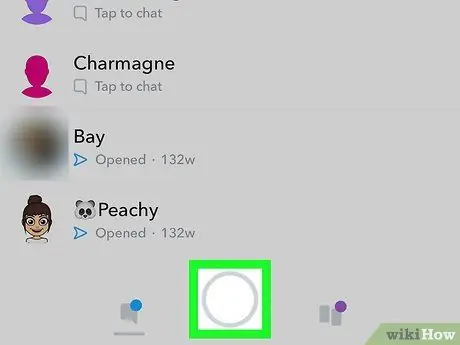
Step 2. Open the Snapchat main screen
The camera is activated on the main screen and you can see a white circle at the bottom of the screen.
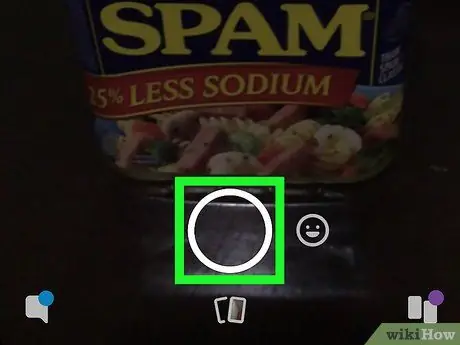
Step 3. Press on the white circle to take a photo

Step 4. Swipe left to review filters and geofilters
Some areas have different filters that allow you to show your location, but there are also places that don't have any filters.
Tourist areas often have special filters that can be added to photos
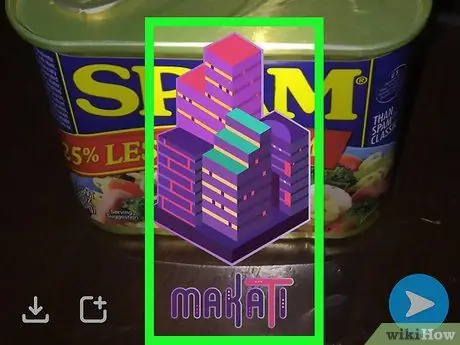
Step 5. Choose the geofilter you prefer and press the blue share button
Your friends will then be able to see your location, as it will appear on the image you post.


