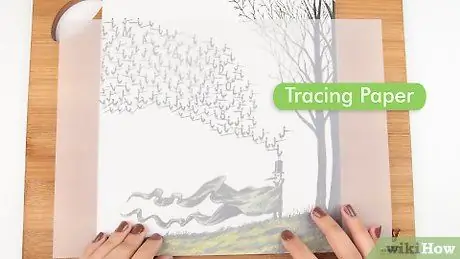
Tracing paper is a semi-transparent paper that you can use for tracing images or drawings. Once the figure is traced on the paper, you can easily transfer it to another sheet or even a canvas. Just make sure you are using a graphite pencil, so that the drawing looks good when you transfer it!
Steps
Part 1 of 2: Tracing the Design

Step 1. Place a sheet of tracing paper over the design or image you want to trace
The simpler the image, the easier it becomes to trace. Make sure the whole figure is covered by the transparent paper.
Step 2. Use masking tape to hold the tracing paper in place
Fold the edges of the paper over the sheet containing the design, then tape them together. If it is smaller than the paper underneath, tape the corners together.
Step 3. Trace the original image onto the tracing paper with a graphite pencil
Do not use a pen, marker or colored pencil, or you will not be able to transfer the drawing to another sheet of paper. Carefully follow the lines of the original figure with the pencil. Don't worry about the shadows and just try to trace the lines of the image.
- If the tracing paper moves as you work, rearrange it using the lines already drawn as a reference.
- Erase mistakes with the eraser, but try to be gentle so you don't tear the paper.
Step 4. Remove the tracing paper
Remove the tape that was holding it in place, then place it next to the original image. Look at them side by side. They should be identical (except shades and colors). If you notice that you have forgotten a part, put the paper back on top of the figure and draw the lines that are not there.
Part 2 of 2: Transfer the Design

Step 1. Find something to transfer the design to
You can use a sheet of drawing paper, watercolor paper, canvas, or any other medium on which the pencil mark will appear. Make sure to transfer the image to a light colored background, otherwise the graphite will not be visible.

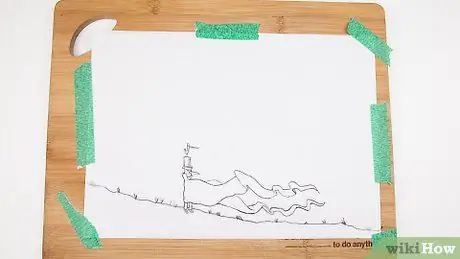
Step 2. Tape the design you drew face down onto the new medium
You can do this with normal clear tape or protective tape. Arrange the tracing paper so that the image is aligned with where you want to transfer it. The side you drew the figure on should be facing down.
Step 3. Trace the back of the design to transfer it to the sheet below
You can use a pencil, a marker cap, or some other hard object. Apply pressure as you go over all the lines in the original image. The pressure will transfer the graphite to the other side of the tracing paper on the bottom sheet.
Step 4. Remove the tracing paper
Peel off the tape and set the tracing paper aside. On the new sheet you should see a faded copy of the image you traced. If some points have not been transferred, draw them with the pencil.
Step 5. Finish the transferred design
Trace the lines with the pencil so that they are more defined. Once done, you can leave the image as it is or enhance it with inks, colored pencils or paints.


