This article explains how to cancel billed subscriptions on your Apple / iTunes account using an iPhone.
Steps
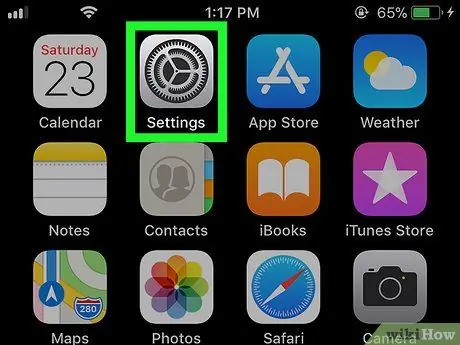
Step 1. Open the "Settings" of the iPhone
This app is usually found on the home screen.
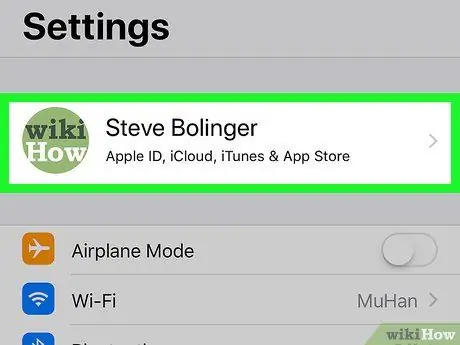
Step 2. Tap your name
It is located at the top of the screen.
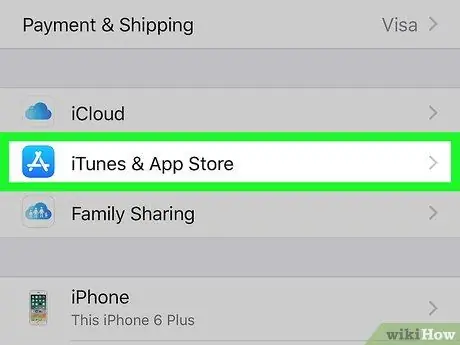
Step 3. Tap iTunes and App Store
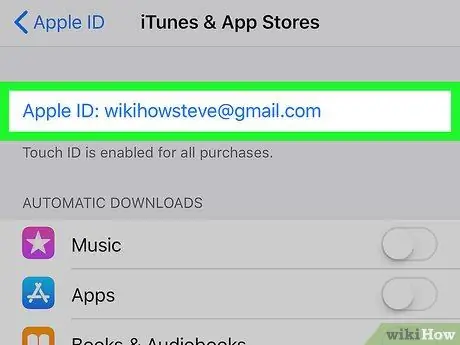
Step 4. Tap your Apple ID
It is written in blue font and is located at the top of the screen.
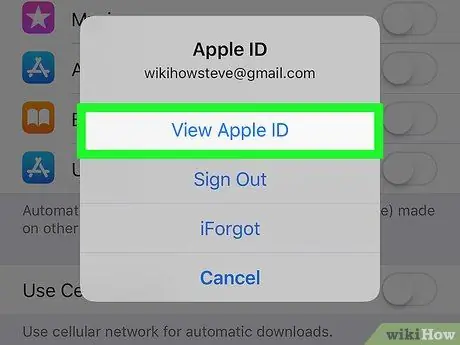
Step 5. Tap View Apple ID
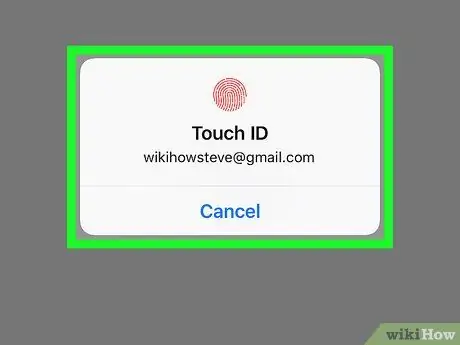
Step 6. Enter your password or use Touch ID
Once your identity has been verified, you will be redirected to the "Account" menu.
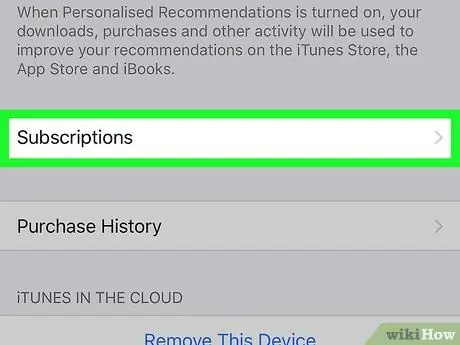
Step 7. Scroll down and tap Subscriptions
The list of applications and services to which you have subscribed will appear.
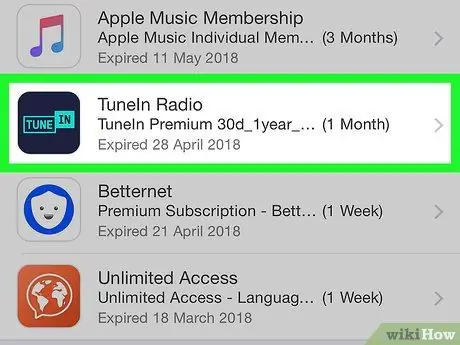
Step 8. Tap the subscription you want to cancel
All information concerning him will be displayed.
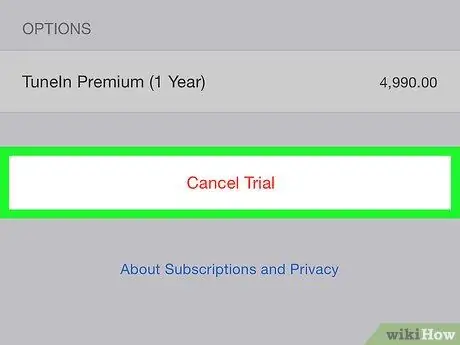
Step 9. Tap Cancel Subscription
This option is written in red characters and is located at the bottom of the screen. A confirmation message will appear.
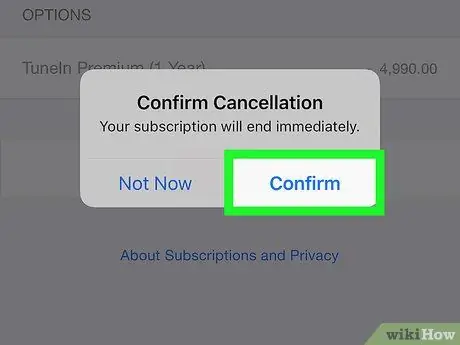
Step 10. Tap Confirm
If you cancel your subscription, you will no longer be charged for this service. You will be able to continue to use its features until the expiration date indicated.


