Have fun and save some pennies at the same time by developing your own color films.
Steps
Step 1. First of all read the warnings and the chemical safety data sheet
They are chemical compounds VERY DANGEROUS!
Step 2. Mix the chemicals as prescribed in the instructions contained in the package of the Kit C-41 for the Development of the Color Negative (in the USA the kit C-41 is produced by Arista, in Italy the most common are those of Tetenal and Rollei), and store them in graduated containers
If you use chemicals from different brands, still follow the instructions in the kit box.
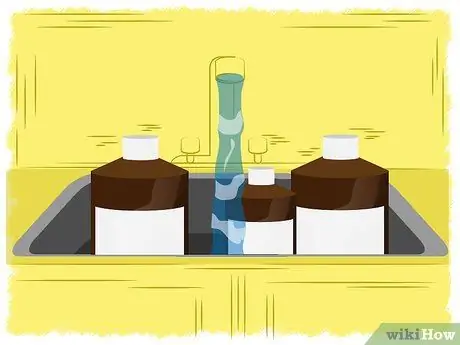
Step 3. To develop a color film, the chemists must be at a constant temperature which for the Arista kit is 38 degrees centigrade (for the Tetenal chemists there are three possible temperatures for as many alternative treatments:
30, 38 and 45 degrees centigrade; depending on the temperature, the treatment time of the film changes). It is important that during the whole treatment the temperature of the chemists does not change more than half a degree higher or lower. To bring the chemicals to this temperature, you can immerse the containers in a bain-marie. You will need to bring the water temperature of the bain-marie to around 43 degrees centigrade. Even if you have to bring the chemicals to 37.8 degrees, the water in the bain-marie cools down very quickly.
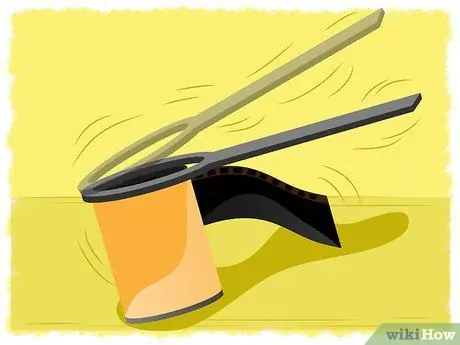
Step 4. Open the roll, take out the film, develop it in the spiral, and put it in the developer tank. These operations must be done in complete darkness. No kind of light. Not even the red safety light. Place the scissors, bottle opener, film roll, spiral, and developer tank in an environment that is not dusty and can easily be completely darkened. Still at this point you can keep the light on.
If you don't have a darkroom, you can make a simple box out of metal, wood or 100% opaque plastic with a hinged lid approximately 60 x 45 x 45cm in size. Line this box with an antistatic matte material, such as vinyl or linoleum. Punch a hole on both sides and attach a pair of double-layered sleeves with elastic cuffs so that you can slip your hands into the box through these cuffs to open the roll. This type of box is useful at an amateur level or in case of scarce economic resources to devote to this activity. To make sure that the box is actually completely free of any kind of light infiltration due to gaps or cracks, it is good to check it by inserting a strip of test photographic paper inside it (in conditions of red safety light) and developing it. At this point you can put inside the film, the tools, the spiral, the roll, then seal the box and put your hands from the cuffs and proceed with the operations
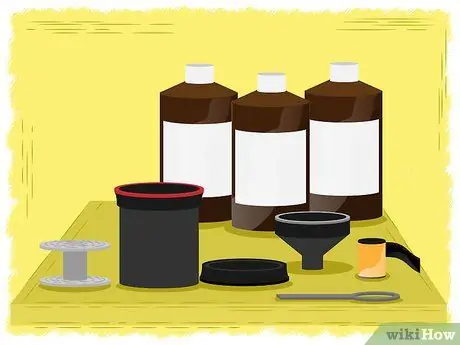
Step 5. Place all equipment in front of you, if possible on a flat surface
You are about to develop the color film in the spiral in complete darkness, so make sure no objects can get in your way.
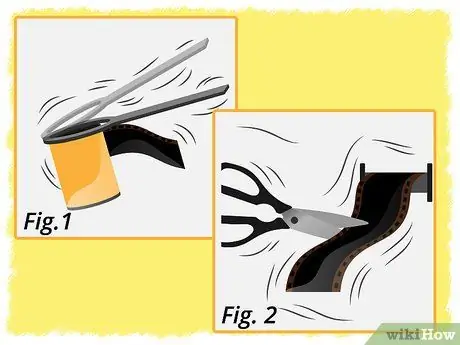
Step 6. Turn off the lights
(Fig. 1) Use the bottle opener to open the roll. Holding the film only by the edges, pull it out of the roll. The film is attached to the center spool. Cut it right next to this. (Fig. 2) Be careful to cut the film right next to the spool, otherwise you risk cutting your photographs. You also need to cut off the tail of the film (the oddly shaped piece of film that sticks out of the roll when you buy it and it's still new) to even it out. Just cut about 2.5 cm. of the tail.
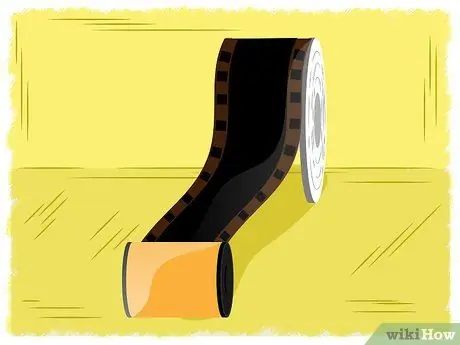
Step 7. Wrap the film onto the spiral
Without touching the surface of the negative, slide it over the opening of the spiral. (Fig. 3) Wrap around the spiral about 10 cm. of film. Begin to advance the film in the spiral by turning one side of the spiral back and forth. To facilitate this, keep your left hand still, and with your right turn the right side of the spiral forward, then bring it back. Continue like this until all the film is properly loaded into the spiral. Put the spiral inside the development tank, and screw on its lid. Now the tank is light tight and you can then turn on the light. In fact, even if the tank has a hole in the cap to pour the chemicals, it is still light-tight.
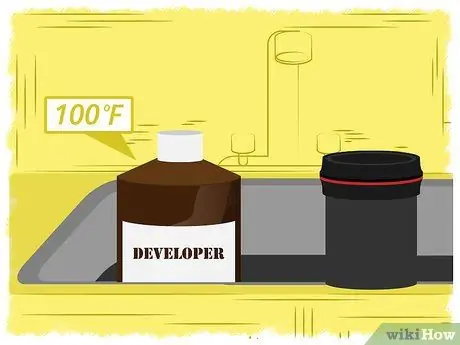
Step 8. Put the developer tank in the same bain-marie where you left the chemical containers to heat up
Check the color development temperature with the thermometer. If it is already at the required temperature you are ready to go. If the temperature is too high, check every 10 minutes until it has reached the correct level. If it is too low, add more hot water to the bain-marie.
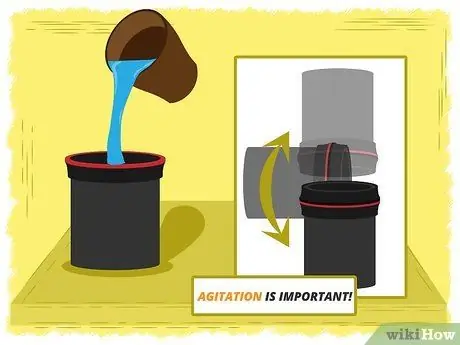
Step 9. With a stopwatch in hand, pour the color developer into the hole on the tank cap
Do this very quickly and start the stopwatch as soon as you have poured all the development into the tank. Beat the tank a couple of times on a surface to eliminate any air bubbles that could be created on the film. Shake the tank for 30 seconds in a circular motion. You will have to leave the film in the development for 3 and a half minutes (other kits, such as the Tetenal one, have different times for the development process). Every 30 seconds shake the tank for 3 seconds. The unrest is very important. Don't forget to shake the tank. The chemicals wear out very quickly after coming into contact with the film. The agitation ensures that a sufficient amount of fresh chemical comes into contact with the film during the process. However, chemical depletion is an important part of the development process. Excessive agitation can lead to negative results. Or in some positive cases, depending on the "result" you are looking for. Excessive shaking increases the contrast of the image.
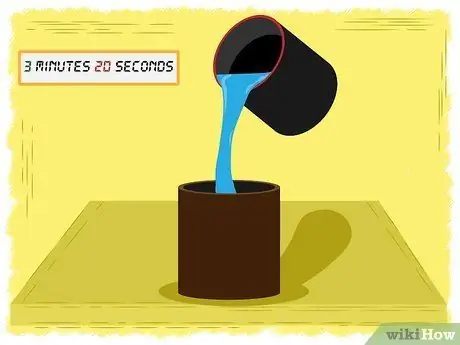
Step 10. When the stopwatch shows 3 minutes and 20 seconds, it begins to empty the color developer from the tank to its container
The color developer can be reused, but its effectiveness is greatly reduced if it is used too much. Each time you use it, make a notch on the bottle to remind yourself of the times you have used it. Each time you reuse the same color developer, it extends the treatment time by 15 seconds (for color developments from other brands, check the manufacturer's instructions). Do not remove the lid of the development tank.
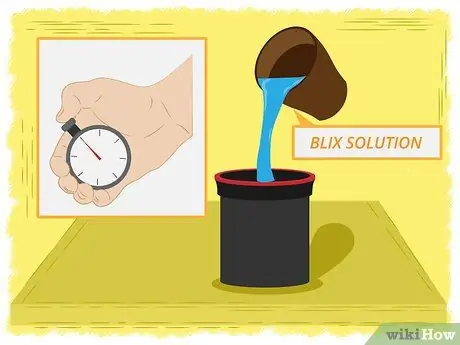
Step 11. Still with the stopwatch in hand, quickly pour the bleach-fixer into the tank through the hole in the cap until the tank is full
Start the stopwatch as soon as you have finished filling the tank. Also in this case, beat it on the table a couple of times to eliminate any air bubbles. We will leave the film in the bleach-fix for 6 and a half minutes. (Again the times vary depending on the brand of the kit you are using).
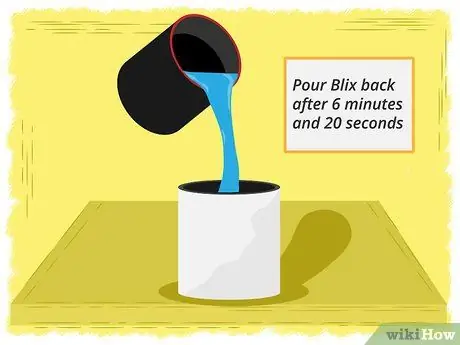
Step 12. When the stopwatch shows 6 minutes and 20 seconds, start emptying the whitening-fixing solution from the tank by pouring it into its container
This solution can also be reused. At this point you can also remove the lid of the tank.
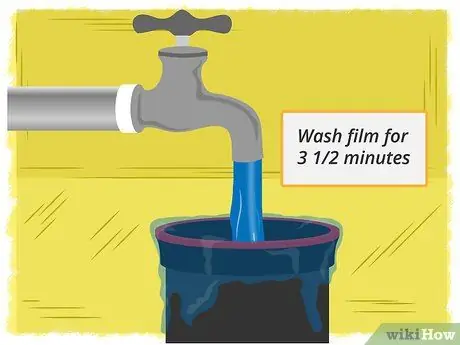
Step 13. Bring running tap water to approximately 38 degrees Celsius
Put it under the tank and let the water rinse the film for 3 and a half minutes.
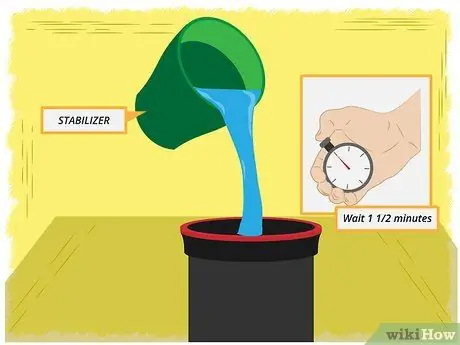
Step 14. Stopwatch in hand, remove all the water from the tank and pour the stabilization bath into it
Leave it to act for a minute and a half (as usual, the times for the kits of other brands must be checked with the provisions in the relative instruction booklet). Just before this time has elapsed, empty the stabilizer bath into its container. This solution is also reusable.
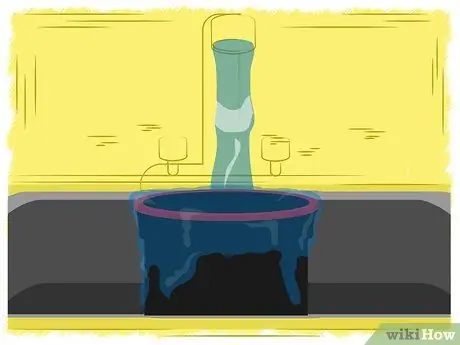
Step 15. Now it's time to rinse the film of all chemicals
Leave it under running water for about ten minutes. The water must fill the development tank and flow out. Every two minutes or so, empty the tank and let it refill under running water. You should always try to use water at 38 degrees centigrade. This final part of the rinsing process is very important. 10 minutes is the minimum rinsing time for a film, but it must be done with water around 38 degrees. Using water at a warmer or colder temperature can affect the final result of your images.
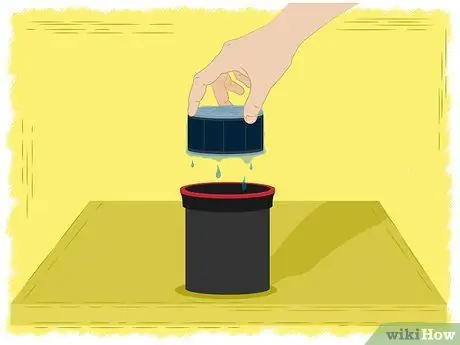
Step 16. After 10 minutes, remove the spiral from the tank and gently drain the remaining water by shaking it
Open the spiral by turning it clockwise (or counterclockwise, depending on how you are holding it) by dividing the two upper and lower parts. Now use one of the clothespins by hooking it to one end of the film. Some clothespins have small "hooks" that you can slide over pre-existing perforations in the film without puncturing it further. Lifting the film remove it from the spiral. If everything went as it should, you should see the photos on the negative. Snap the other clip onto the opposite end of the film. It will work like a burden. Hang the film to dry at room temperature, in a room away from dust. Let the negative dry for at least 2 hours.
Step 17. That's it
You did everything. Now you can take the negative to the photographer to make the prints, you can print it yourself, or you can scan the negative to order the prints on the internet.
Advice
- Separate Bleaching and Fixing operations can lead to better results. Bleach baths work best in converting all developer silver into soluble silver halides, which can be removed more easily from the Fixer. On the other hand, the Whitening-Fixing baths tend to leave some of the developing silver. Silver residues on color images result in muted colors on prints.
- The Bleach-Fixer is a single bath that simultaneously whitens and fixes the color film, eliminating the need to carry out the two distinct processes by mixing together the chemicals necessary for the whitening and fixing. Many professional photographers use separate baths for bleaching and fixing, but for early developments, whitening-fixing is just fine.
- Someone uses mineral water instead of tap water. The latter contains minerals that could affect the quality of the final image.
- Let the film dry for at least 2 hours, but 4 would be even better. If you take the film too early, it may curl as soon as you remove the clips. The more you let the film dry, the flatter the negative will be.
- Practice loading the film into the spiral to the light using a roll of waste film.
- The temperature and the treatment time are particularly critical elements only for the development phase. Be very careful to follow them strictly. On the other hand, whitening-fixing, or separate whitening and fixing baths, rinsing and washing are more tolerant. The temperatures for these phases can fluctuate by 3-5 degrees centigrade, while the treatment times can vary by up to 5 minutes without producing particular damage.
- You can soak the film in an anti-halo wetting solution for 1 minute immediately after washing. This solution allows the drying of the film avoiding the formation of drops of water and limescale.
Warnings
- NOT use chemicals in inadequately ventilated areas.
- NOT store chemicals in high temperature environments. Bring them to 38 degrees Celsius only when used.
- When handling photographic chemists wear rubber gloves. Keep chemicals out of the reach of children and pets.
- AND VERY DANGEROUS handle these chemicals, especially fixing and film stabilizer.
- Wear a face mask when using photo chemists.
- Don't develop color film yourself if you are not TRULY determined to do so. Chemists are VERY DANGEROUS, the times to follow must be very precise, there are no drawing techniques as for black and white films, so in the case of color films there are no advantages from this point of view.


