This article explains how to change the privacy settings associated with your Facebook profile photo so that it can only be visible to you. The steps shown are specific to iPhone and iPad.
Steps
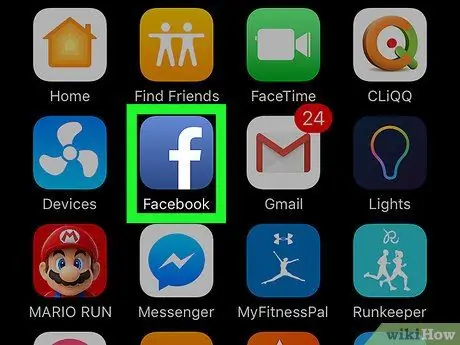
Step 1. Open the Facebook application on your iPhone or iPad
The icon looks like a white F on a blue background and is located on the Home Screen.
If login to Facebook is not automatic, enter your e-mail address or phone number and password to log in

Step 2. Tap the icon that looks like three dashes horizontally
It is located at the bottom right. A navigation menu will open.
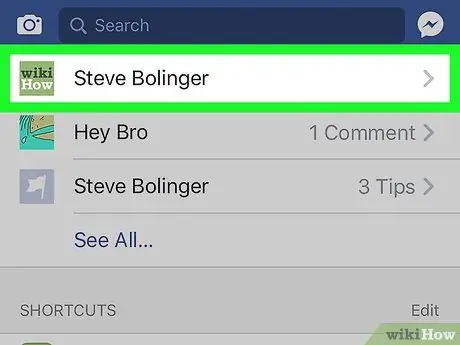
Step 3. Tap your name
You will see it at the top of the menu, next to the profile photo. This will open your profile.
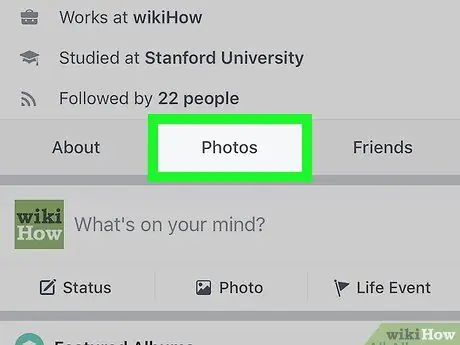
Step 4. Scroll down and tap the Photos tab
This button is located between the "About" and "Friends" tabs, under the profile picture and presentation. This will open your photographs.

Step 5. Tap the Albums tab at the top right

Step 6. Tap the Profile Pictures album
The collection of all your profile pictures will open. The current one is at the top.

Step 7. Tap the current profile picture
It will open in full screen on a black background.

Step 8. Touch the icon that looks like three dots, located at the top right
A pop-up menu will open with several editing options.
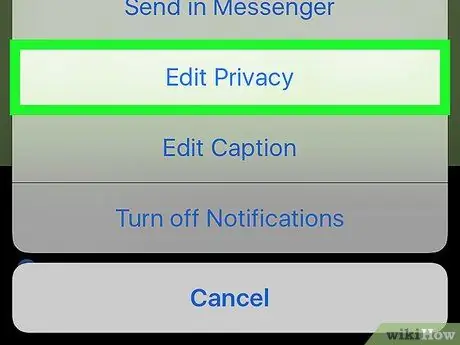
Step 9. Tap Edit Privacy
This option allows you to decide who can view your profile picture.
To see this option in the menu, you need to open the photo from the "Profile Pictures" album. If you open it by tapping it on the profile page, that entry will not appear
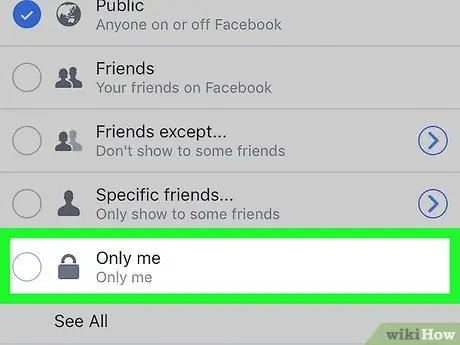
Step 10. Select Only me
The icon for this option looks like a padlock and is located at the bottom of the menu on the "Edit Privacy" page.
If you don't see the "Only me" option, tap "More …" at the bottom of the screen
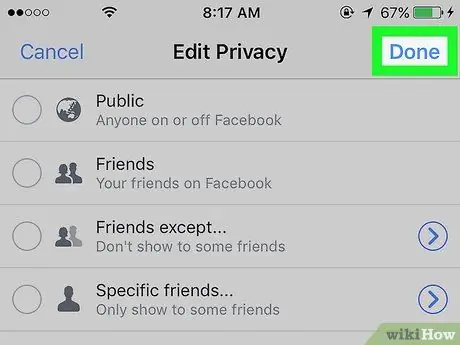
Step 11. Tap Done
This blue button is located at the top right and allows you to save the settings associated with privacy. The profile photo will henceforth be visible only to you.


