If you are organizing a big game on the LAN, or you have extra computers around the house, try building a dedicated server to play on the LAN with your friends. Follow this guide to create a dedicated server and to organize your LAN game.
Steps
Method 1 of 3: Counterstrike 1.6
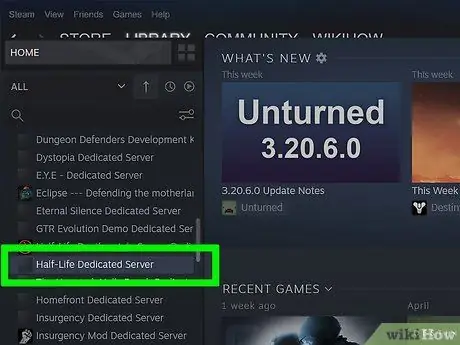
Step 1. Sign up for a dedicated server account on Steam
You will need to start your dedicated server from a separate account, or you will not be able to connect to your server. You will not necessarily have to add any games to your account, the game files are not required to host the server.
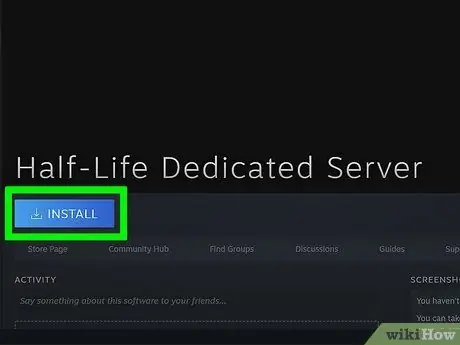
Step 2. Install Half-Life Dedicated Server
You can find this program by clicking on the Steam Library menu and selecting Tools from the drop-down menu. Browse the list for the Half-Life Dedicated Server. The program will require approximately 740 MB of free disk space.
Half-Life's dedicated server is free, even if you haven't purchased Half-Life with that account
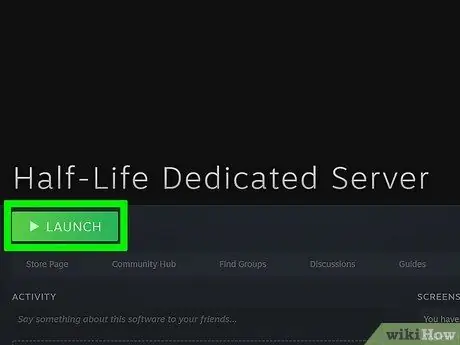
Step 3. Run the dedicated server program
After installing the server, double click on it from the Steam library to run it. The Start Dedicated Server window will open. You will be able to choose one of the Half-Life game servers. Select Counter Strike 1.6 from the menu.
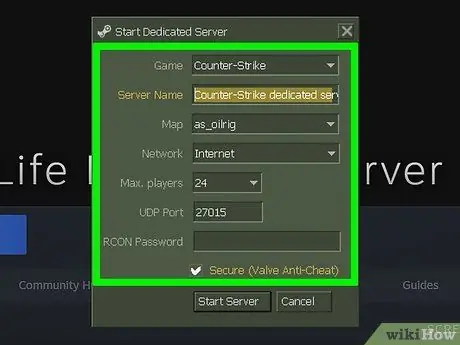
Step 4. Set the details
You can rename the server as you like. Use the Map menu to select the starting map. Under Network, select LAN to create a local server. Anyone on the network who has Counter Strike 1.6 installed will be able to participate in the server.
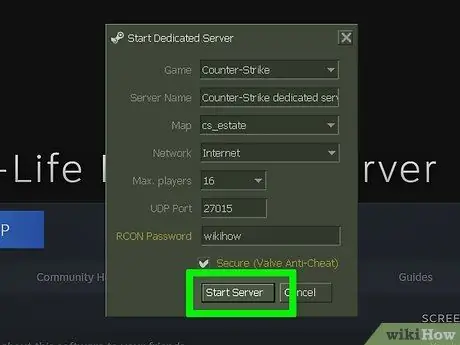
Step 5. Run the server
When the server has started, the server configuration window will open. You will be able to make changes to the server without restarting it.
- Use the Configure tab to enter server details such as time and score limits.
- The Statistics tab will report server performance information. Closing other programs when the server is running will increase performance.
- The Players tab will show you all the players who are currently connected to the server. You will be able to kick and ban players from this menu.
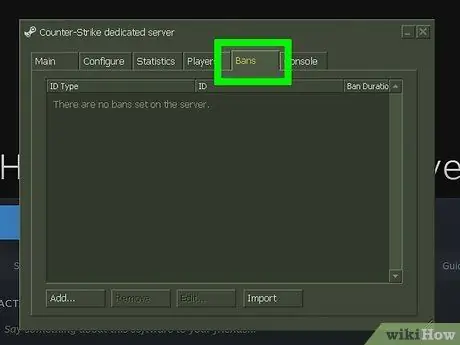
Step 6. The Ban Tab will allow you to view all the players that have been banned from your server
You will be able to remove bans from this menu.
The Console tab allows you to enter commands into the server as immediate level ups
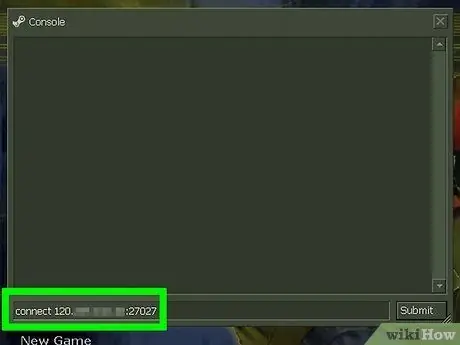
Step 7. Connect to the server
All computers connected to the same network as the dedicated server should be able to see the server in Steam's server list. Open Steam and right click on the icon in the system tray. Select Server from the menu. Click on the LAN tab. The dedicated server should appear in the list. Entering the server will automatically launch Counter Strike 1.6 if it is installed on your computer
Method 2 of 3: Counter Strike: GO
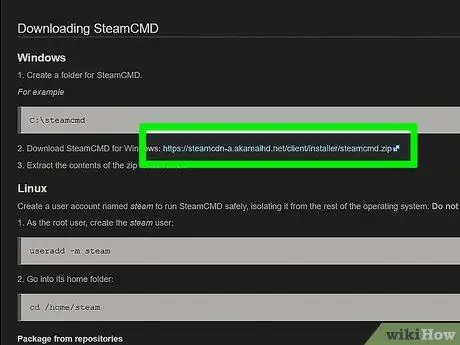
Step 1. Download SteamCMD
This is a command prompt used for new Source games. This program will install and update your CS: GO dedicated server. You can download SteamCMD for free from Valve's website. The file is in.zip format.
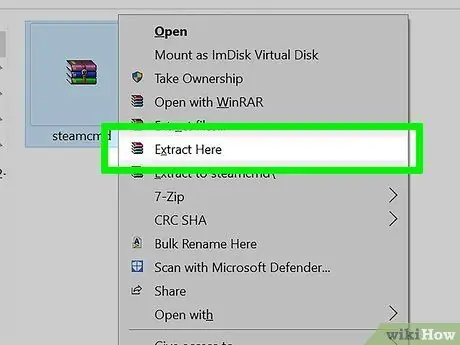
Step 2. Extract the SteamCMD file
Make sure you extract it to a different folder than the Steam client, and not even an old HLDSUpdate folder. For best results, create a new folder in the root of your hard drive, for example C: / SteamCMD \.
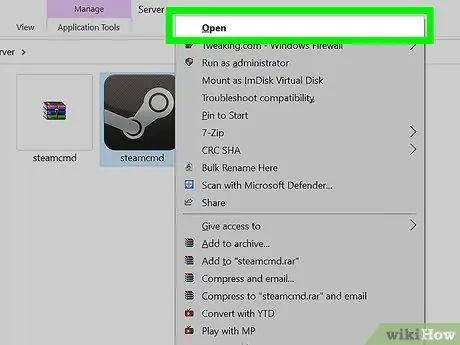
Step 3. Run the SteamCMD program
Double click to extract it. The program will automatically connect to the Steam servers and start downloading updates. It may take a few minutes. Once the update is complete, you will be able to view the Steam command line>.
If the program does not connect, you should adjust your internet settings. Open the Control Panel and select Internet Options. Select the Connections tab. At the bottom of the window, click the LAN settings button. Make sure there is a check mark in the "Automatically detect settings" box
Step 4. Create a folder for your dedicated server
Use the command line to set the installation folder for your dedicated server. Use the following command:
force_install_dir c: / csgo-ds \
Change "csgo-ds" to whatever name you prefer to use
Step 5. Install the dedicated server
Once your folder has been created, you can begin the server installation process. Enter the command below to start downloading the server files. The download is 1GB, so you'll have to wait a while for it to complete:
app_update 740 validated
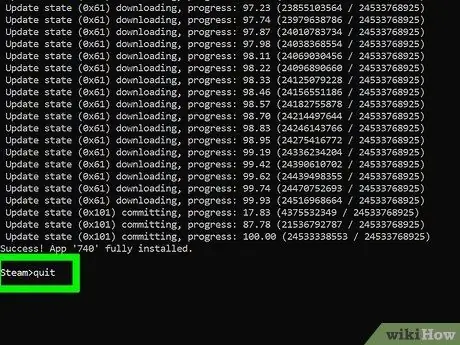
Step 6. Log out of the Steam servers
When you have finished the download and are in command of the command prompt again, type Quit to exit the Steam download servers.
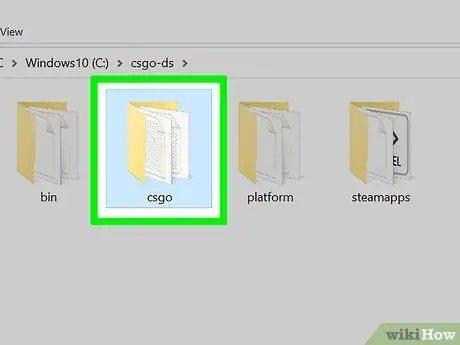
Step 7. Edit the server information
When you have it installed, you will have created a series of files and folders within that of the server. Open the "csgo" folder and then the "config" folder. Open the "server.cfg" file using Notepad. Adjust the settings in this file, such as the "Hostname", which represents the name of your server.
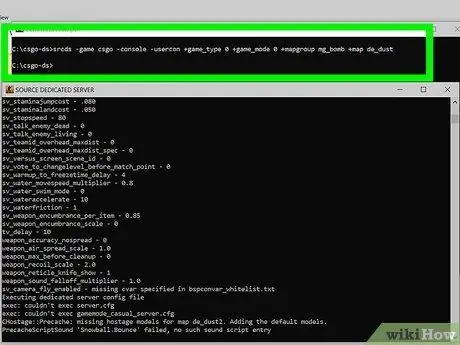
Step 8. Start the server
There are five different game modes that you can use in CS: GO. To choose the type of game you prefer, you will need to enter the corresponding command to start the server. Open the command prompt and find the dedicated server folder. Enter the following commands for the type of game you prefer:
- Classic normal: srcds -game csgo -console -usercon + game_type 0 + game_mode 0 + mapgroup mg_bomb + map de_dust
- Classic competitive: srcds -game csgo -console -usercon + game_type 0 + game_mode 1 + mapgroup mg_bomb_se + map de_dust2_se
- Arms race: srcds -game csgo -console -usercon + game_type 1 + game_mode 0 + mapgroup mg_armsrace + map ar_shoots
- Demolition: srcds -game csgo -console -usercon + game_type 1 + game_mode 1 + mapgroup mg_demolition + map de_lake
- Deathmatch: srcds -game csgo -console -usercon + game_type 1 + game_mode 2 + mapgroup mg_allclassic + map de_dust
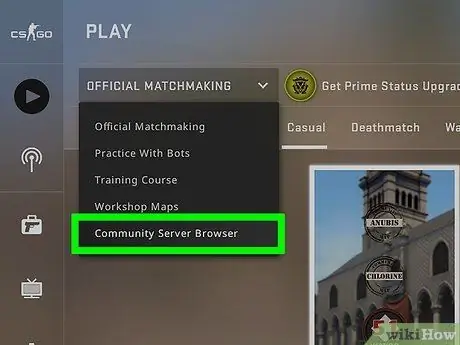
Step 9. Connect to the server
All computers connected to the same network as the dedicated server should be able to see it in the Steam server list. Open Steam and right click on the icon in the system tray. Select Server from the menu. Click on the LAN tab. The dedicated server should appear in the list. Joining the server will automatically start Counter Strike: GO if it is installed on your computer.
Method 3 of 3: CS: Source
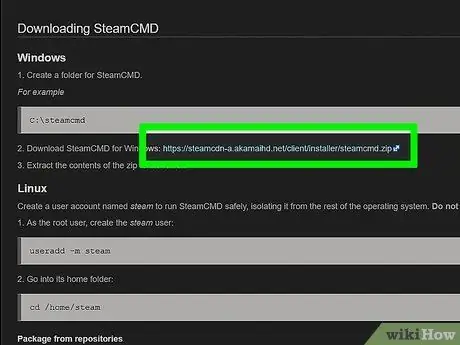
Step 1. Download SteamCMD
This is a command prompt used for new Source games. This program will install and update your CS: Source dedicated server. You can download SteamCMD for free from Valve's website. The file is in.zip format.
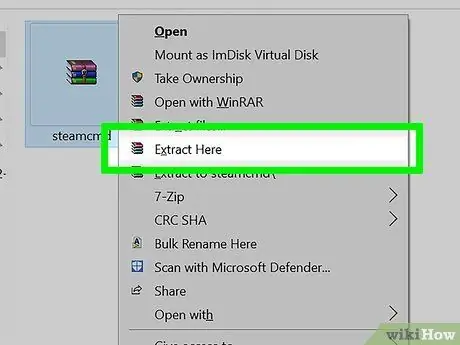
Step 2. Extract the SteamCMD file
Make sure you extract it to a different folder than the Steam client, and not even an old HLDSUpdate folder. For best results, create a new folder in the root of your hard drive, for example C: / SteamCMD \.
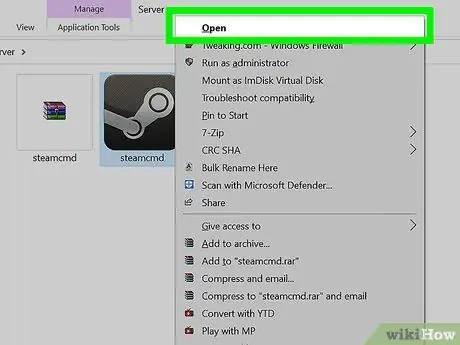
Step 3. Run the SteamCMD program
Double click to extract it. The program will automatically connect to the Steam servers and start downloading updates. It may take a few minutes. Once the update is complete, you will be able to view the Steam command line>.
If the program does not connect, you should adjust your internet settings. Open the Control Panel and select Internet Options. Select the Connections tab. At the bottom of the window, click the LAN settings button. Make sure there is a check mark in the "Automatically detect settings" box
Step 4. Create a folder for your dedicated server
Use the command line to set the installation folder for your dedicated server. Use the following command:
force_install_dir c: / css-ds \
Change "css-ds" to whatever name you prefer to use
Step 5. Install the dedicated server
Once your folder has been created, you can begin the server installation process. Enter the command below to start downloading the server files. The download is 1GB, so you'll have to wait a while for it to complete:
app_update 232330 validate
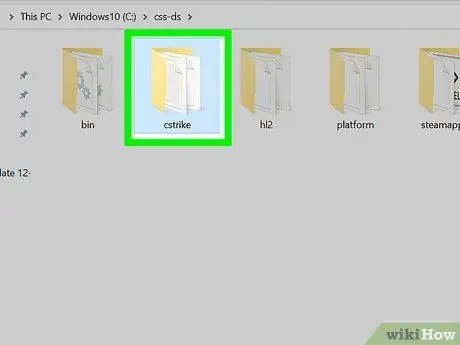
Step 6. Edit the server information
When you have it installed, you will have created a series of files and folders within that of the server. Open the "css" folder and then the "config" folder. Open the "server.cfg" file using Notepad. Adjust the settings in this file, such as the "Hostname", which represents the name of your server.
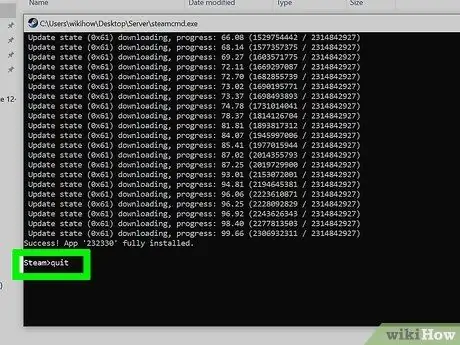
Step 7. Log out of the Steam servers
When you have finished the download and are in command of the command prompt again, type Quit to exit the Steam download servers.
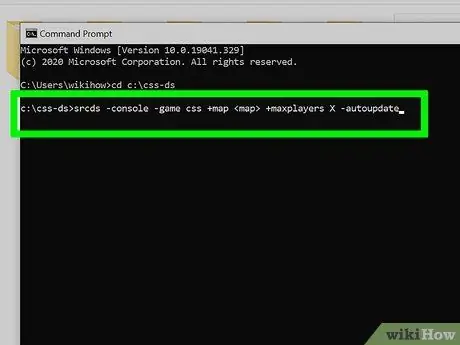
Step 8. Start your server
Open the command prompt and navigate to your dedicated server folder. Enter the following command to start the server.
- srcds -console -game css + map + maxplayers X -autoupdate
- Replace with the map you want to start the server with. Change the X next to "maxplayers" to the number of players you want to allow access to the server (8, 10, 16, 24, etc.)
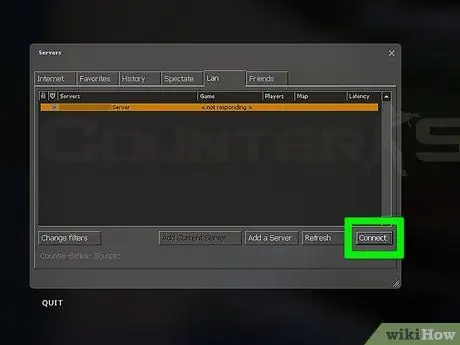
Step 9. Connect to the server
All computers connected to the same network as the dedicated server should be able to see it in the Steam server list. Open Steam and right click on the icon in the system tray. Select Server from the menu. Click on the LAN tab. The dedicated server should appear in the list. Joining the server should automatically start Counter Srike: Source if it is installed on your computer.
Advice
-
All client PCs should enter these commands in their consoles
- installments 25000
- cl_cmdrate 101
- cl_updaterate 101
- ex_interp 0.01


