Do you feel like your computer has gotten a bit slow? Is it not as performing as it used to be or are you unable to make the most of the latest version of a program? The simplest and cheapest solution to all these problems could be to install more RAM (from the English "Random Access Memory"). However, it is questionable how to install the new RAM once purchased. This article explains how to install a RAM memory bank inside a Windows computer - laptop or desktop - or on an iMac.
Steps
Method 1 of 3: Install RAM on a Desktop PC
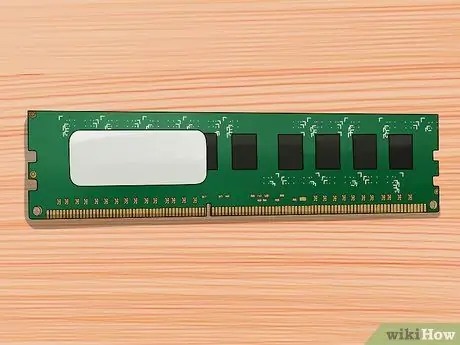
Step 1. Purchase RAM modules that are compatible with the motherboard in your computer
RAM memory is sold in various models that differ in size and speed. The model you will need to purchase depends on the type of motherboard in your computer. Check the card or computer documentation, otherwise consult the manufacturer's website for the RAM memory specifications compatible with your hardware.
- Motherboards have a limit on the amount of RAM they can accommodate and handle. Some cards only support two banks of RAM, while other models support four, six, or more modules. However, most motherboards have a limit on the amount of RAM they can handle and it is independent of the number of bays present.
- It is very important to keep in mind that not all computers are built to accommodate additional RAM banks. If in doubt, check the documentation attached to your computer or check the manufacturer's website.
- There is no guarantee that different RAM banks will work together properly. For this reason it is always better to buy RAM banks in pairs and always identical in terms of size and working frequency.
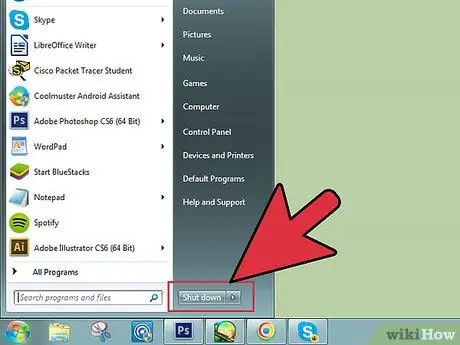
Step 2. Turn off your computer
After purchasing the new RAM to install, disconnect the PC from the power supply and any other hardware peripheral, such as a monitor, keyboard or mouse.
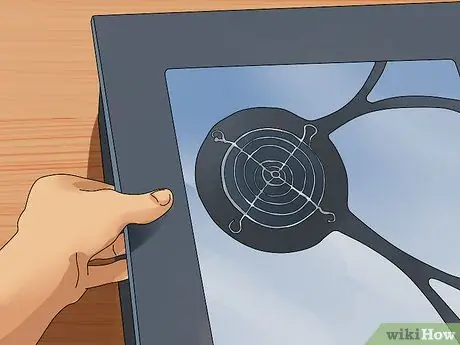
Step 3. Open the computer case
Place it on a stable work surface by resting it on its side, so that you will have direct access to the motherboard once the side panel of the case is removed. To perform this step, you may need to use a Phillips screwdriver. However, in some cases you will be able to remove the side panel fixing screws directly with your hands.
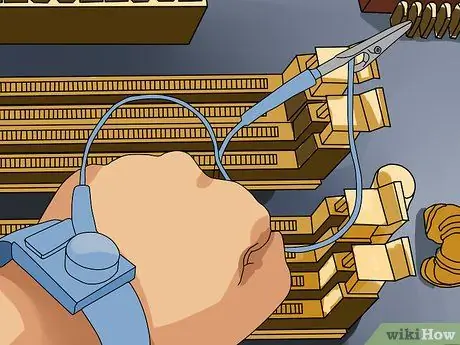
Step 4. Discharge static electricity to ground
Make sure your body is not charged with static electricity. Static electricity discharges can severely damage the internal components of a computer, while being totally unnoticeable and harmless to a human being. Before touching anything inside the computer, discharge static electricity or wear an anti-static wrist strap.
- You can eliminate static electricity in your body by simply touching a metal part of the case while the computer is disconnected from the mains. Remember that if the computer is turned off but remains connected to the mains, some internal components may still be live.
- Do not rest your feet on a carpet while working inside the computer.
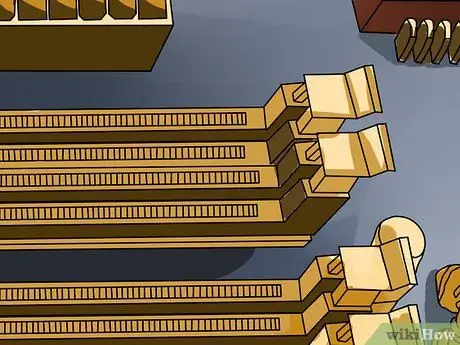
Step 5. Locate the RAM module slots
Most motherboards have 2 or 4 RAM memory slots. Normally, they are placed close to the CPU, but the precise location may vary based on the brand and model of the board. You have to look for thin "rails" about 11 cm long with a slot in the center and with stops at both ends. You should find them easily, as at least one of the bays will be occupied by a bank of RAM.
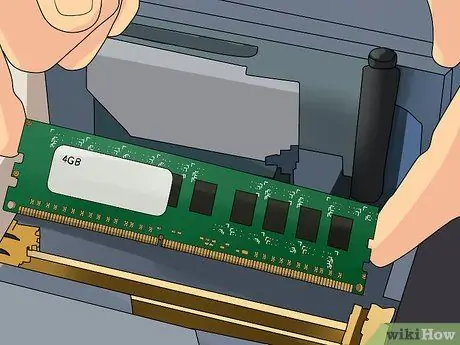
Step 6. Remove the old RAM modules (in case this is a system upgrade)
If you have chosen to replace the existing RAM modules, start by pressing the small plastic tabs on each end of the RAM housing, whose job is to keep the modules firmly in place, then you can slide out the banks by pulling them out from their respective housings without any effort.
If you find that you have to apply excessive force, it means that the clamps have not been opened correctly. In this case, press them all the way down while pulling the RAM modules out of the slots with your other hand
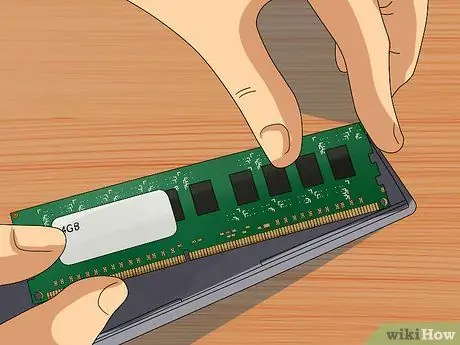
Step 7. Take the new RAM out of the protective packaging
Perform this step very carefully. Grasp each module from the outer sides using your index finger and thumb, without directly touching the printed circuit board, metal connectors and memory chips.
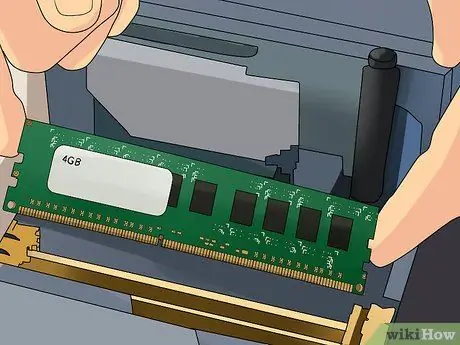
Step 8. Insert the RAM module into its slot
Align the groove on the underside of the memory module (the one where the metal contacts are) with the dowel pin inside the slot. Place the memory bank on the slot in the correct direction, then apply equal pressure to both the right and left sides of the module until the small retaining clamps close, locking it in place. Remember that RAM banks can only be installed in one direction, so if you are experiencing excessive resistance, try rotating them 180 °. You will most likely have to apply a substantial amount of pressure to close the fastening clamps, but you will never have to force the module.
- Make sure that the RAM modules that need to be installed in pairs are inserted into the correct slots. In some cases, paired slots are indicated by the same color or precise labels, however you may need to refer to the schematic describing the motherboard circuit board.
- Repeat this step for all the RAM banks you need to install.
- Since you had to take apart the PC case panel to work inside, take the opportunity to do some cleaning: remove the dust and dirt that has accumulated over time using a can of compressed air. This is a simple solution to avoid overheating and computer performance problems. You can purchase cans of compressed air at any electronics or office supply store.
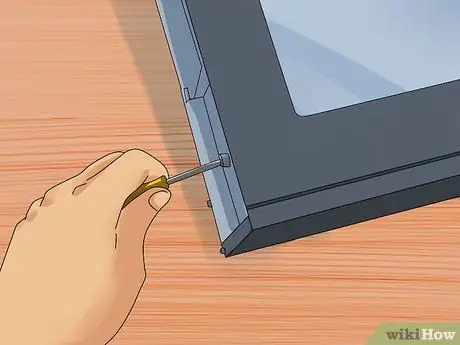
Step 9. Reassemble the PC case
After completing the installation of the new RAM, you can reassemble the side panel of the case and screw in the retaining screws. Avoid using your computer without reassembling the case panel first, as the cooling fans inside will not be able to work with maximum efficiency in this scenario. Reconnect all peripherals and the monitor that you unplugged in the previous steps to be able to work more smoothly.
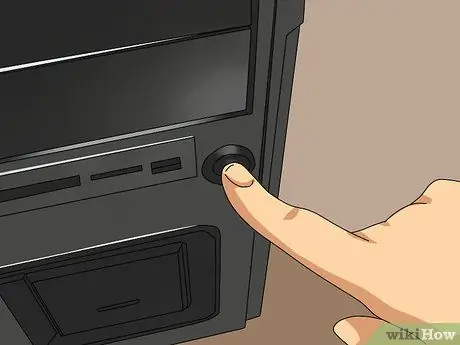
Step 10. Start your computer
The system should boot normally. If during the start-up phase the result of the POST (from the English Power-On Self-Test) - that is the initial hardware check that is automatically performed when each computer starts - is displayed on the screen, you can check whether the new RAM has been installed correctly, if not, you can check this directly from the Windows interface.
If the PC fails to boot, it most likely means that the RAM is not installed properly. Turn off the device, open the case panel again, then remove the RAM banks and then reinsert them in their respective slots. Make sure that the side retaining clamps of each memory slot are tightly closed after installing the modules. At this point, try to start the computer again
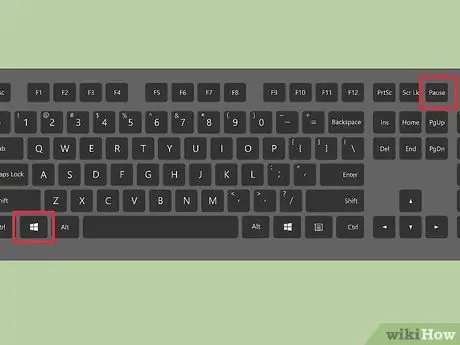
Step 11. Check RAM status using Windows
Press the key combination Windows + Pause / Break to access the system properties window. The amount of RAM in your computer is listed under "Installed RAM" in the "Device Specifications" section.
Each operating system calculates the amount of RAM available differently and some motherboards use the RAM memory shared with other peripherals (for example with the video card), so the total amount available will be less than that actually installed. For example, you may have purchased and installed 8GB of RAM, but the total amount actually available may only be 7.8GB. This is completely normal

Step 12. Run a RAM test for any problems
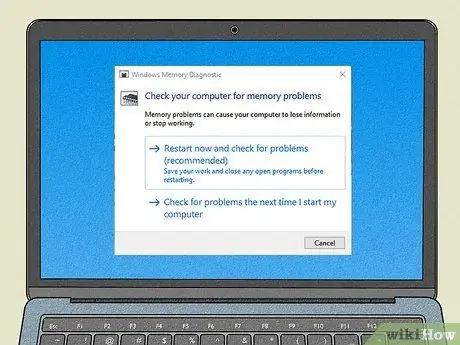
If you are not sure if you have installed the memory correctly or if your computer is not working as it should, you can run a RAM memory check using a Windows diagnostic tool. The test may take some time to complete, but it will be able to detect any errors or malfunctions and will also display the amount of RAM installed.
To run the RAM check, press the key Windows, type the keyword memory in the "Start" menu, click on the app icon Windows Memory Diagnostic, then click the option Restart now and find any problems.
Method 2 of 3: Install RAM on iMac
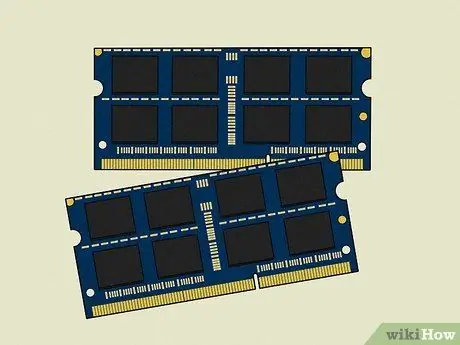
Step 1. Buy RAM for your iMac
The memory model you need depends on the iMac model you own. To find out about this information and to find out the maximum amount of RAM you can install on your iMac, refer to this link:
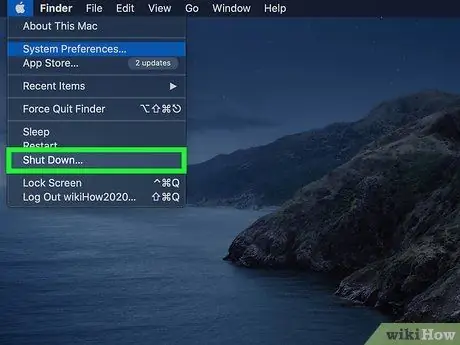
Step 2. Turn off the iMac
The first step is to completely shut down the iMac and unplug the power cord from the electrical outlet. At this point, disconnect all other peripherals present.
Since the internal components of the computer may be very hot after using the iMac, Apple recommends that you wait at least 10 minutes before starting the RAM installation procedure
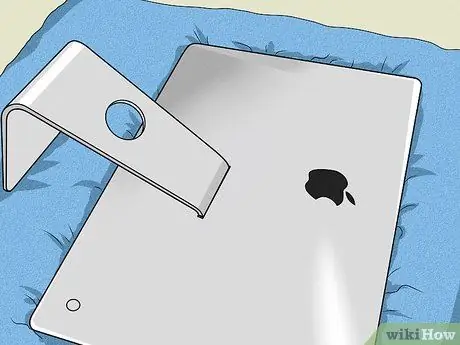
Step 3. Place the iMac on a stable and perfectly flat work surface after lining it with a soft, clean towel
To protect your computer monitor, spread a clean cloth or towel on the work surface you will be placing the iMac on as the side where the screen is will be facing down.
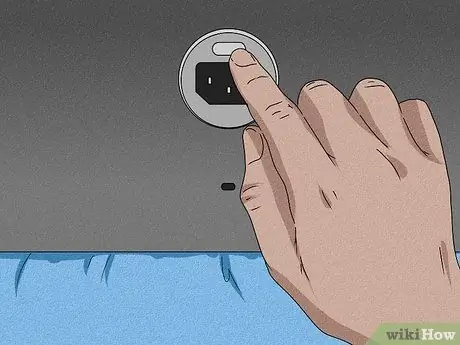
Step 4. Open the panel that gives access to the iMac's RAM slot
The steps to follow vary by Mac model.
-
27 and 21 inch screen models (produced from 2012 onwards):
to access the memory slot, press the small gray button located above the port where the power cable is to be inserted. Remove the panel covering the housing and set it aside. At this point, gently press the two retaining levers outward to release the RAM module housing.
-
Models with 20 and 17 inch screens (produced in 2006):
use a Phillips screwdriver to unscrew the captive screws on both sides of the memory compartment door located along the underside of the iMac case. After removing it, set it aside. At this point, slide out the retaining clips on both sides of the housing.
-
Other models:
use a Phillips screwdriver to unscrew the retaining screw in the center of the RAM housing panel. The latter is located along the underside of the iMac's body. Pull out the protective panel and set it aside. Pull out the tabs inside the RAM slot so they are perfectly visible.
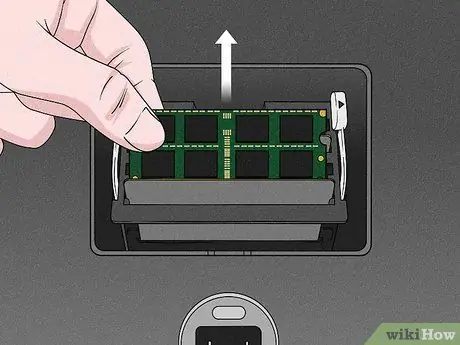
Step 5. Uninstall the existing RAM modules (if you have chosen to replace them completely)
Follow these instructions.
-
27 and 21 inch screen models (produced from 2012 onwards):
remove the RAM modules by pulling them upwards. They should slide out of their respective housings without any resistance. Take note of the orientation of the module by observing the position of the relevant reference notch on the underside, so that you can correctly install the new one.
-
Models with 20 and 17 inch screens (produced in 2006):
remove the RAM module by simply pulling it outwards. Also in this case, take note of the orientation of the module by observing the position of the relevant reference notch on the lower side, in order to correctly install the new one.
-
Other models:
Gently pull the ejector tab towards you to pull the current RAM module out of the slot. Take note of the orientation of the RAM bank, as it can be installed in one direction only.
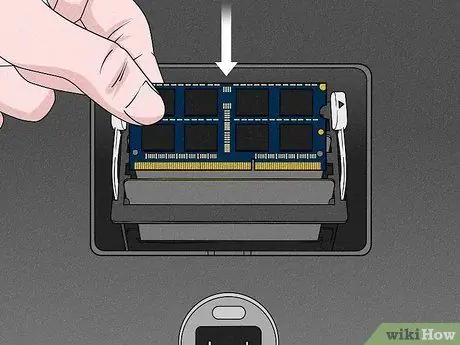
Step 6. Install the new RAM
Again, the procedure to follow varies depending on the iMac model.
-
27 and 21 inch screen models (produced from 2012 onwards):
align the RAM module on top of its slot, with the side where the reference notch is facing down. Remember to use as a reference the visible pin inside the housing which will align with the notch on the module. Press the RAM module down until you hear a click.
-
Models with 20 and 17 inch screens (produced in 2006):
insert the RAM module into the slot with the side with the reference notch facing the slot. Use your thumb to push the RAM bank all the way down and stop when you hear a click. At that point, close both retaining clips to lock the RAM in place.
-
Other models:
slide the RAM module into the slot with the side with the reference notch facing up (i.e. towards the top of the iMac screen). Push the memory bank into the slot until you hear a click.
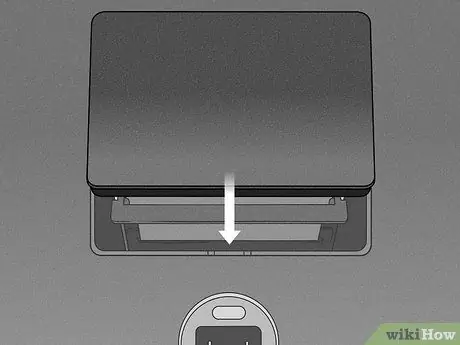
Step 7. Replace the memory panel cover
If your iMac model has plastic tabs to pull the RAM modules out of the memory slot, slide them back into their original location. At this point, replace the panel that protects the RAM slot.
If you had to press a button to remove the panel that hides the iMac's memory slot, you will need to replace it by simply applying a slight pressure, without the need to press the release button again

Step 8. Return the iMac to its original location and turn it on
At this point, the computer will run a test and automatically detect the new RAM.
Method 3 of 3: Install RAM on a Laptop
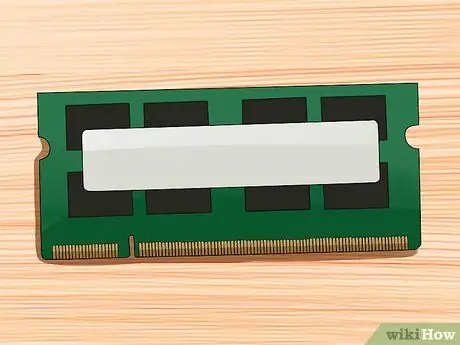
Step 1. Identify the type of RAM suitable for your laptop model
RAM memory is sold in various models that differ in size and speed. The model you will need to purchase depends on the type of motherboard in your computer. Check the documentation of the card or computer, otherwise consult the manufacturer's website for the RAM memory specifications you can install on your hardware.
If you are using a Mac, please refer to this web page to find out which RAM model you will need to purchase
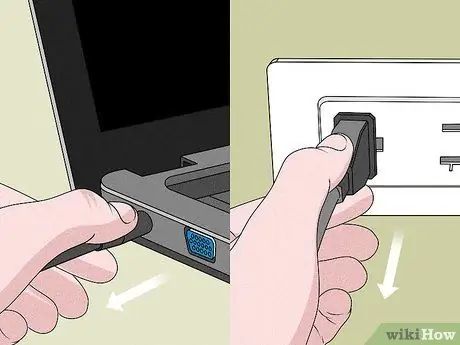
Step 2. Turn off your computer and unplug it from the power supply
Start by saving all the files you are working on, then shut down your computer as you normally do. At this point, disconnect any connecting cables from the laptop. It is also useful to press and hold the power button for about 5 seconds to eliminate any residual voltage in the internal components of the computer.
- If you are using a Mac, click on the "Apple" menu located in the upper left corner of the screen and select the item Switch off.
- If you are using a Windows laptop, click on the Windows "Start" button, click on the icon Stop, then choose the option Shut down the system.
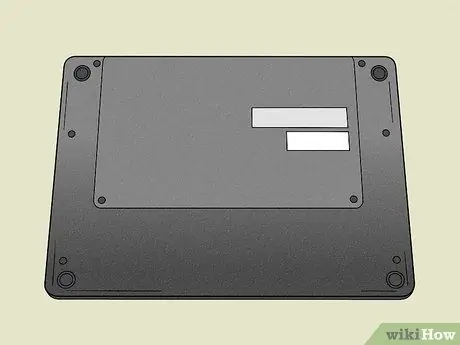
Step 3. Place the laptop upside down on a solid, level work surface
This way, the bottom of the computer should be facing up.
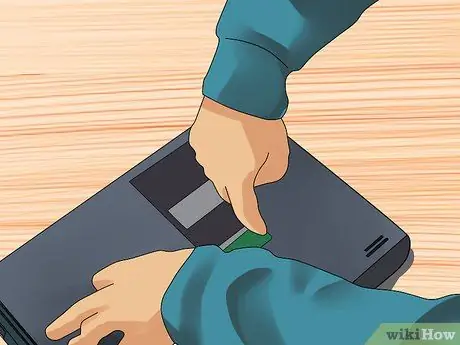
Step 4. Discharge static electricity to ground
Before touching anything inside the computer, discharge static electricity to the ground. You can eliminate it simply by touching a metal part of the computer while it is disconnected from the mains. Remember that if your computer is off but remains plugged into a power source, some internal components may still be live.
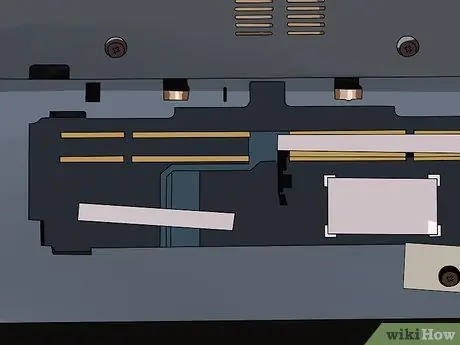
Step 5. Locate the RAM slot
This may be somewhat difficult as the procedure to follow varies by laptop model. Refer to the user manual or visit the manufacturer's website to find out the exact location of the panel that gives access to your computer's RAM slot. Generally speaking, you will need to remove the panel covering the battery compartment (in case it is removable). In extreme cases, you will have to completely disassemble the computer by removing the lower part of the case.
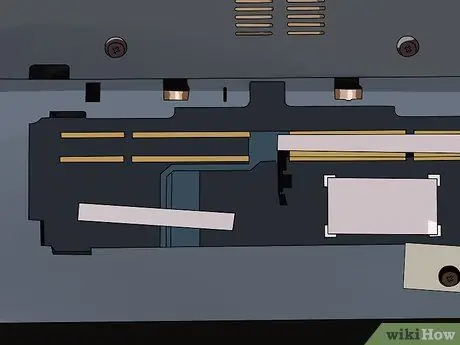
Step 6. Check the number of memory slots in your computer
The RAM compartment is accessible by removing the RAM panel located on the underside of the laptop. Normally, there are several panels, so you will need to refer to the one indicated with an icon depicting a RAM module. Alternatively, you can refer to the user manual.
- Most laptops have one or two RAM slots. High-end laptops can have even more of them.
- You will need a precision Phillips screwdriver to unscrew the panel retaining screws that cover the RAM housing.
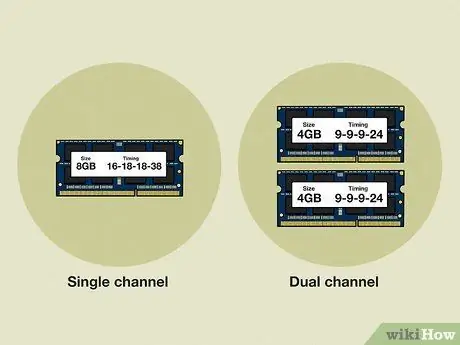
Step 7. Determine if your laptop requires RAM modules to be installed in pairs
These are "dual-channel" RAM modules that must have the same size and the same working frequency to work correctly in pairs. In this case, installing only one bank of RAM or using modules with different technical specifications, you may run into system malfunction.
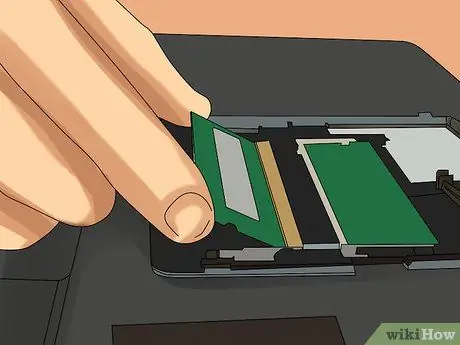
Step 8. Remove the RAM currently installed on the computer
If you have chosen to replace your existing RAM modules, start by pressing down on the small plastic tabs on each end of the RAM housing. You can do this by pressing the clips down or gently pushing them out. The RAM module will lift slightly from its slot, allowing you to lift it to a 45 ° angle and slide it out of the slot.
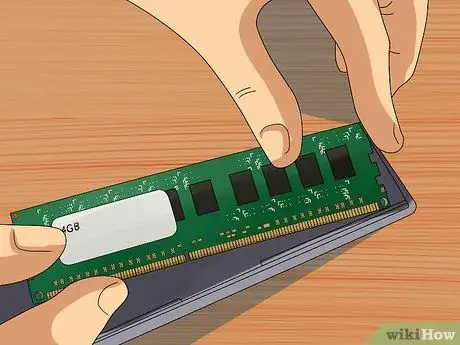
Step 9. Take the new RAM out of the protective packaging
Perform this step very carefully. Grasp each module from the outer sides using your index finger and thumb, without directly touching the printed circuit board, metal connectors and memory chips.
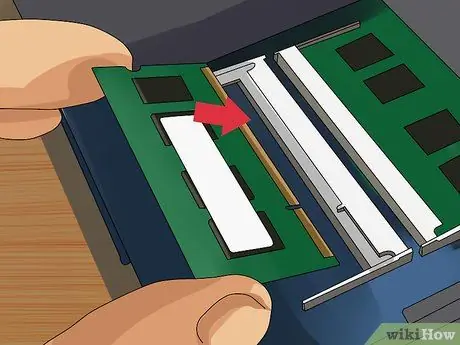
Step 10. Align the RAM module's reference notch with the corresponding pin visible inside the housing
Remember that RAM modules can only be installed one way. Insert the RAM module into the slot by holding it at a 45 ° angle, then push it all the way in until the retaining clips automatically close and lock it in place.
If there are multiple free slots, start using the one indicated with the lowest reference number
Step 11. Reassemble the laptop and start it
After reassembling it, turn it over and turn it on. The computer should boot normally and automatically detect the new RAM.
If you have a Windows laptop and you are unsure whether the RAM is not installed or is not working properly, press the key Windows on the keyboard, type the keyword memory in the "Start" menu, click on the app icon Windows Memory Diagnostic, then click the option Restart now and find any problems. A RAM test will be performed looking for any problems.
Advice
- Don't be afraid if your computer detects slightly less RAM than you purchased. The difference is due to the way memory is measured and allocated. Conversely, if the amount of RAM detected is significantly different from what you purchased and installed in your computer, it means that a bank may not have been properly seated in its slot or a chip may be defective.
- If you hear a beep when you turn on your computer, it most likely means that the new RAM memory has been installed incorrectly or is a model that is not compatible with your computer. On the computer manufacturer's website or in the instruction manual you will find the meaning of the beep you heard.
- A very useful website in this case is Crucial Memory (https://www.crucial.com/), as it provides a tool that can advise you on the amount of RAM you should buy and the model based on the computer you need. You are using. Also, you can buy the memory you need directly on the site itself.
Warnings
- Do not try to insert the RAM modules in their respective slots in reverse. If you were to turn on the computer after installing the RAM memory incorrectly, both the bank housing and the RAM itself would be damaged. In extreme and rare cases, you could do damage to the motherboard as well.
- If you are not comfortable taking apart and handling internal computer components, consult a professional. Since you have purchased the RAM modules yourself, it shouldn't be very expensive to hire a professional who can install them on your computer.
- Before touching the RAM modules, be sure to discharge any static electricity in your body to the ground. Computer electronic circuits, including RAM memory banks, are very sensitive to static electricity discharges. To discharge electricity in your body to earth, touch a metal object before touching anywhere on the computer.
- Do not touch the metal parts that make up the RAM memory modules. Doing so could damage the component.


