Nvidia is constantly working to improve the software that controls and optimizes the operation of its graphics cards. It happens very often that a driver update is released on a weekly or monthly basis. Installing the latest available version of a graphics card drivers allows you to get the best performance from any video game.
Steps
Method 1 of 3: Manual Update
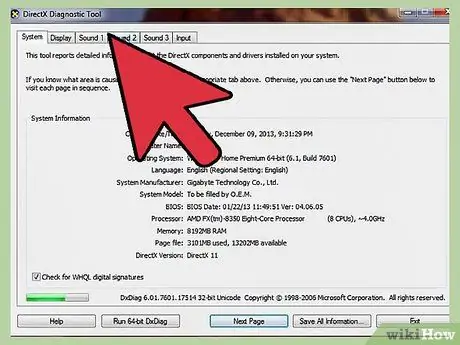
Step 1. Start the "DirectX Diagnostic Tool" program
This is the fastest way to find the graphics card model installed on a Windows computer. If you already have this information, you can go directly to the next step in this section.
- Press the hotkey combination ⊞ Win + R, then type the dxdiag command in the "Open" field of the "Run" window that appears.
- Go to the Display tab. Look at the contents of the "Chip type" entry. This is the exact model of graphics card installed on your system.
- Now access the System tab again. Look at the "Operating System" entry to find out if you are using a 32-bit or 64-bit version of Windows.
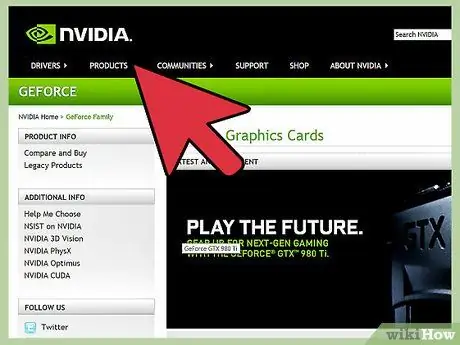
Step 2. Visit Nvidia's GeForce website (geforce.com)
From this portal you will be able to download the latest version of the drivers for your GeForce graphics card.
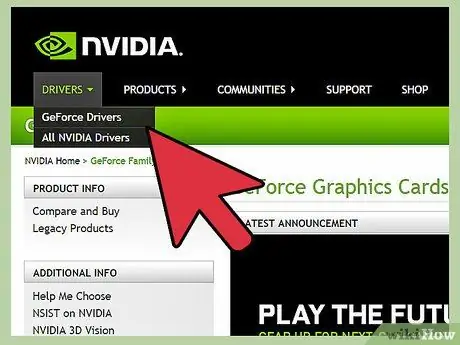
Step 3. Select the "Drivers" tab
Most Nvidia graphics cards on the market belong to the "GeForce" family. If the graphics card installed on your computer has a different processor (GPU), please visit www.nvidia.com.
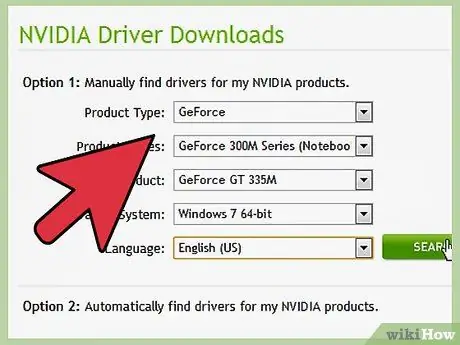
Step 4. Choose your graphics card model
There are three ways to do this:
- "Automatic Driver Updates". You can use Nvidia's "GeForce Experience" program to manage graphics card driver updates. If you want to take advantage of this system, click this link.
- "Manual Driver Search". You can use the information from the first step of the method to manually search for the correct drivers to use for the update. The list of available drivers will be shown in chronological order, from the most recent to the oldest.
- "Auto-Detect Your GPU". The Nvidia website uses a Java applet to automatically detect the graphics card installed on your computer and be able to view the list of correct drivers. In this case it is therefore necessary to install Java on your system. The applet currently in use by the site is not updated, so it can generate compatibility problems if used on some internet browsers. For this reason it may be easier to use one of the two previous options.
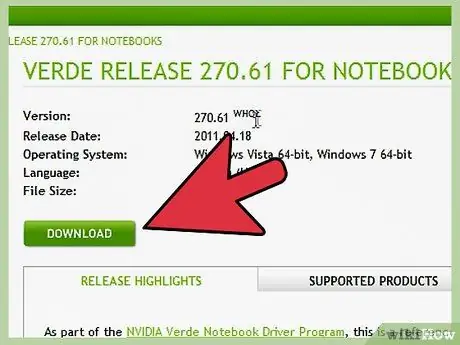
Step 5. Download the latest driver version available
Select the link to download the latest version of the drivers. You should always download the latest available version of a graphics card driver, unless you have a specific need (for example for compatibility with a particular program or game) to download an older version. Typically, the most up-to-date version of a graphics card's drivers will provide the best performance.
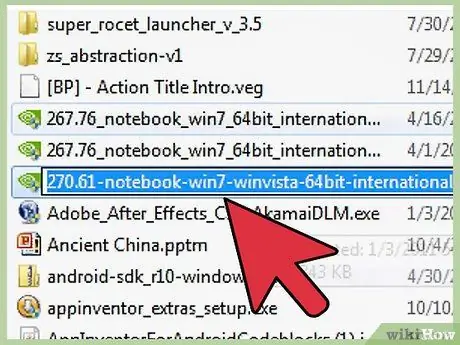
Step 6. Run the installation file
To update the drivers of the graphics card installed on your computer, run the file you just downloaded. The update procedure should remove the existing drivers and install the updated ones completely automatically.
- Most users choose the "Express" installation option.
- While installing new drivers, you may notice a slight flickering of the screen, or the screen may turn off completely for short periods of time.
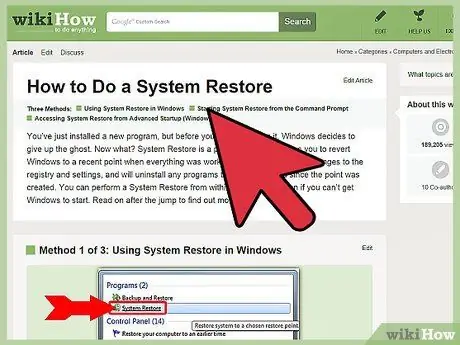
Step 7. If new drivers installed cause problems, use the Windows "System Restore" feature
The driver update process automatically creates a system restore point, so you can undo new changes in case unexpected problems arise.
See this article for more information on how to perform a system restore
Method 2 of 3: Using GeForce Experience
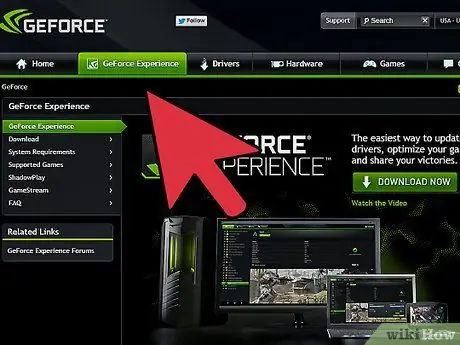
Step 1. Download and install the GeForce Experience program
This is a software produced directly by Nvidia, which allows you to manage the configuration settings and drivers of the graphics cards of the GeForce family. You can download the installation file from the geforce.com/geforce-experience website.
- The installation procedure will automatically scan the hardware installed on your computer for an Nvidia graphics card. If there is no Nvidia-made graphics card inside your computer (or if your existing one is too old), you will see an error message appear on the screen.
- Once the installation is complete, launch the program.
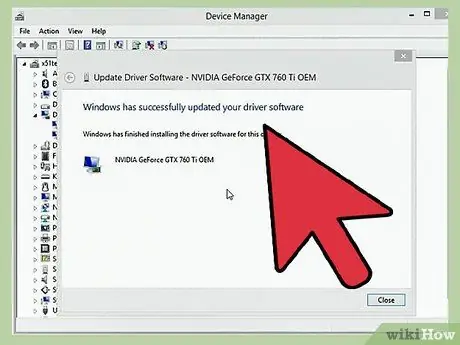
Step 2. Wait for the GeForce Experience software to update
When the program is started for the first time, it will check for new updates and, if so, they will be downloaded and installed automatically.
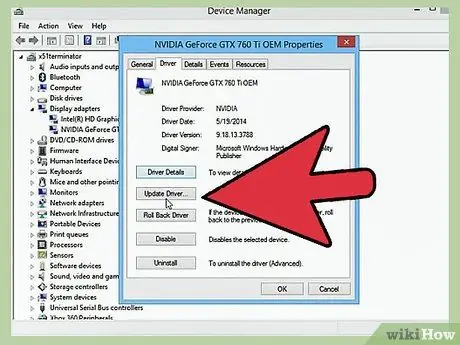
Step 3. Go to the "Driver" tab
All available driver updates will be listed within this section. To perform a manual check, press the "Check for Updates" button.
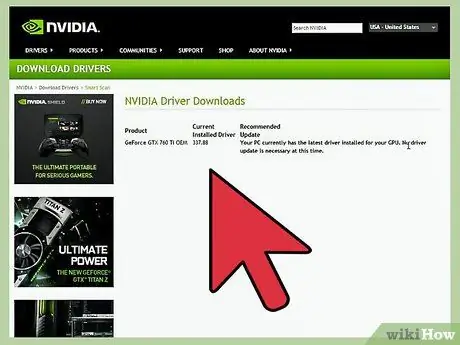
Step 4. Press the "Download Driver" button to download the available update
GeForce Experience is designed to automatically download updated drivers, so the installation file may already be ready to use.
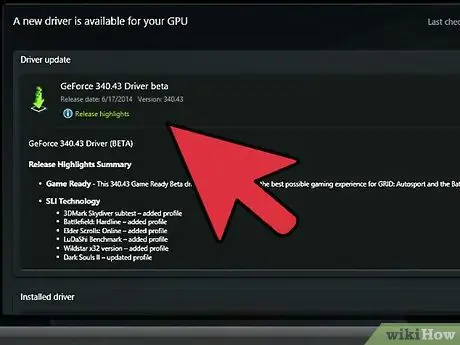
Step 5. Press the "Express Installation" button
Advanced users can also choose to opt for a "Custom" installation. In any case, most users can safely choose the "Express" option.
Custom installation allows you to choose which driver to install
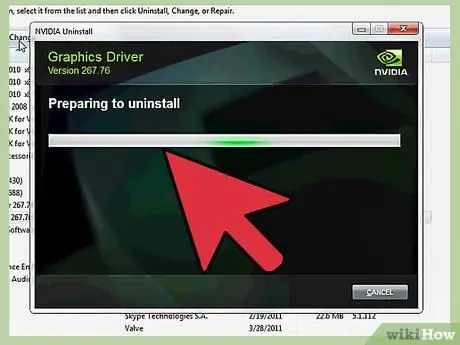
Step 6. Wait for the driver installation to finish
The GeForce Experience program will automatically handle all aspects of installing new drivers. During installation, you may notice a slight flickering of the screen or the screen may turn off completely for short periods of time.
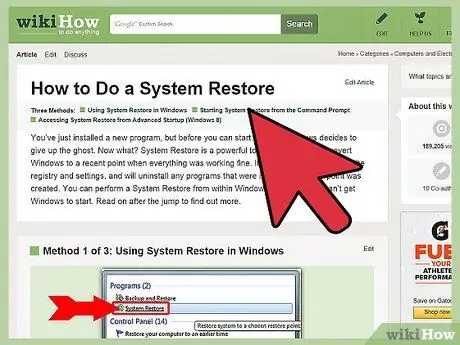
Step 7. If the new drivers installed cause problems, use the Windows "System Restore" feature
To do this, restart your computer in safe mode and perform system restore using a restore point created before updating the drivers.
See this article for more information on how to perform a system restore
Method 3 of 3: Update Drivers on an Ubuntu System
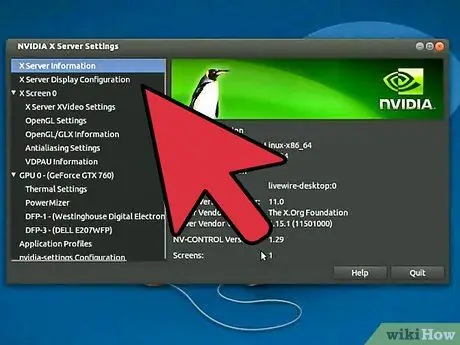
Step 1. Go to the "Additional Drivers" tab of the "Software Sources" window
On systems using Ubuntu as their operating system, Nvidia graphics card drivers are not automatically installed. In this case, Ubuntu uses standard open source drivers, which are not as optimized as those produced by Nvidia itself. To install these you will need to use the "Additional Drivers" tab of the "Software Sources" window.
Launch the Ubuntu Dash, then search using the keyword "sorg" to access the "Software Sources" window and be able to select the "Additional Drivers" tab (with some versions of Ubuntu you may need to use the keyword "driver" given that the "Additional Drivers" tab is directly accessible as a window)
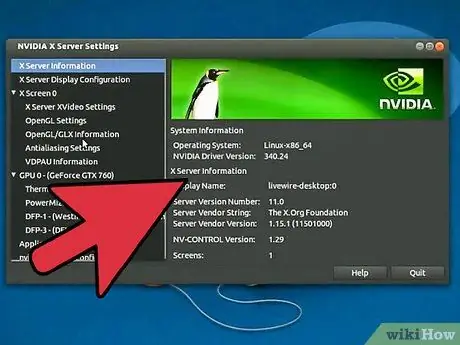
Step 2. Wait for the list of available drivers to appear
This step may take a few minutes.
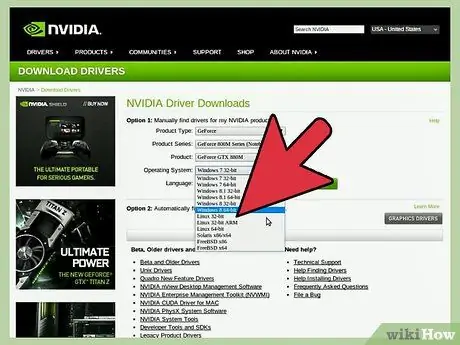
Step 3. Select the latest drivers from the list that appears
Make sure that the driver to be installed is made by Nvidia and not by "Nouveau". Select the item you want to install to start downloading its files.
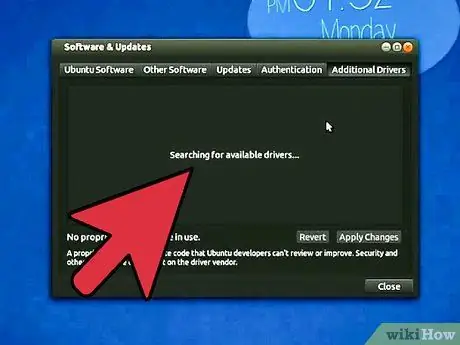
Step 4. Press the "Apply Changes" button
This will automatically install the new Nvidia driver. Again, you may notice a slight flickering of the screen during installation or the screen may turn off completely for short periods of time.


