Graffiti stencils are used to transfer images onto city walls. They are used to promote events, write political messages or simply decorate. Here's how to make a graffiti stencil.
Steps
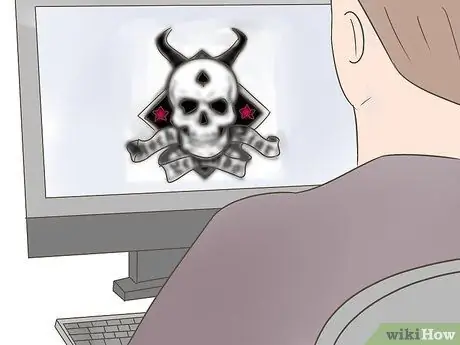
Step 1. Find a high resolution image on your PC
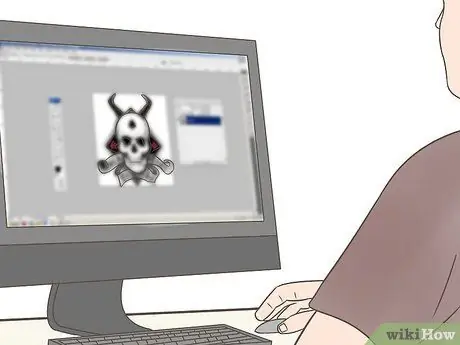
Step 2. Import the image into an image editor
- For example: Photoshop, paint, GIMP etc.
- The Desaturate command will help you remove the unusable parts of the image. Make sure you keep the edges of the photo well.
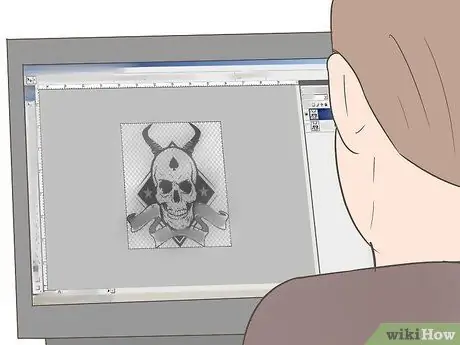
Step 3. Delete the background of the image
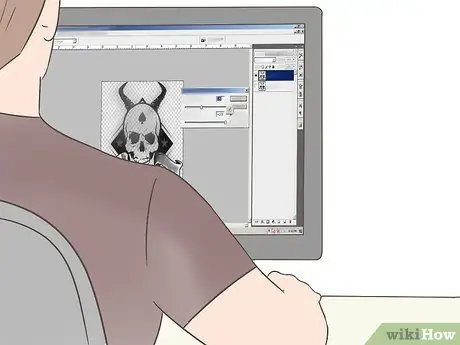
Step 4. Increase the contrast and brightness
- The light-dark contrast is crucial, make sure that the features of the photo are clearly distinguishable.
- It will not be easy to imagine the final product: you will have to remove the black parts if you want to paint them. The white parts will be connected to each other.
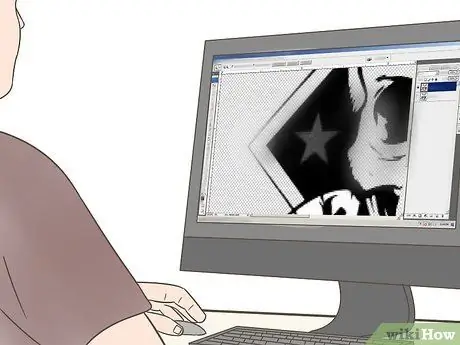
Step 5. Cover the black spaces, connect the white parts
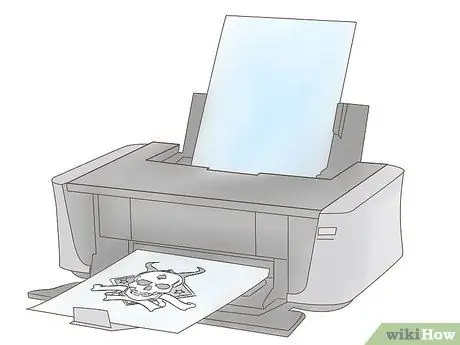
Step 6. Print the image on sturdy paper
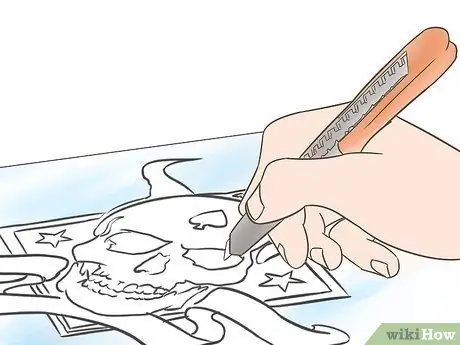
Step 7. Cut the stencil
- As you cut, keep in mind the image you would like to make and cut out everything you would like to paint. Pay attention to the edges.
- Adhesive spray is the best method, but it needs to be applied early and is expensive. Some duct tape will work fine.
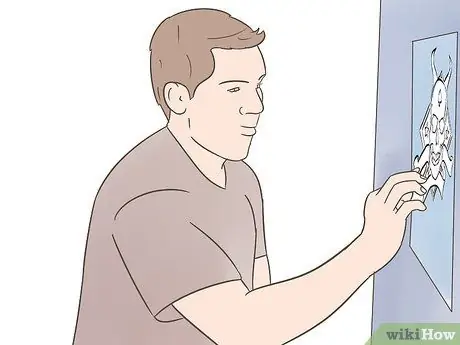
Step 8. Go to the street and fix the stencil on a wall
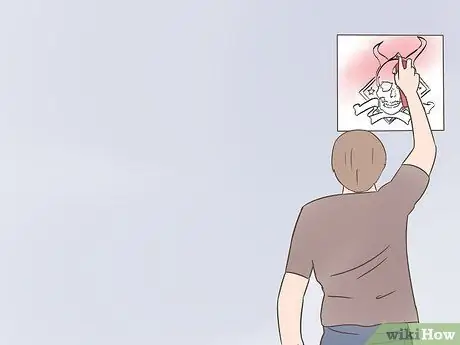
Step 9. Spray the paint on the stencil from a distance of half an arm
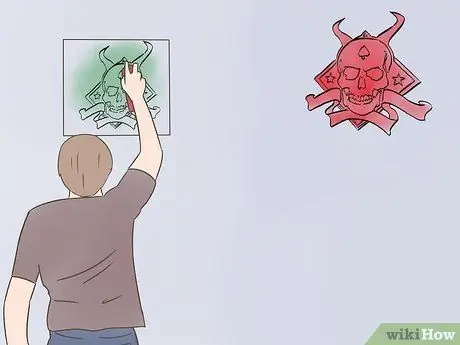
Step 10. Remove the stencil and reuse it
Advice
- Practice well before using it on the street. Practice on cardboard sheets.
- Use large cardboard to keep the image inside the edges.
- Some image editors help you define borders. Try doing this after step number 5.
Warnings
- Use face shields. Spray paint is toxic.
- Some images are ruined by the wrong cutouts. Make sure to fix the stencil well on the wall before painting.
- Hide the stencil when you are done. A suitcase or a pizza box are unsuspected containers.


