An excellent mask can be made using products readily available at home: aluminum foil and masking tape. It is a project that goes straight to the point and is ideal for making last minute masks before a masquerade ball or for any costume. Just see the first step to get started.
Steps
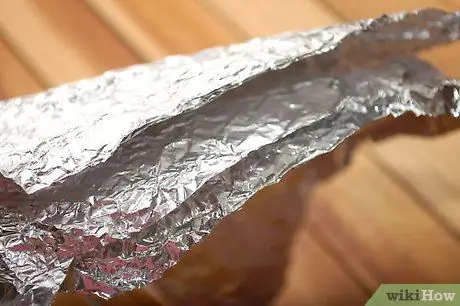
Step 1. Overlap three aluminum sheets in a pile
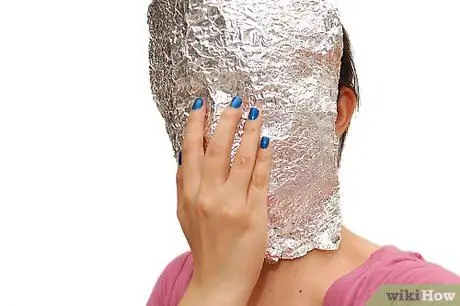
Step 2. Push the pile of papers to your face
Squeeze as much as you can comfortably bear. Do this carefully so that the aluminum does not get punctured. (It might be helpful to have a helper for this part.)
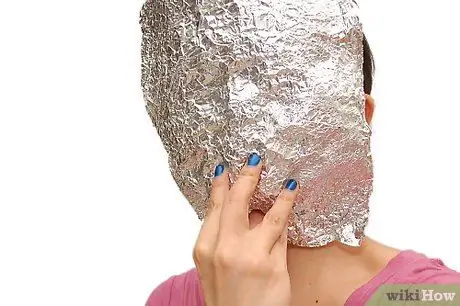
Step 3. Check that you have the generic shape of your face imprinted:
nose, lips, corners of the eyes and cheekbones. Use a marker to trace around the eyes (it might be good to trace around the socket) for where you want to have the eye holes on your mask. Also, trace around whatever else you want to cut. (Air holes will help you breathe!) You may also want to leave a hole so you can talk.
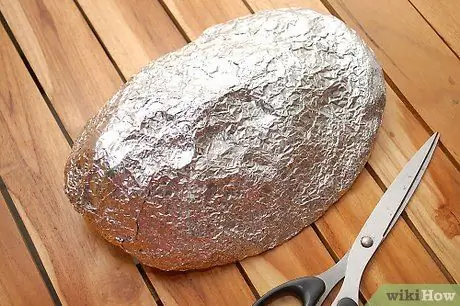
Step 4. Carefully remove the aluminum from your face
Cut around the contours of the mask with sharp scissors. And note - once cut, you can't easily go back, so leave yourself some extra space.
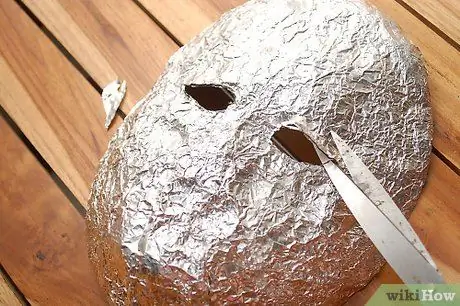
Step 5. Carefully cut out the eyes
Do this by piercing the aluminum with a toothpick and cutting the sheet, or by cutting the center of the area with scissors and folding the sheet inward.
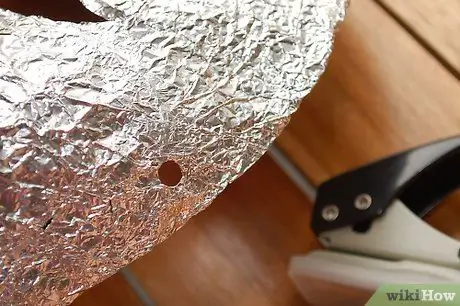
Step 6. Cut some holes or channels in the side of your mask
These are for the ribbons / rope / laces that will serve to attach the mask to your face.
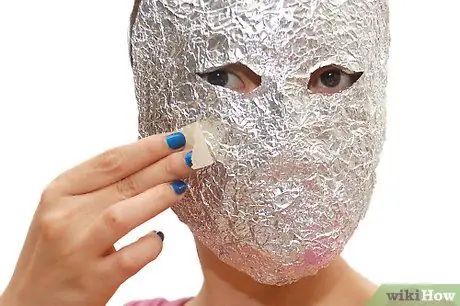
Step 7. Cut small sections of masking tape
As you squeeze the mask onto your face to hold the shapes strong, gently place duct tape over your mask. When you feel that the strokes of the mask are strong enough, place all the cuts of masking tape, overlapping, on all visible parts of the aluminum, including the back (the aluminum itches on the skin).
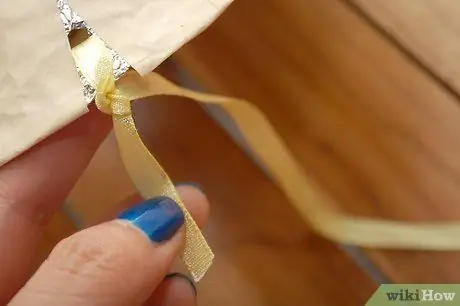
Step 8. Tie the string to the holes in the sides of your mask
Leave enough length to wrap around your head, and tie into a nice knot or bow.
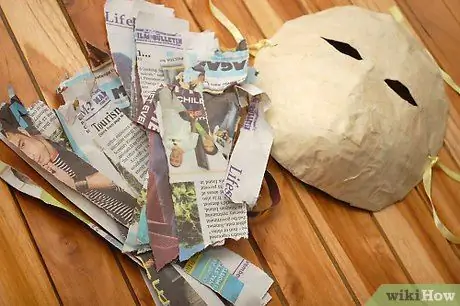
Step 9. Optional:
Use putty or papier mache to smooth the surface of the mask.
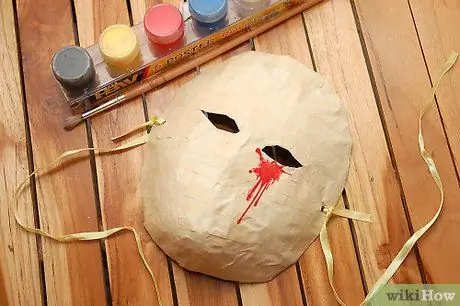
Step 10. Decorate using acrylic paints
Paint where you like, making sure to leave it to dry out of the reach of children and animals. You can also dab some glitter on the paint while it's wet if you want. Adding sequins, feathers, beads, etc. can enhance the mask.
Advice
- Use less aluminum to create a lighter imprint of your face.
- To give the mask a better look, add a layer of white paint before the first pass, even if you are doing it white.
- Acrylic paint dries quickly. A little paint goes a long way, so use sparingly and put the caps back on the tubes when you're done.
- If you're painting and in a hurry, turn on the heat and put the mask on to dry in front of it (but don't do this if you're using packing tape, as it will come off right away).
- If you want to add any other strokes (horns, a pointed nose, deer antlers) simply model them with foil and adhesive or glue them on the mask.
- The good news is that even when covered in duct tape, the aluminum foil retains its flexibility, so any traits that are lost in the construction will still conform to your face when you wear the mask.
- Use packaging adhesive if you want your mask to have a crumpled, metallic look.


