This article explains how to turn a PDF file into an object in Microsoft Word and insert it into a document using a desktop computer.
Steps
Step 1. Open a Microsoft Word document on your computer
The Word icon looks like a blue and white document. You can find it in the "Applications" folder (on a Mac) or in the "Start" menu (on Windows).
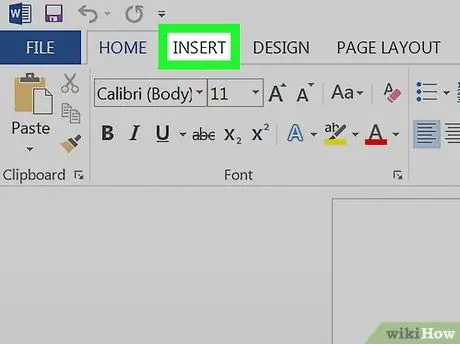
Step 2. Click on the Insert tab
This button is located between "Home" and "Page Layout" in the upper left corner. At the top of the screen, another toolbar will open with a list of all the items you can insert.
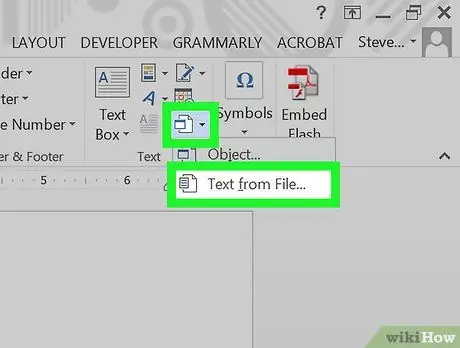
Step 3. Click on the Object button
This will allow you to select and insert into the document a PDF file that you have on your computer.
-
Alternatively, you can click on the icon
next to the "Object" button and select "Text from File". This option will allow you to export all the text contained in a PDF file and copy it within the Word document.
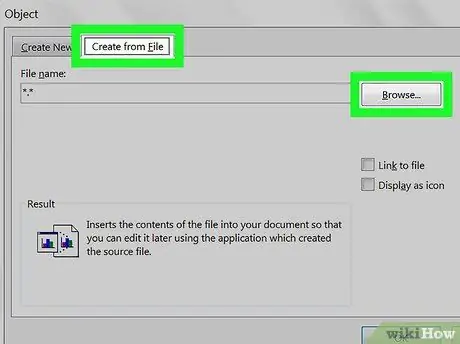
Step 4. Click the From File button or Create from file.
A new explorer window will open allowing you to select a PDF file from your computer.
- On a Mac you can find the "From File" option in the lower left corner of the "Object" window.
- On Windows click on the "Create from file" tab at the top and then click on "Explore".
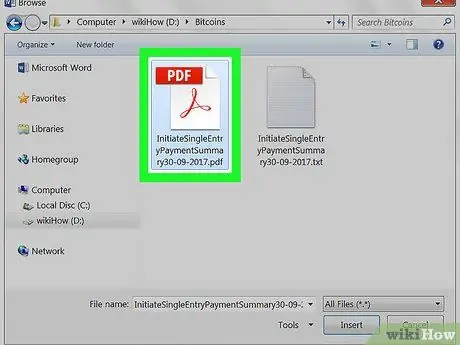
Step 5. Select the PDF file you want to insert
In the explorer window, find the PDF file you want to insert and click on it.
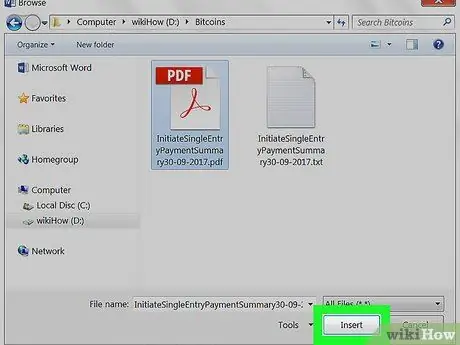
Step 6. Click on the "Open" button
The selected PDF file will be processed and inserted into the document as if it were an object.


