Learn to paint with a camouflage effect to emphasize the silhouette of a deer or a duck, or to customize a vehicle, a room or a boat. Camouflage paint is often used by hunters, although it has now become part of everyday fashion. Camouflage colors are used to simulate the colors and textures of a natural environment, precisely to blend in with it. Depending on its application, you will have to use different types of paint; read on to find out how to make your project professionally.
Steps
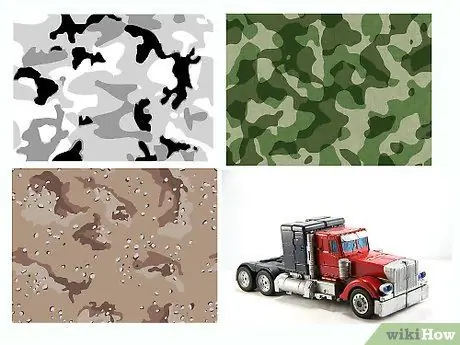
Step 1. Choose the type of camouflage paint you want to make
Different geographic areas require different camouflage patterns. For example, you won't want to paint your vehicle the colors of a forest if you're in the Arctic.
- Use bush for forests and arctic areas.
- A striped pattern will work great for deserts and grassy areas.
- Very large patches are ideal for jungles or coniferous forests.
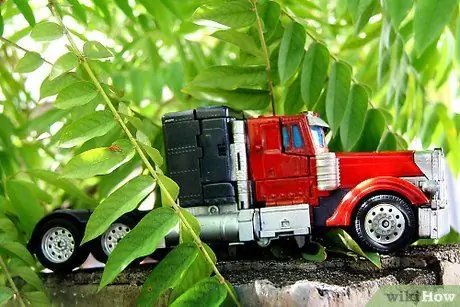
Step 2. Determine the camouflage color based on the context in which it will be used
Avoid light background colors in wooded areas, where leaves and branches let in little light. Avoid dark backgrounds for lawns or lakes, where reeds and fallen leaves are the prevailing colors.
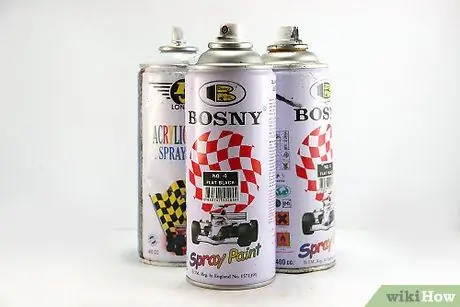
Step 3. Purchase the paint of the color needed for the application
Most camouflage paint colors are tan, black, green, rust, and brown. White and gray can be used for camouflage painting in the arctic environment. Purchase 3 or 4 colors to give your camouflage paint adequate depth and texture. Make sure you purchase a matte, non-glossy paint.
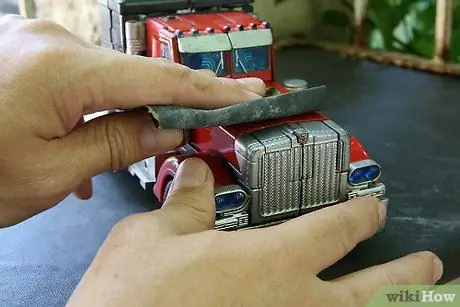
Step 4. Prepare the surface of the object you intend to paint
If you paint metal, first remove the residue of rust, dirt and grease. Smooth the surface and apply a coat of primer.
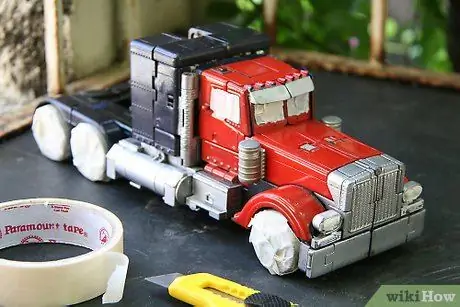
Step 5. Use masking tape to cover the areas you don't want to paint
For example, the grip of a rifle or the headlights of a truck.
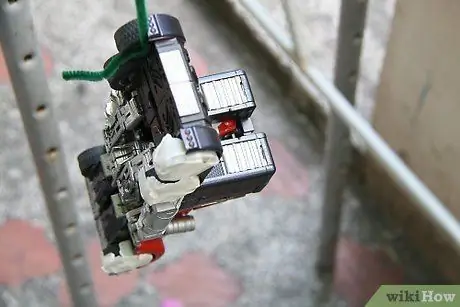
Step 6. Hang the item or place it on a piece of cardboard to catch any excess spray paint if the item is small
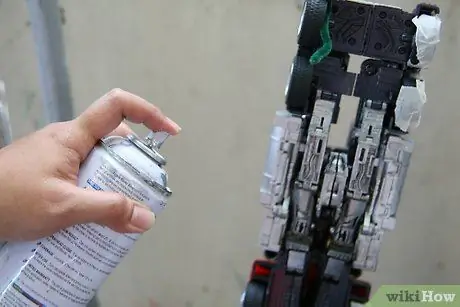
Step 7. Spray the base color on the object and be careful not to overdo the color
If the paint is dripping or smudging, you are spraying too much. Proceed throughout the project area and distribute the spray paint evenly. Let the first coat of paint dry before applying a second coat. Apply several light coats of base coat instead of a single thicker one.
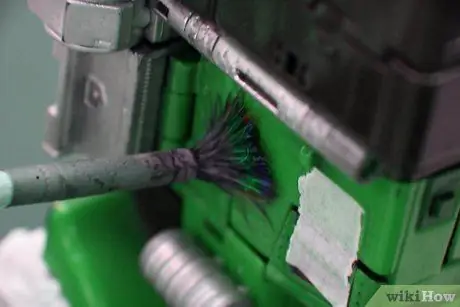
Step 8. Use a sponge brush to dab darker colored spots on the background
Make the spots uneven and rather large. Let it dry.
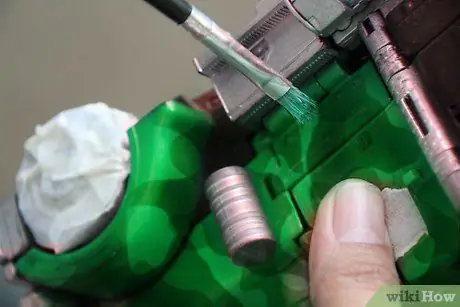
Step 9. Make thin oblique lines of a third color across the entire surface of the project
Let it dry.
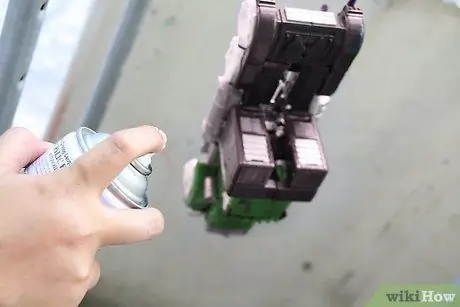
Step 10. Coat the entire project with a matte clear coat
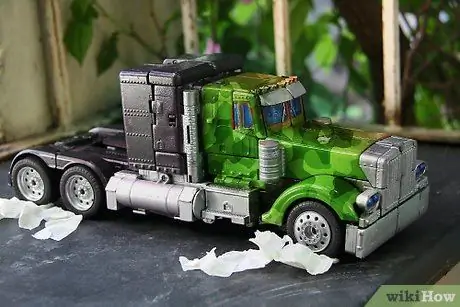
Step 11. Remove the masking tape when the last layer of paint is also dry
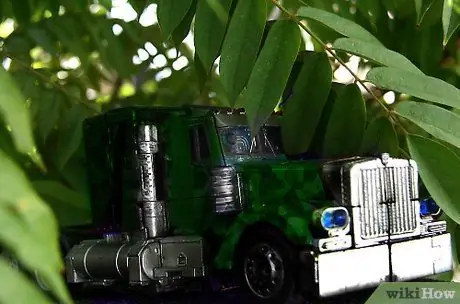
Step 12. Finished
Advice
- Use stencils to make different patterns, such as leaves, pine needles, or grass.
- Apply the paint in a well-ventilated area.
- If you don't like the final result, apply a base coat again and start over.
Things You Will Need:
- Sandpaper (if needed)
- Primer (if needed)
- 3 or 4 uniform colors of camouflage paint in spray cans
- Paper tape
- Cardboard
- Sponge brushes
- Transparent matt varnish
- Stencil (optional)


