Text letters with 3D effect are a great alternative to the more classic ones. This article will show you how to draw them.
Steps
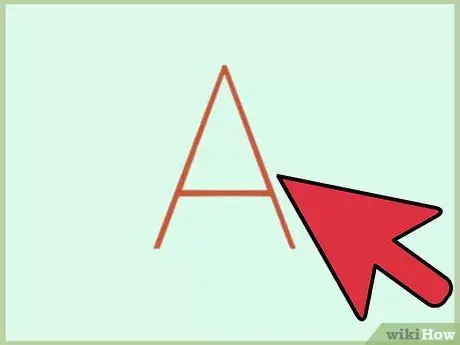
Step 1. Start by simply tracing the desired letter
Try to make lines as straight as possible, perhaps with the help of a ruler. As these are only guidelines that will have to be erased, do not tread on the drawing excessively. (Note: the lines in the image are deep black for visual purposes.)
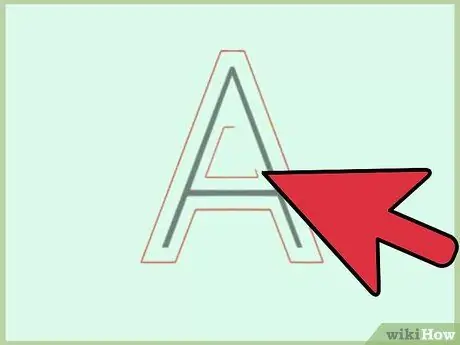
Step 2. Outline the outside of the letters with a second line
Don't forget to make the "holes" inside the letters A, B, D, O, P, Q, R, etc.
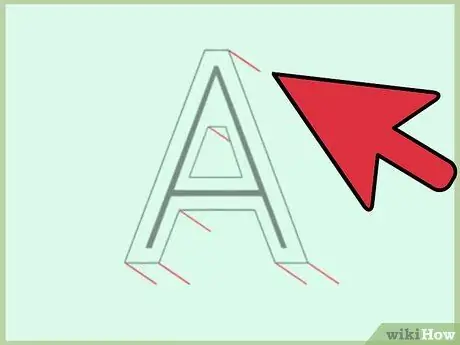
Step 3. Draw diagonal lines of equal length from the corners of each letter
They should be facing down. (Don't forget the internal holes!)
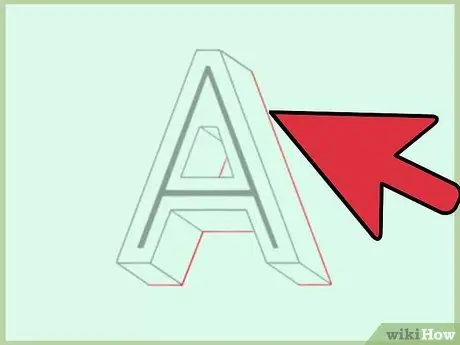
Step 4. Connect all the lines as shown in the illustration
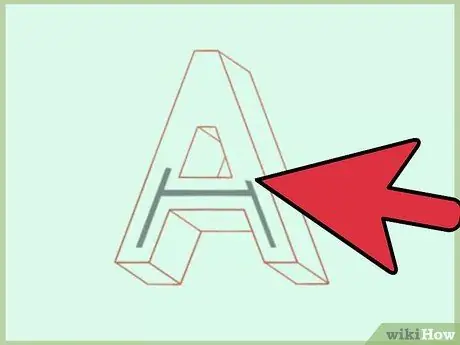
Step 5. Erase the guidelines drawn in the first step
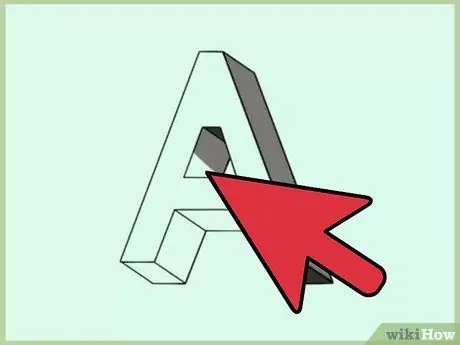
Step 6. You can stop here or, if you wish, you can shade the sides and / or outline the contours as shown in the image:
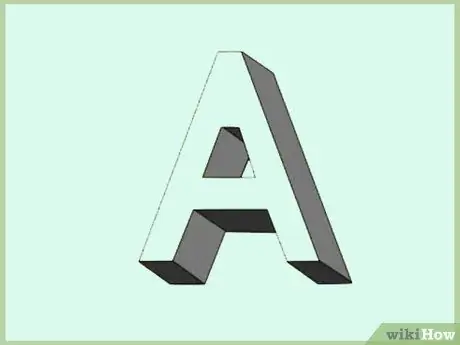
Step 7. Finished
Advice
- Start with light pencil strokes. This way you can easily delete any errors. When you are satisfied with your work you can go over it with pens and markers.
- Blend the sides of the letters for a better effect.
- The 3D effect of curved letters, such as the "S", can be particularly difficult to draw, especially for a novice with little experience.
- If you have some free time, take out your notebook and practice.
- The "shadow" effect can be drawn in any direction, so experiment!
- Try turning lines into arrows or other shapes.
- You can create a different dimension by drawing the 3D effect in the opposite direction.


