This article shows you how to play video, and related audio, from a computer to a normal TV using an HDMI, DVI or VGA connection or by streaming directly to a smart TV or dedicated device using the WI-FI network. HDMI cables are able to carry audio and video signals at the same time, while VGA cables carry only the video component of the signal, so in this case you need to use a second connection cable to be able to send the audio to the TV as well. The DVI port installed on modern computers is capable of carrying both audio and video signals, but in most cases only the latter is routed. Consult the user manual of your TV and computer to be able to choose the most suitable type of connection.
Steps
Method 1 of 4: HDMI connection
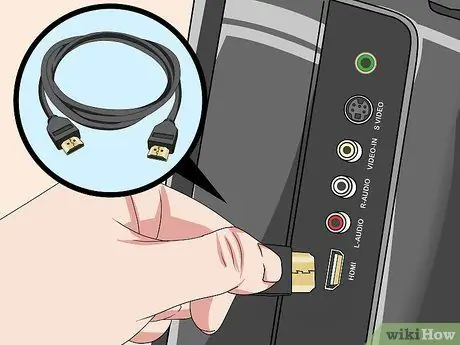
Step 1. Connect the computer to the TV using a standard HDMI cable
In this case, the video port on the computer is identical to the one on the TV, so the HDMI cable to be used must have two perfectly identical male connectors.
If your TV has multiple HDMI ports, make a note of the identification number of the one you have chosen to use
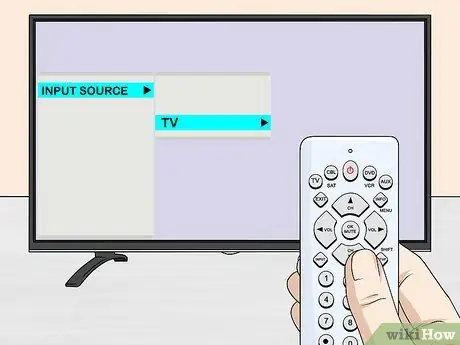
Step 2. Select the video source of the TV to which you connected the cable from the computer
You can choose to use the buttons on the TV or its remote control. Press the Input or Source button to select the HDMI port on the TV.
- If the latter has multiple HDMI inputs, you will need to select the one the computer is connected to by referring to the identification number.
- Some TVs can automatically detect and select the HDMI port on which a valid signal is present.
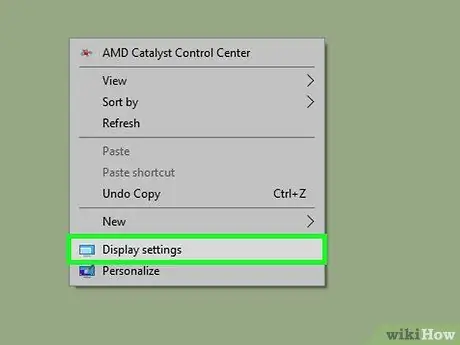
Step 3. Select an empty spot on the computer desktop with the right mouse button and choose Display settings from the context menu that appeared
This will give you access to the screen for configuring the screen settings.
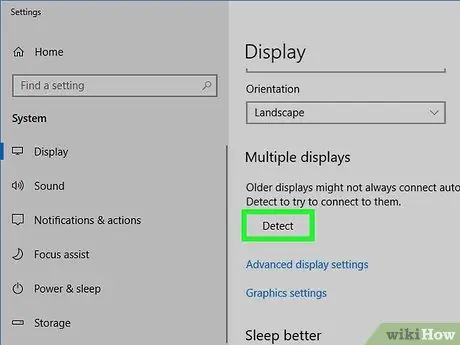
Step 4. Press the Detect button
In this way the computer will proceed to identify the TV connected to the HDMI port. Notice if two squares identified by the numbers 1 and 2 appear inside the window.
The computer may have already detected the TV, without the need to perform the procedure manually
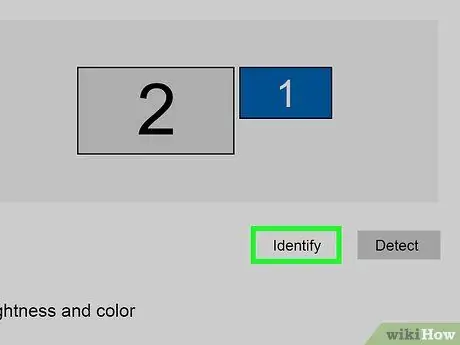
Step 5. Press the Identify button
This will display the relevant identification code on both screens so that you can find out which one indicates that of the TV and which that of the computer.
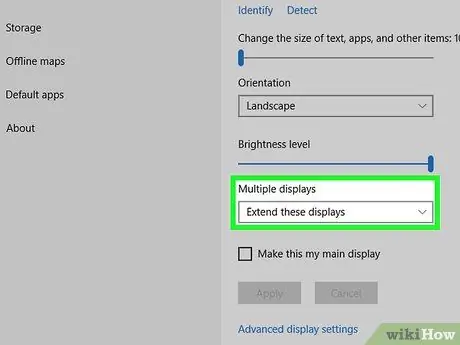
Step 6. Access the "Multiple Displays" drop-down menu
Contains display options related to how the computer screen will be displayed on the TV. The methods are as follows:
- Duplicate these screens. In this case, what is shown on the computer screen will automatically be duplicated on that of the TV.
- Extend these screens. By choosing this option, the TV screen will be used as an extension of the computer desktop.
- Show desktop only for 1. In this case the video signal will be sent only to screen number 1, while the other will be turned off.
- Show desktop only for 2. In this case the video signal will be sent only to screen number 2, while the other will be turned off.
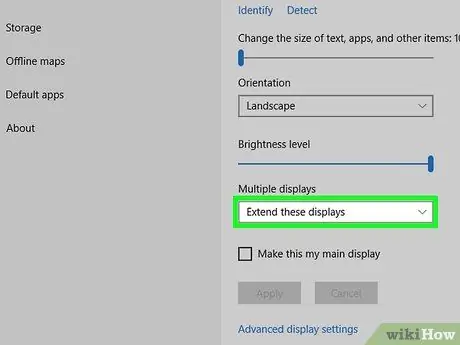
Step 7. Choose the viewing mode you prefer, based on your needs and how you want to enjoy the TV connected to your computer
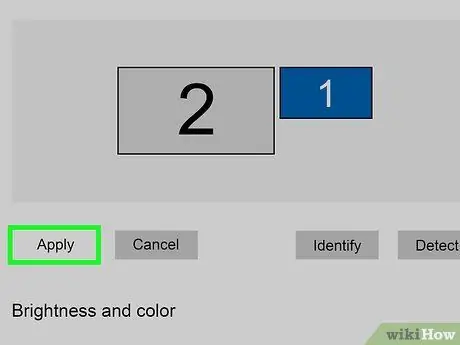
Step 8. After making your choice press the Apply button
This will save the new settings and apply them to both your computer and TV screens. At this point the TV will be connected to the computer and should show what is displayed on the computer screen.
You can further customize the settings of each screen by selecting the relevant box (indicated by the appropriate identification code) and choosing the item Advanced screen settings. You can also act directly on the boxes that identify the screens (by dragging them) to change the orientation of the image.
Method 2 of 4: DVI or VGA connection
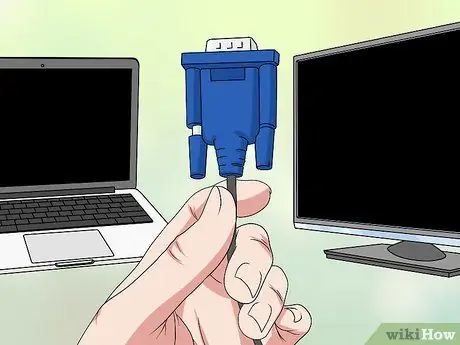
Step 1. Connect the computer to the TV using a standard DVI or VGA cable
In this case the video port on the computer is identical to the one on the TV, so the DVI or VGA cable to be used must have a male connector on both ends.
On some TVs, the VGA port is labeled "PC IN" or "Computer IN"
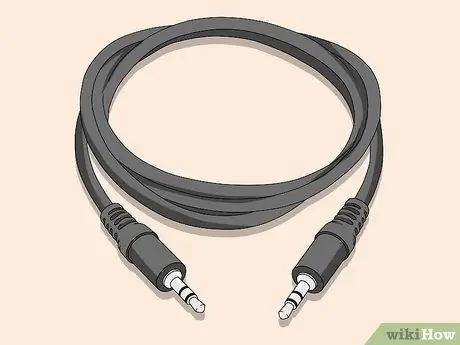
Step 2. Connect the computer's audio out port to the TV's audio in port
In this case you need to use a standard audio cable with two 3.5 mm jacks similar to that used by earphones or headphones for smartphones and audio players. Plug one end of the cable into the port on the computer you normally connect headphones or earphones to; it is usually characterized by the green color. Now connect the other end of the cable to the TV's audio input port.
In most cases, the TV's audio input port is located near the DVI or VGA port you used in the previous step
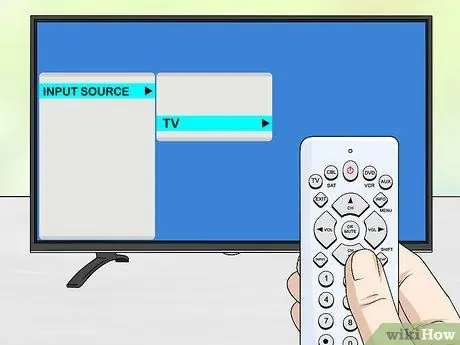
Step 3. Select the video source of the TV to which you connected the cable from the computer
You can choose to use the buttons on the TV or its remote control. Press the Input or Source button to select the DVI or VGA port of the TV.
- In some cases the video source linked to the VGA or DVI port is indicated with the words "PC" or "Computer".
- Some TVs can automatically detect and select the video input port on which a valid signal is present.
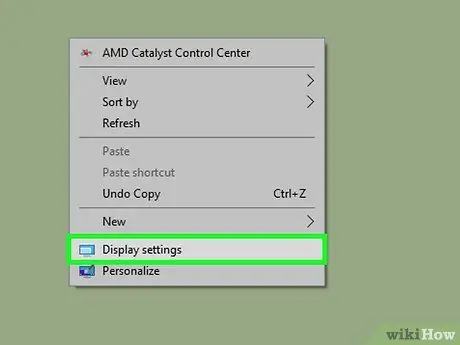
Step 4. Select an empty spot on the computer desktop with the right mouse button and choose Display settings from the context menu that appeared
This will give you access to the screen for configuring the screen settings.
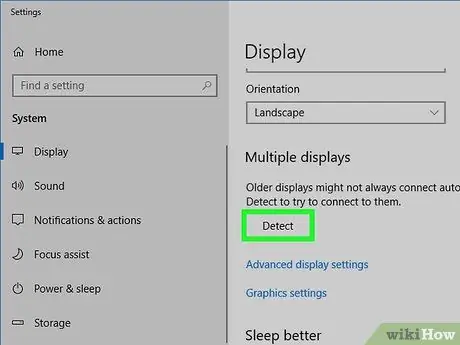
Step 5. Press the Detect button
The computer will proceed to identify the TV connected to the computer's video port. Notice if two squares identified by the numbers 1 and 2 appear inside the window.
The computer may have already detected the TV, without the need to perform the procedure manually
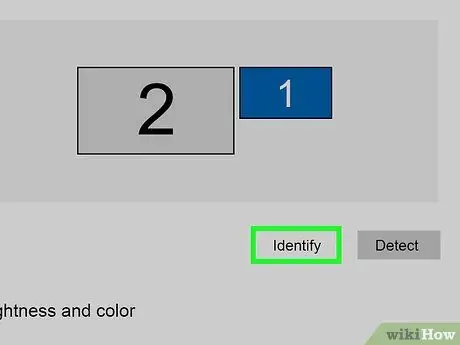
Step 6. Press the Identify button
This will display the relevant identification code on both screens so that you can find out which one indicates that of the TV and which that of the computer.
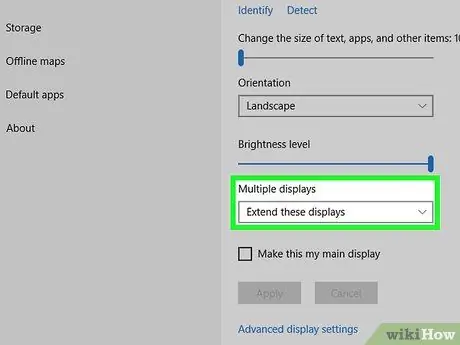
Step 7. Access the "Multiple Displays" drop-down menu
Contains display options related to how the computer screen will be displayed on the TV. The methods are as follows:
- Duplicate these screens. In this case, what is shown on the computer screen will automatically be duplicated on that of the TV.
- Extend these screens. By choosing this option, the TV screen will be used as an extension of the computer desktop.
- Show desktop only for 1. In this case the video signal will be sent only to screen number 1, while the other will be turned off.
- Show desktop only for 2. In this case the video signal will be sent only to screen number 2, while the other will be turned off.
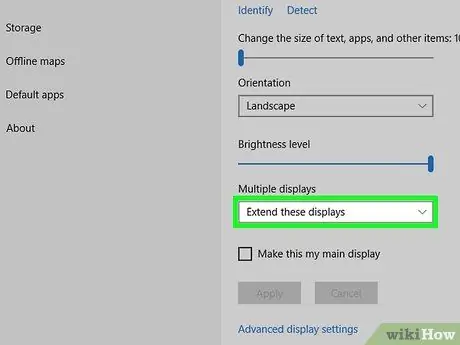
Step 8. Choose the viewing mode you prefer, based on your needs and how you want to enjoy the TV connected to your computer
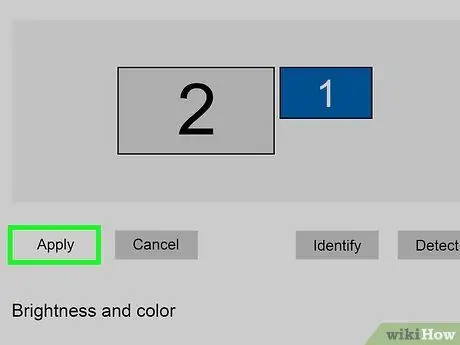
Step 9. After making your choice, press the Apply button
The new settings will be saved and applied to both the computer and TV screens. At this point the TV will be connected to the computer and should show what is displayed on the computer screen.
You can further customize the settings of each screen by selecting the relevant box (indicated by the appropriate identification code) and choosing the item Advanced screen settings. You can also act directly on the boxes that identify the screens (by dragging them) to change the orientation of the image.
Method 3 of 4: Wi-Fi connection
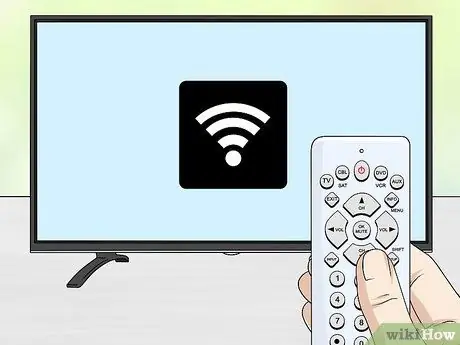
Step 1. Activate the TV's Wi-Fi connectivity
Follow the manufacturer's instructions in the device's instruction manual.
Remember that not all televisions on the market have a Wi-Fi connection, so some may not support this feature. Before continuing, carefully consult the user manual of your TV
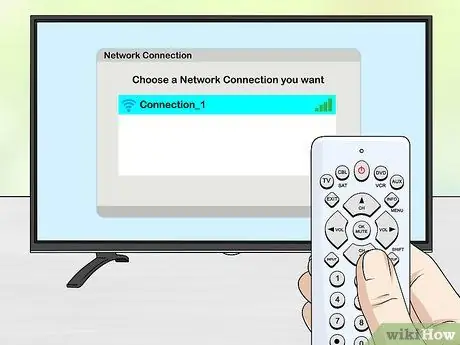
Step 2. Connect the device to your home Wi-Fi network
Remember that you will need to connect it to the same wireless network that your computer is currently connected to, otherwise you will not be able to establish a direct connection between the two devices.
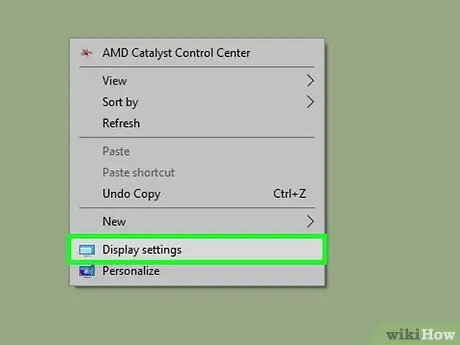
Step 3. Select an empty spot on the computer desktop with the right mouse button and choose Display Settings from the context menu that appeared
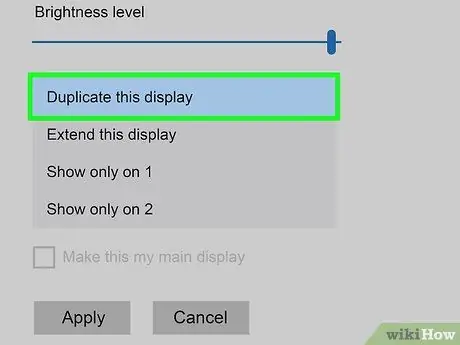
Step 4. Access the "Multiple Displays" drop-down menu and select the Duplicate these displays mode
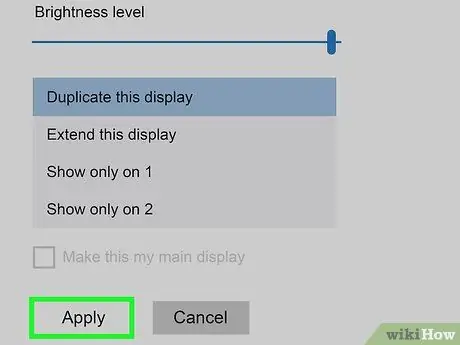
Step 5. Now press the Apply button
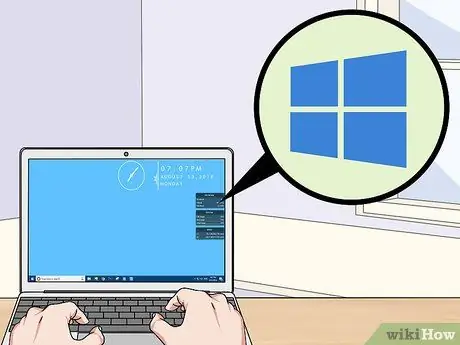
Step 6. Enter the "Start" menu by clicking the icon
then choose the "Settings" option by selecting the button
The Windows configuration settings screen will appear.
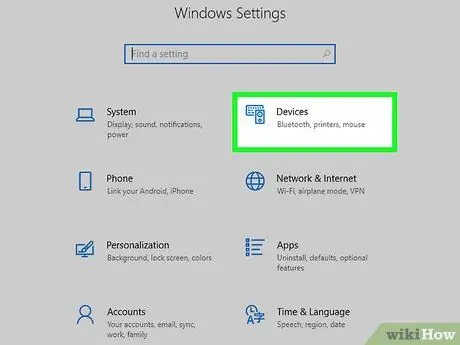
Step 7. Click the Devices icon, then choose the item Bluetooth and other devices.
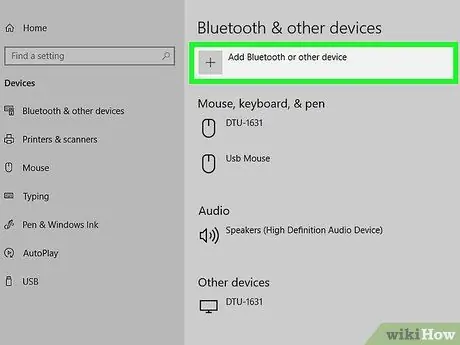
Step 8. Press the Add a Device button
Windows will automatically start searching for devices available for connection within the Wi-Fi network.
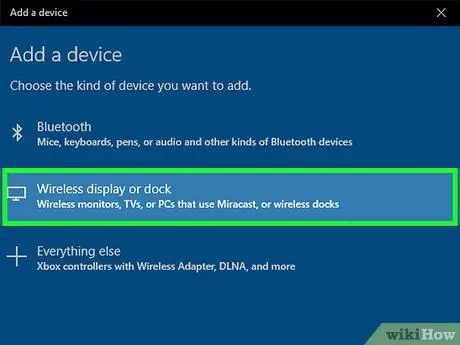
Step 9. Once detected, select your TV
At this point the computer's operating system will automatically establish a direct connection with the selected device.
Method 4 of 4: Troubleshooting
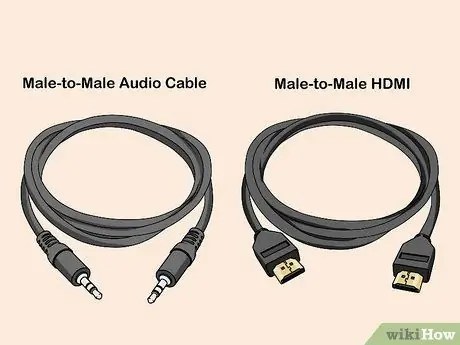
Step 1. Make sure you have the correct connection cables or adapters required to make the connection
In some cases the connecting cables may have the correct connectors, but they may not have been built with the purpose of carrying audio or video signals. In this case, make sure that the cables you choose are certified for audio and video transmission.
Most computers are unable to carry the audio signal using the DVI output port, so in this case even using a DVI to HDMI adapter you will still need to use a second cable to transfer the audio signal to the TV
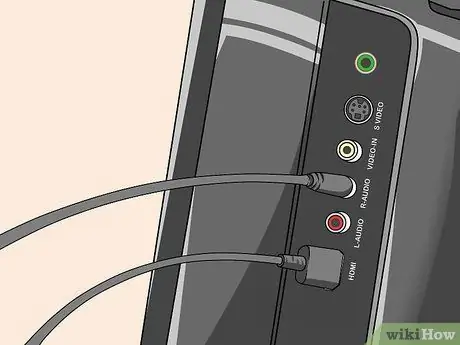
Step 2. Check that all cables and adapters used are properly connected
Make sure all connectors are firmly seated inside their ports. If your cable connectors have captive screws, as with most DVI and VGA cables, make sure they are properly tightened in their seats.
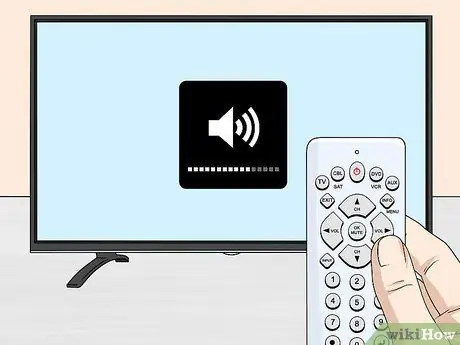
Step 3. Check the volume of the audio signal
If you cannot hear any sound, check that the volume level of the TV and computer is set to the correct value and that the "Mute" function is not activated.
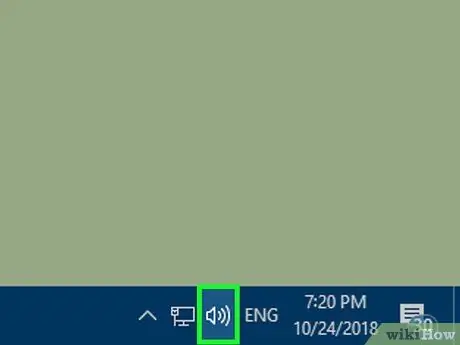
Step 4. Change the playback audio device
If there is no sound coming from your TV speakers, make sure the correct playback audio device is selected on your computer.
-
Select the icon
Windows with the right mouse button.
- Choose the Playback Devices option.
-
At this point, select the correct device for playing the audio signal ("HDMI" in the case of an HDMI connection or "Headphones" if you are using a special cable to carry the audio signal).
If the correct playback audio device is not displayed, right click on any one and verify that the Show Disabled Devices and Show Disconnected Devices options are both selected. This way all the disabled or disconnected devices will be displayed in the "Playback" tab of the "Audio" window
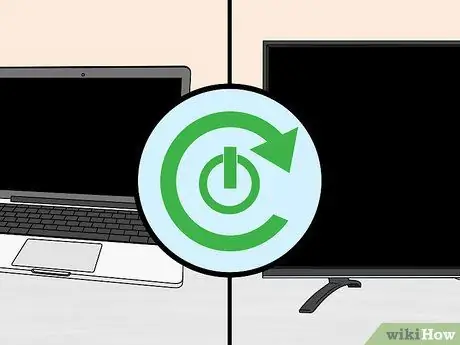
Step 5. Restart your computer and TV
If all the steps described have not produced the desired effect, try restarting both the computer and the TV to allow the former to correctly detect the latter.


