Connecting a Kindle Fire to a computer is useful for transferring ebooks, videos, photos, documents and other types of content. This article explains how to connect your Kindle Fire to a computer and how to troubleshoot the most common problems in case you cannot connect the device to the PC.
Steps
Method 1 of 3: Connect a Kindle Fire to a Windows Computer
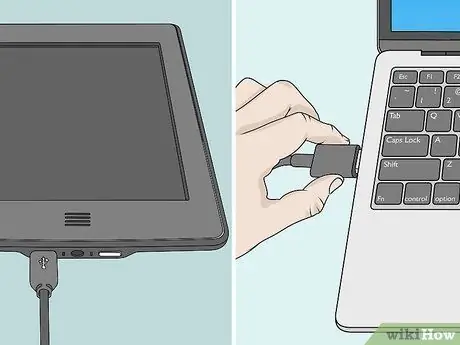
Step 1. Connect the Kindle Fire to the computer
You will need to use a USB cable with a micro-USB connector on one end and a standard USB on the other.
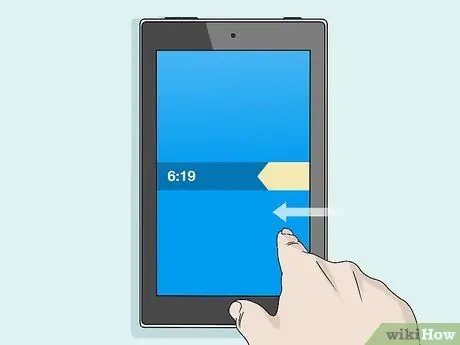
Step 2. Unlock the Kindle Fire screen
Swipe the arrow icon displayed on the screen from right to left.
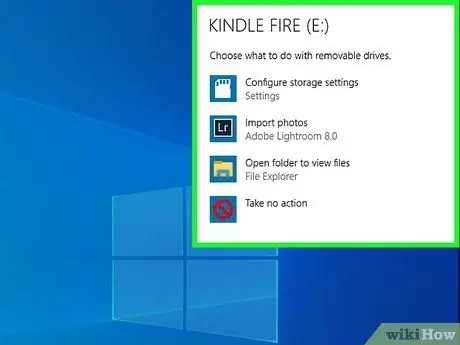
Step 3. Wait for Windows to detect the Kindle Fire
A pop-up window will appear listing some options on how to interact with your Kindle.
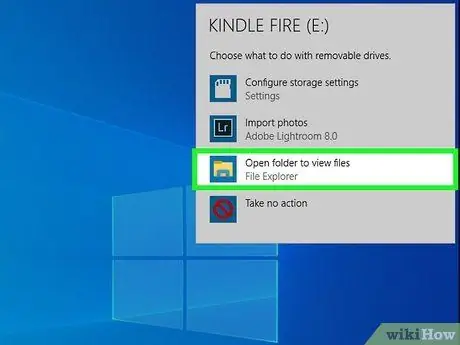
Step 4. Click on "Open folder to view files"
A "File Explorer" window will appear listing all the data and content of your Kindle Fire.
If the indicated pop-up window does not appear, click on the folder-shaped icon located on the Windows taskbar to open the "File Explorer" dialog. At this point, click on the item Kindle or Fire displayed within the "Computer" or "This PC" section in the left pane of the window.
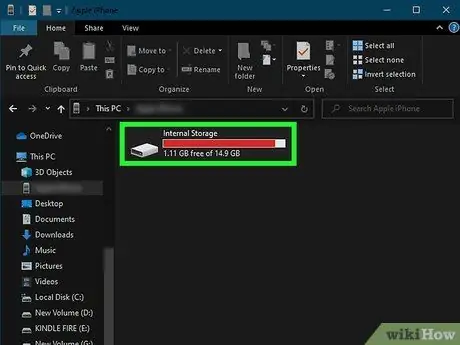
Step 5. Click on the "Internal Storage" folder
After accessing the main directory of the Kindle Fire, click on the "Internal Storage" folder inside it. This is where you can save the files you want to transfer to your Kindle.
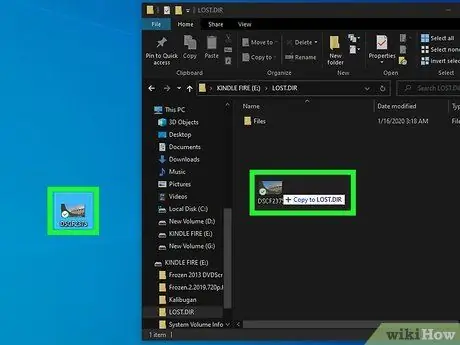
Step 6. Drag the files into the Kindle Fire window
Use the "File Explorer" window to transfer the files you want from your computer to your Kindle Fire.
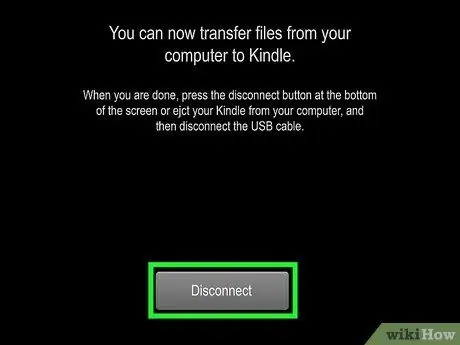
Step 7. Press the Disconnect button
It is displayed at the bottom of the Kindle Fire screen.
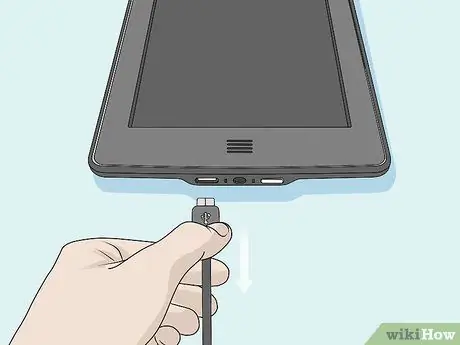
Step 8. You can now disconnect the connecting USB cable from both the Kindle Fire and the computer
As soon as you disconnect your device from your computer, the Home screen will appear on your Kindle Fire's screen. At this point you will be able to use the device as you normally do.
Method 2 of 3: Connect a Kindle Fire to a Mac
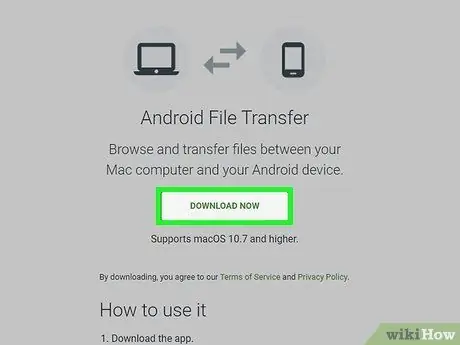
Step 1. Download the Android File Transfer app
In order to transfer data from a Mac to a Kindle Fire, you need to download and install the Android File Transfer app on your computer.
Read this article to find out how to install the Android File Transfer app on your Mac
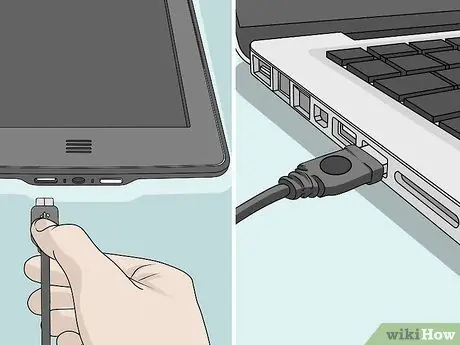
Step 2. Connect the Kindle Fire to your Mac using a USB cable with a micro-USB connector on one end and standard USB on the other
If your Mac doesn't have a standard USB port, you'll need to purchase an adapter.
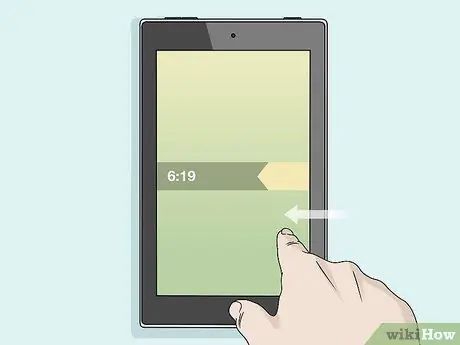
Step 3. Unlock the Kindle Fire screen
Swipe the arrow icon displayed on the screen from right to left.
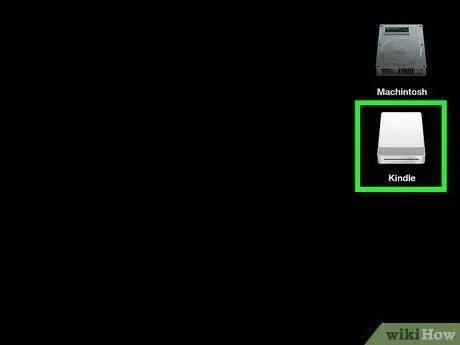
Step 4. Wait for the Mac to detect the Kindle Fire
The "Kindle" or "Fire" icon should appear on the Mac desktop.
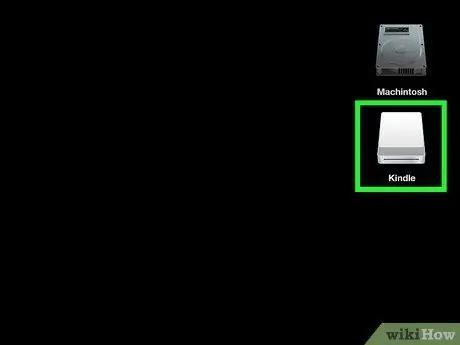
Step 5. Click on the Kindle icon or Fire appeared on the Mac desktop.
This will bring up a Finder window listing the files and folders on your Kindle Fire.
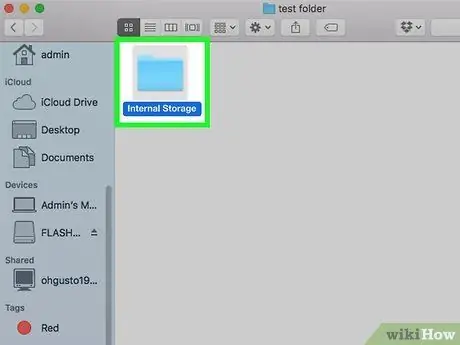
Step 6. Click on the "Internal Storage" folder
It is one of the folders listed in the Finder window that appeared after you selected the "Kindle" or "Fire" icon on your Mac desktop. This is where you can save the files you want to transfer to your Kindle.
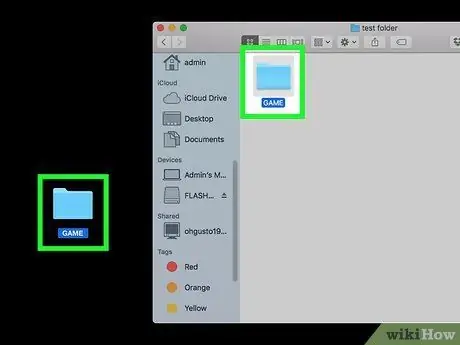
Step 7. Drag the files into the Kindle window
Use the Finder window to transfer the files you want from Mac to Kindle Fire.
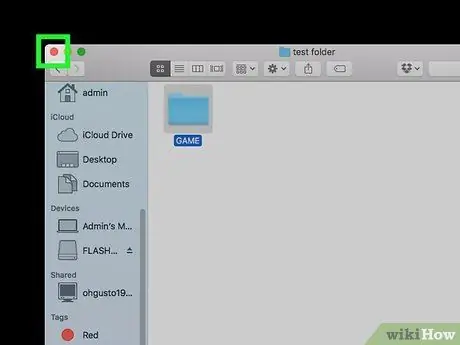
Step 8. After dragging the files into the Finder window for the Kindle Fire, you can close it
Click on the red "x" icon located in the upper left corner of the Finder window.
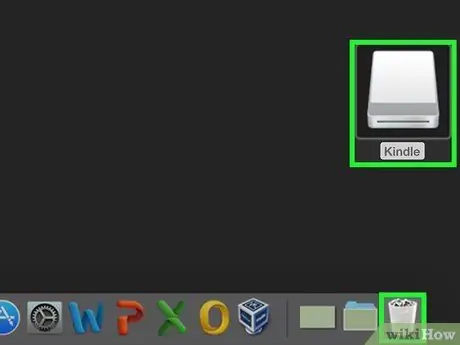
Step 9. Unplug the Kindle Fire
Drag the "Kindle" or "Fire" icon on the desktop to the trash can icon listed on the Dock. The trash can icon will turn into the "Eject" button symbol.
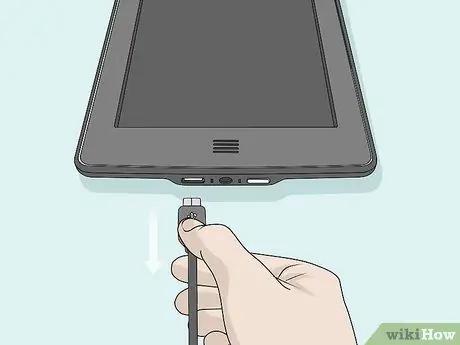
Step 10. You can now disconnect the USB cable from your Kindle and Mac
As soon as the Home screen appears on your Kindle Fire's screen, you'll be ready to use it as you normally do.
Method 3 of 3: Troubleshooting
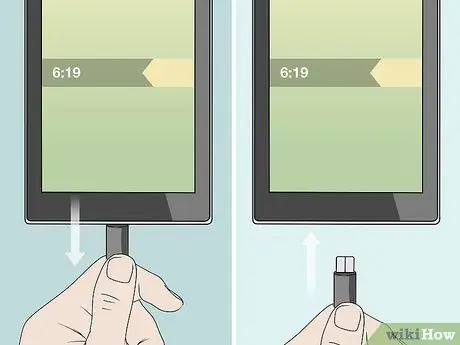
Step 1. Disconnect and reconnect the Kindle Fire
If after connecting it to your computer, your Kindle is not immediately detected by the computer's operating system, try unplugging and plugging it back in. Alternatively, you can try using a different USB cable or changing the connection port.
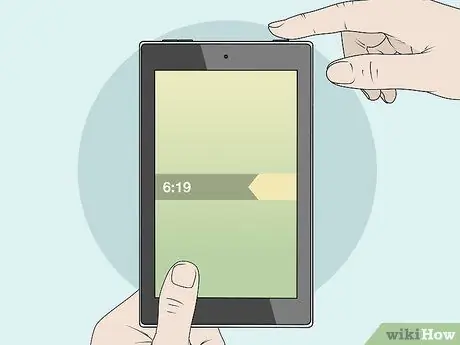
Step 2. Restart the Kindle Fire
If your computer can't detect your device, try connecting your Kindle to your computer and restarting it while it's still connected.
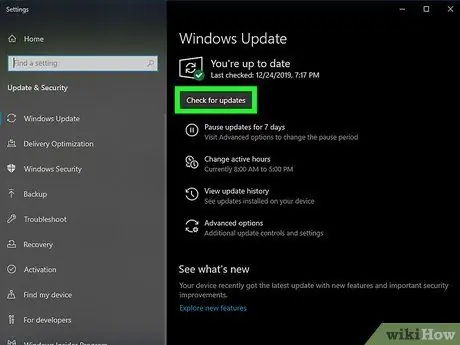
Step 3. Update the drivers
You can update your Mac's drivers and apps directly from the App Store. If you are using a Windows computer, you can check for updates from the "Settings" menu. If you need to update the drivers for a specific device, you can use the "Device Manager" system window. Make sure the USB controller drivers are up to date.

Step 4. Update your computer's Kindle app
Some users reported that updating the Kindle app on their Windows computer solved the connection problems that plagued the Kindle Fire. You can download the latest version of the Kindle app [using this link].
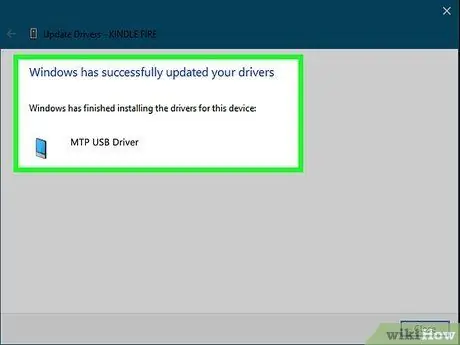
Step 5. Install the MTP USB drivers
If after trying the previous steps, your Kindle Fire still cannot connect to your computer, you may need to reinstall the USB drivers. Follow these instructions:
- Connect the Kindle Fire to the PC using the supplied USB cable;
- Press the key combination " Windows + X"and click on the item Device management;
- Click on the menu View located at the top of the "Device Manager" window, then click on the option Show hidden devices;
- Click on the section Portable devices listed in the "Device Manager" window;
- Select the Kindle Fire with the right mouse button and choose the item Update Driver from the menu that will appear;
- Click on the option Search for driver software on your computer;
- Click on the item Choose from a list of drivers available on your computer;
- Click on the category Portable devices, then click the button Come on placed in the lower right corner of the window;
- Click on the option MTP USB device, then click the button Come on placed in the lower right corner of the window;
- Click on the button Yup to install the selected driver.
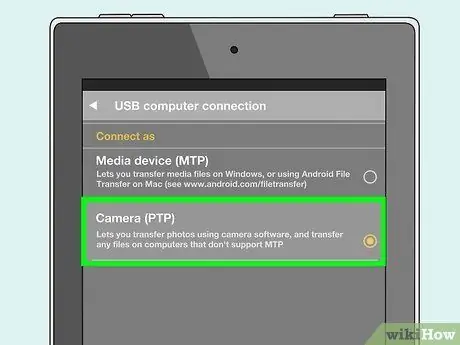
Step 6. Connect the Kindle Fire to your computer as if it were a camera
When you connect the Kindle Fire to your PC, use the drop-down menu that will appear to manage the portable device as if it were a camera. If there is no option listed in the drop-down menu, access the menu Settings of the Kindle Fire and select the item Memory.


