This article details how to connect a printer to a Windows computer or Mac using a wired connection or using a wireless connection. Once the connection is established, it is possible to share the printer also via the local LAN allowing the printing of contents from all connected devices, including those not connected directly to the printer itself.
Steps
Method 1 of 6: Connect a Printer to a Windows Computer Using a USB Cable
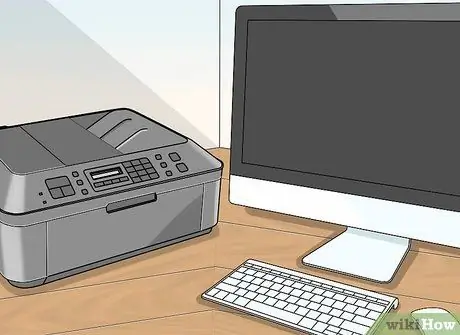
Step 1. Place the printer next to your computer, desktop or laptop
Make sure that the distance is sufficiently small to allow connection via the appropriate cable, without the latter being extremely strained.
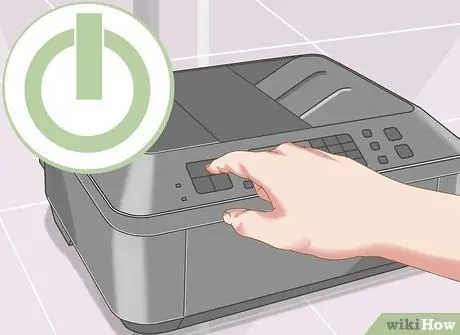
Step 2. Turn on the printer
Press the power button located on the device. Most likely it is characterized by the classic symbol
Remember to connect the device to a power source before you can put it into operation
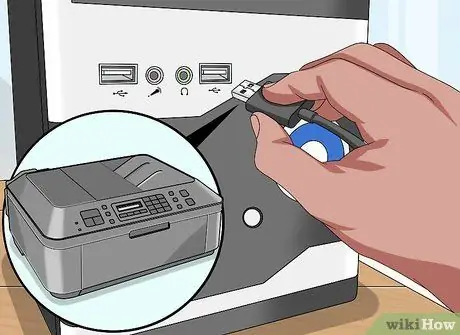
Step 3. After turning on your computer and logging in with your user account, connect the printer using the supplied USB cable
In some cases, by making the connection as described, the printer will be automatically detected by the operating system which will install all the drivers and configure the device, making it immediately available for use

Step 4. Access the "Start" menu
Click the Windows logo icon in the lower left corner of the desktop.
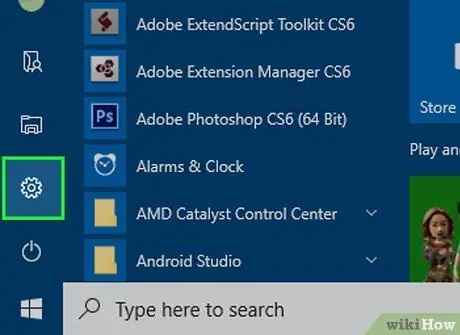
Step 5. Choose the "Settings" option
It is located at the bottom left of the "Start" menu.
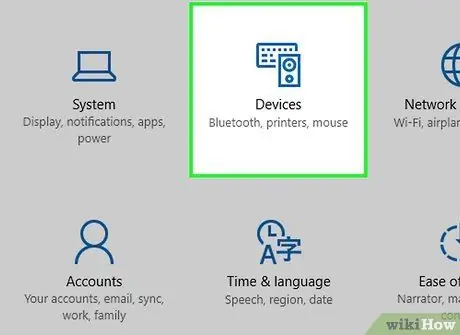
Step 6. Select the Devices item
It is located at the top of the "Windows Settings" window that appeared.
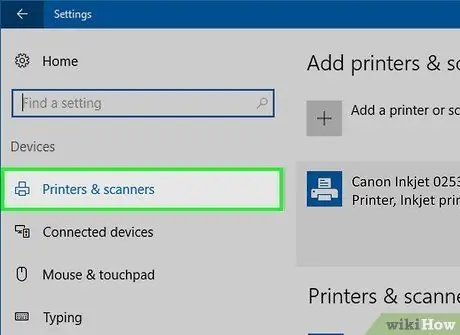
Step 7. Choose the Printers and Scanners device category
It is located in the side menu on the left of the window.
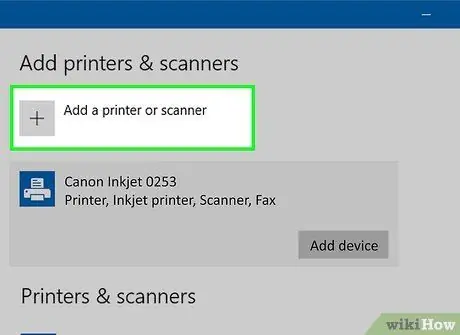
Step 8. Press the Add a Printer or Scanner button
It is located at the top of the page.
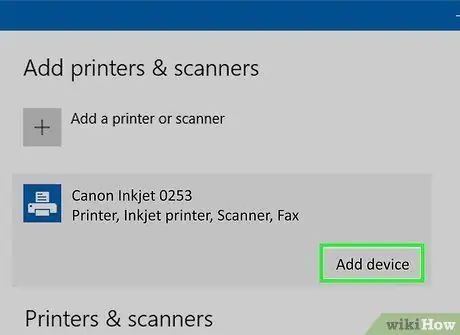
Step 9. Select the printer name from the list that appears, then press the Add Device button
Typically the printer name consists of a combination of the manufacturer name (for example "HP") and the model name (for example "DeskJet 2130").
If your printer name does not appear in the list, select the link The desired printer is not in the list located under the button Add a printer or scanner, then follow the instructions that appear on the screen.
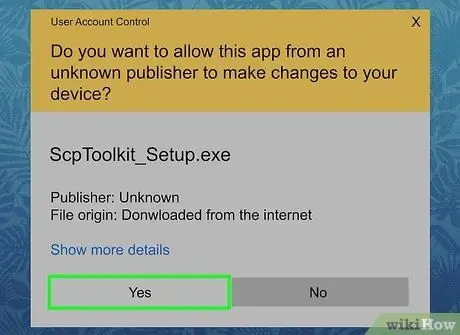
Step 10. Follow the on-screen instructions to complete the installation
Depending on the make and model of your printer, you may need to customize the settings before you can start printing your documents. Once the configuration is complete, the printer will be ready for use.
- If prompted by the installation procedure, insert the CD that came with the printer into the optical drive of the computer.
- If you have purchased a used printing device and the CD containing the related software is not included or has been lost, it is likely that you can download the drivers and management program directly from the manufacturer's website.
Method 2 of 6: Connect a Printer to a Mac Using a USB Cable
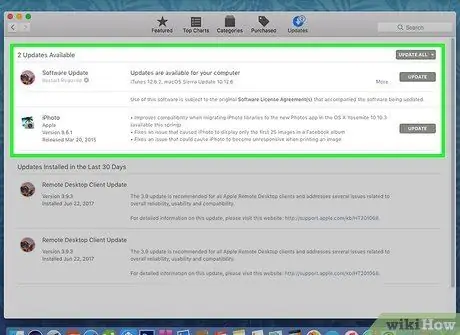
Step 1. Update the Mac OS
Before connecting the printer to your computer, you need to update your operating system to make sure that all the latest drivers and Apple-released patches are installed on your system.
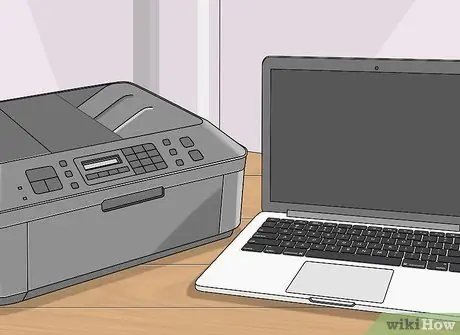
Step 2. Place the printer next to the computer
Make sure that the distance is sufficiently small to allow connection via the appropriate cable without the latter being extremely strained.
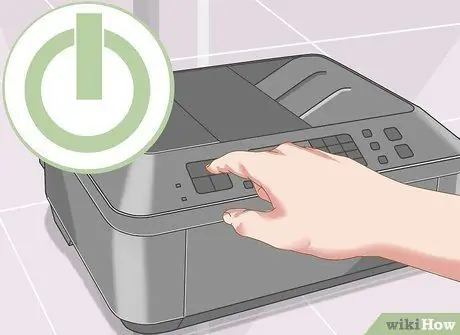
Step 3. Turn on the printer
Press the power button located on the device. Most likely it is characterized by the classic symbol
placed next to or above the button.
Remember to connect the device to a power source before putting it into operation
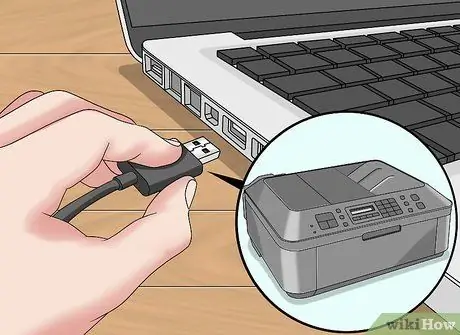
Step 4. Connect the printer to your computer using the supplied USB cable
You'll need to plug one end of the cable into a free USB port on your Mac, and the other into the printer's communication port.
- If your Mac doesn't have a standard USB port, you need to purchase a USB-C to USB adapter that is compatible with Apple devices.
- Before connecting, make sure your computer is turned on and that you are already logged in with the correct user account.
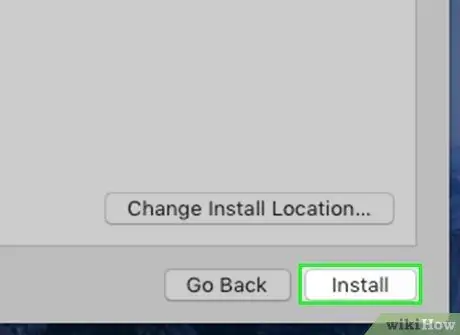
Step 5. Press the Install button, then follow the on-screen instructions
If your printer is compatible with your Mac, it will most likely install automatically. However, you may need to select the button Download and install, located inside the pop-up window that appeared, to download the additional software and complete the installation procedure. When the process is complete, the printing device will be ready for use.
Method 3 of 6: Connect a Wireless Printer to a Windows Computer
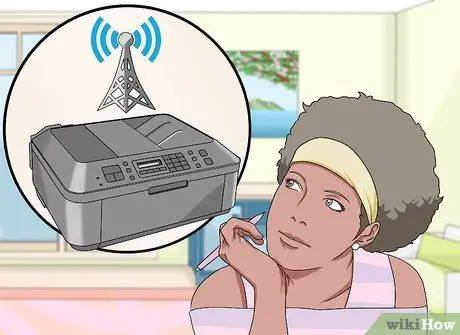
Step 1. Check the type of network connections the printer is equipped with
If the latter, instead of having a Wi-Fi connection, is equipped with a Bluetooth connection, the setup and installation procedure varies slightly.
Some wireless printers with a Wi-Fi connection must be connected directly to the network wireless router via an Ethernet cable in order to access the web
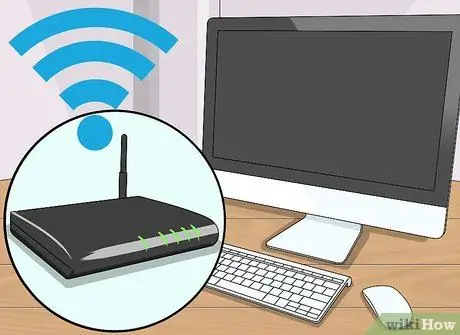
Step 2. Place the computer in a place where it can receive the radio signal of the Wi-Fi network
The printing device must be able to receive the wireless signal of the network router in order to communicate with all the devices present, so it must not be located too far from this device.
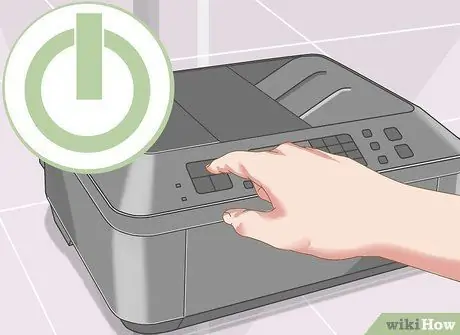
Step 3. Turn on the printer
Press the power button located on the device. Most likely it is characterized by the classic symbol
placed next to or above the button.
- Remember to connect the peripheral to a power source to be able to operate it.
- If necessary, connect the printer directly to the network router using an Ethernet cable.
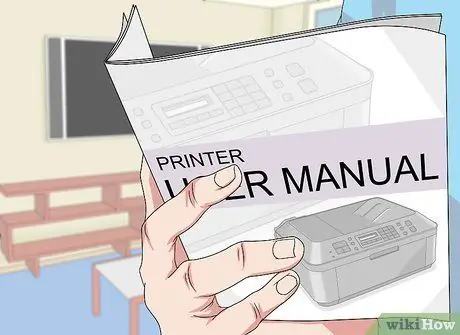
Step 4. Rely on your printer's instruction manual to find out what the complete procedure is to follow to set up your network connection
If you don't have the user manual, you can find this information directly on the manufacturer's website.
- Some printers, before they can be used as wireless network printers, must necessarily be connected to a Windows computer or a Mac. In other cases you will be able to configure the device in total autonomy using the appropriate display, so that it connects directly to the network router.
- If your printer supports wireless network connection, you will need to use the user interface built into the printer directly to set up access to the Wi-Fi network. After detecting and selecting the network you want to connect the printer to, you will need to provide its login password.
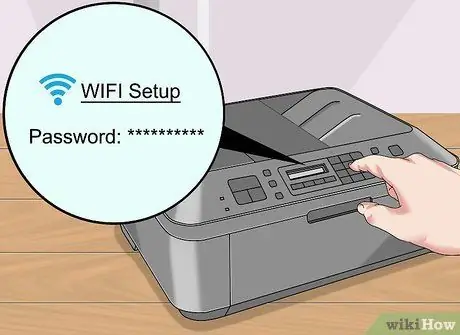
Step 5. Configure the printer for network connection
Follow these instructions.
- Wifi connection: use the printer's built-in display and related menus to locate the screen for configuring access to the Wi-Fi network, select the SSID of the latter from the list that appears and then enter the security password. The network to which you are connecting the printer must be the same to which you will then connect the computer you wish to print from.
- Bluetooth connection: press the "Pairing" button on the printer and featuring the Bluetooth connectivity icon.

Step 6. Access the "Start" menu
Click the Windows logo icon in the lower left corner of the desktop.
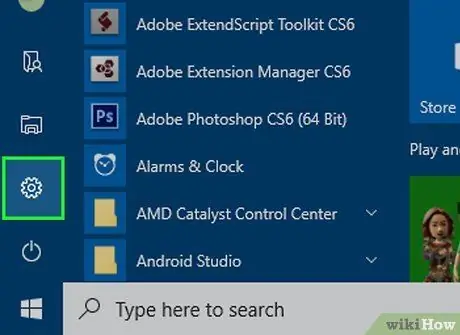
Step 7. Choose the "Settings" option
It is located at the bottom left of the "Start" menu.
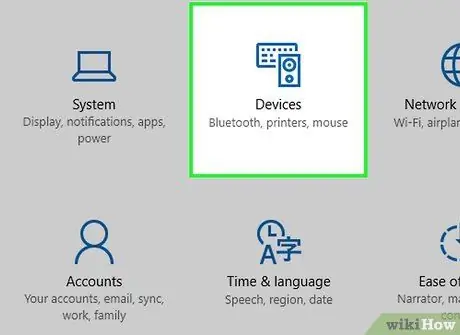
Step 8. Select the Devices item
It is located at the top of the "Windows Settings" window that appeared.
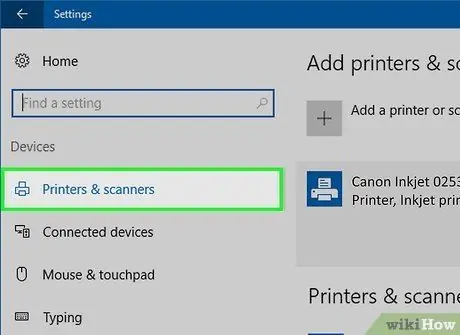
Step 9. Choose the Printers & Scanners device category or Bluetooth and other devices.
It is located in the side menu on the left of the window. If you are using a printer with a Wi-Fi connection, you will need to select the option Printers and scanners. If you are using a printing device with a Bluetooth connection, you will need to choose the item Bluetooth and other devices.
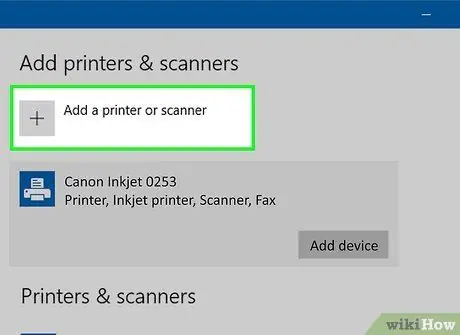
Step 10. Press the Add a Printer or Scanner button or Add Bluetooth or other device.
It is located at the top of the page. Choose the first option if you are using a Wi-Fi printer. Choose the latter instead if you are using a Bluetooth printer.
- When you use a Wi-Fi printer, its name may already be displayed in the list of available devices, so in this case it means that the device is already connected.
- If you are using a Bluetooth printer, before proceeding make sure you have activated the computer's Bluetooth connection by moving the homonymous cursor on the page to the right Bluetooth and other devices.
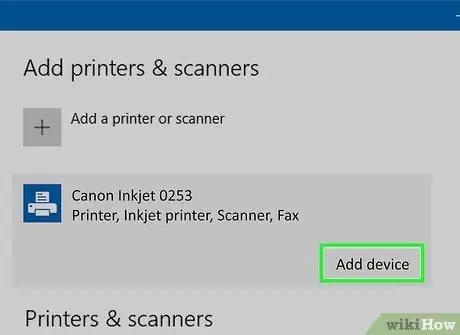
Step 11. Connect the printer to the computer
Select the printer device name from the list that appears in the window Add printers and scanners, then press the button Add device. If you are using a Bluetooth printer, you will need to press the button Connect after selecting its name. This will connect your chosen print device to your computer.
If you are using a Bluetooth printer, you may need to press the "Pair" button again to make it visible and available for connection
Method 4 of 6: Connect a Wireless Printer to a Mac
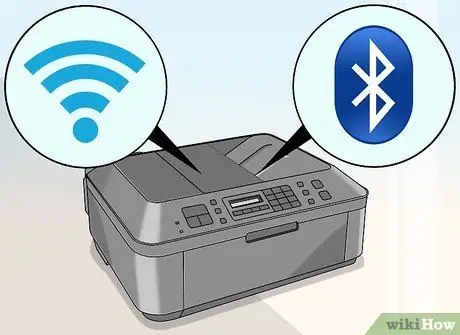
Step 1. Check the type of network connections the printer is equipped with
If the latter has a Bluetooth connection rather than a Wi-Fi connection, the setup and installation procedure varies slightly.
Some wireless printers with a Wi-Fi connection must be connected directly to the network wireless router via an Ethernet cable in order to access the web
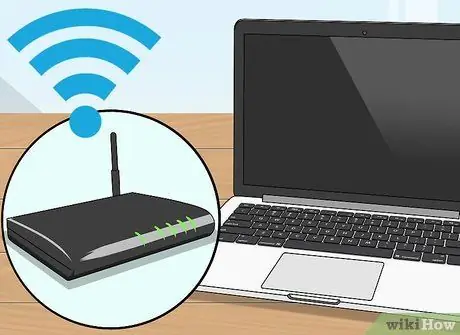
Step 2. Place the computer in a place where it can receive the radio signal of the Wi-Fi network
The printing device must be able to receive the wireless signal of the network router in order to communicate with all the devices present, so it must not be located too far from this device.
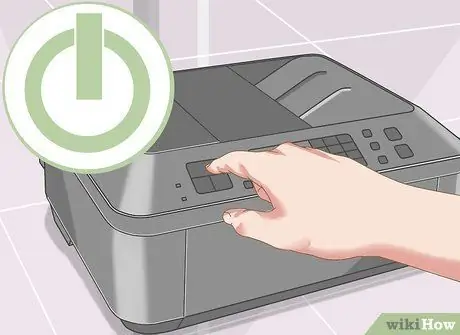
Step 3. Turn on the printer
Press the power button located on the device. Most likely it is characterized by the classic symbol
placed next to or above the button.
- Remember to connect the peripheral to a power source to be able to operate it.
- If necessary, connect the printer directly to the network router using an Ethernet cable.
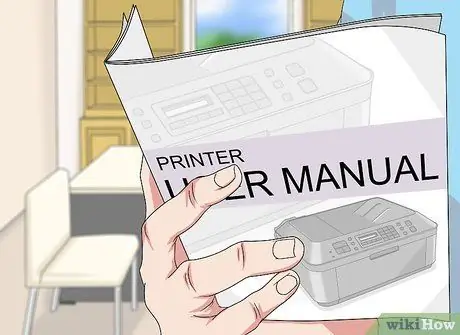
Step 4. Rely on your printer's instruction manual to find out what the complete procedure is to follow to set up your network connection
If you don't have the user manual, you can find this information directly on the manufacturer's website.
- Some printers, before they can be used as wireless network printers, must necessarily be connected to a Windows computer or a Mac. In other cases you will be able to configure the device in total autonomy using the appropriate display, so that it connects directly to the network router.
- If your printer supports wireless network connection, you will need to use the built-in user interface directly on the printer to set up access to the Wi-Fi network. After detecting and selecting the network you want to connect the printer to, you will need to provide its login password.
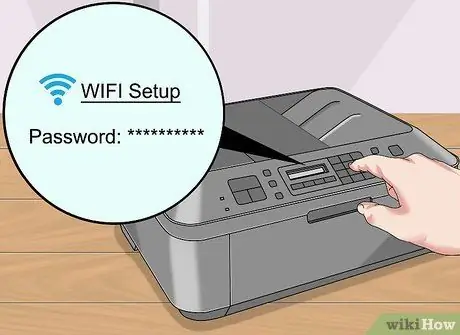
Step 5. Configure the printer for network connection
Follow these instructions.
- Wifi connection: use the printer's built-in display and related menus to locate the screen for configuring access to the Wi-Fi network, select the SSID of the latter from the list that appears and then enter the security password. The network to which you are connecting the printer must be the same to which you will then connect the computer you wish to print from.
- Bluetooth connection: press the "Pairing" button on the printer and featuring the Bluetooth connectivity icon.
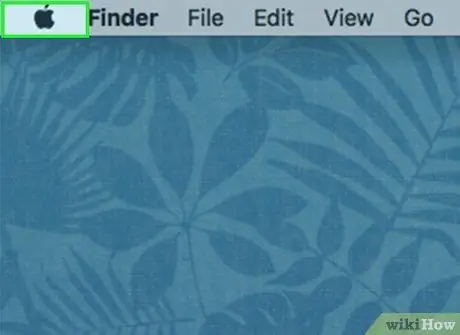
Step 6. Enter the "Apple" menu
It is located in the upper left corner of the screen.
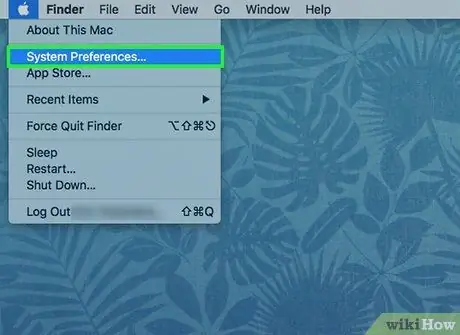
Step 7. Choose the System Preferences item
It is located at the top of the appeared "Apple" menu.
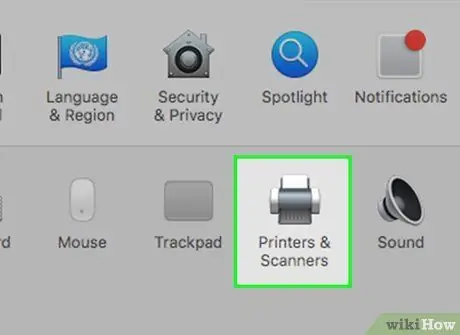
Step 8. Click the Printers & Scanners icon
It features a printer and is located in the hardware devices section of the "System Preferences" window.
Through this menu it is possible to configure both a Wi-Fi printer and a Bluetooth printer

Step 9. Press the + button
It is located in the lower left corner of the "Printers and Scanners" window that has appeared.
If the printing device is already connected to the network, you should be able to see its name in the "Printers" box on the left of the window
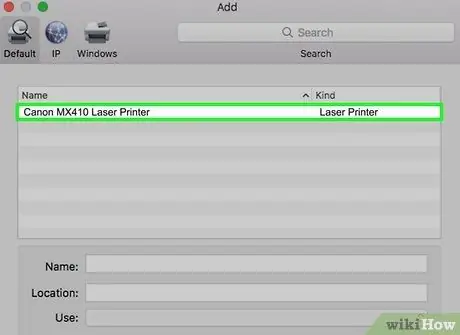
Step 10. Select the name of the printer to install
It should appear within the "Add Printer or Scanner …" drop-down menu. This will prompt you to proceed with printer setup. Once this step is complete, the printer name will be displayed in the "Printers" pane on the left of the window as confirmation that it has been successfully installed on your Mac.
- If the printer is not found among the devices that can be connected, make sure the Mac is connected to the same Wi-Fi network.
- If you are using a Bluetooth printer, you may need to press the "Pair" button again to make it visible and available for connection.
Method 5 of 6: Share a Printer on the Network Using a Windows Computer
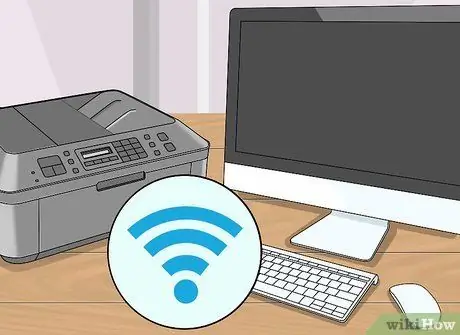
Step 1. Connect the printer to the computer you want to share with
You can do this using a wired connection or using a wireless connection.

Step 2. Access the "Start" menu
To do this, click the Windows logo icon in the lower left corner of the desktop.
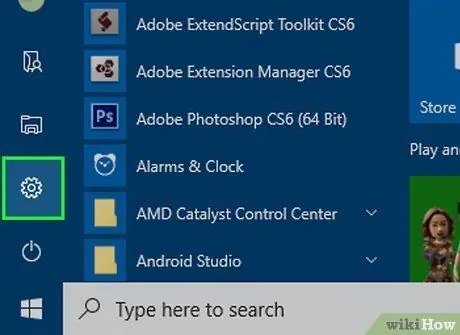
Step 3. Choose the "Settings" option
It is located at the bottom left of the "Start" menu.
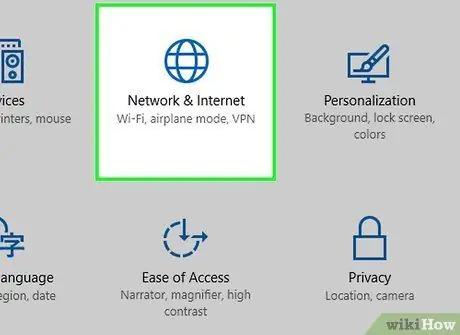
Step 4. Click the icon
"Network and Internet".
It is located at the top of the "Settings" window.
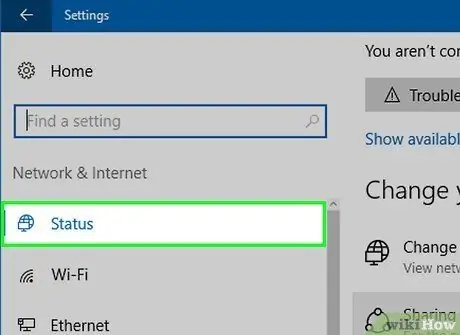
Step 5. Go to the Status tab
It is located in the side menu on the left of the "Network and Internet Settings" window.
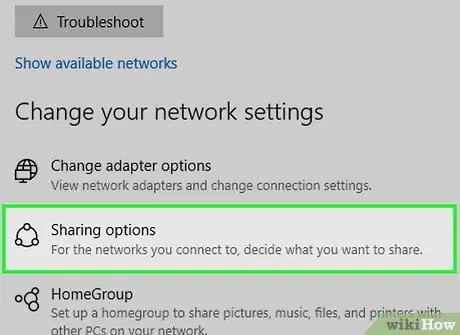
Step 6. Select the Sharing Options item
It is located within the "Change Network Settings" section.
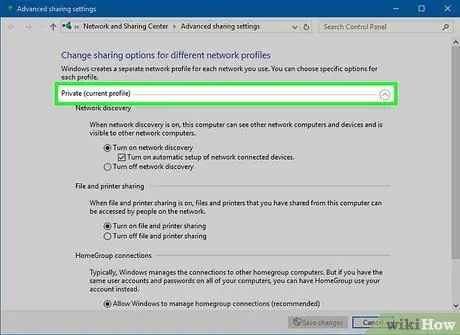
Step 7. Expand the Private section of the appeared window
To do this, click the icon
located on the right of the item Private.
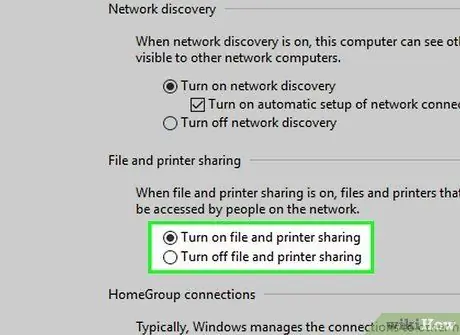
Step 8. Select the "Turn on file and printer sharing" radio button
It is located within the "File and Printer Sharing" section of the "Private" network profile.
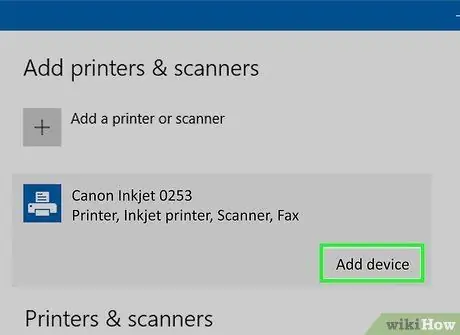
Step 9. Connect to the shared network printer using a Windows computer connected to the same LAN
In this case, the computer to which the print device is physically connected must be turned on and connected to the network.
If you need to use this printer via a Mac, please refer to the next step
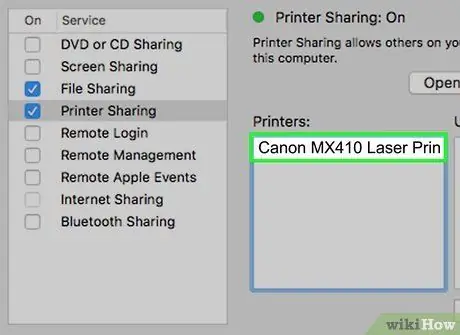
Step 10. Connect to the shared network printer using a Mac connected to the same LAN
Again, the computer to which the print device is physically connected must be turned on and connected to the network. To connect follow these instructions:
- Access the menu Apple and select the item System Preferences;
- Click on the icon Printers and scanners;
- Push the button + placed in the lower left corner of the window;
- Access the card Windows placed in the upper part of the new window appeared;
- Select the name of the network printer to be installed from the list.
Method 6 of 6: Share a Printer on the Network Using a Mac
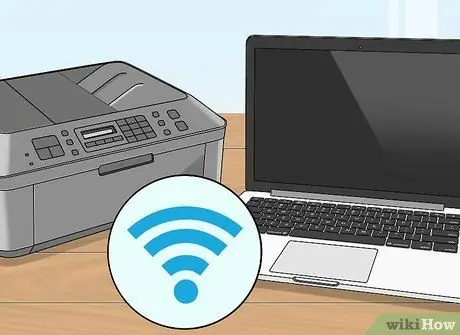
Step 1. Connect the printer to the Mac you want to share with
You can do this using a wired connection or using a wireless connection
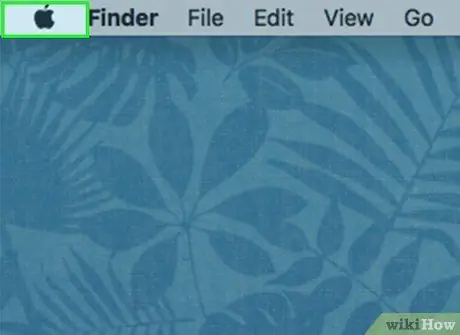
Step 2. Access the "Apple" menu
It is located in the upper left corner of the screen.
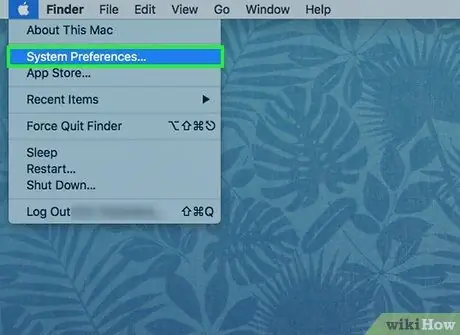
Step 3. Choose the System Preferences item
It is located at the top of the appeared "Apple" menu.
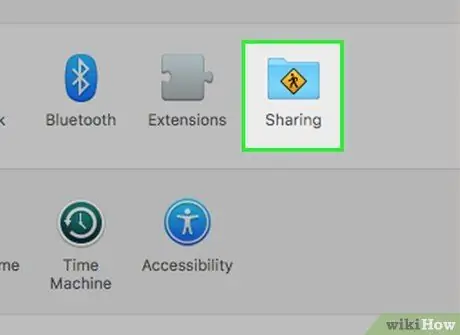
Step 4. Select the Sharing icon
It features a small folder and is located within the third group of icons in the "System Preferences" window.
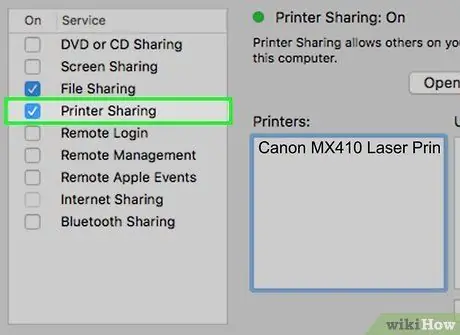
Step 5. Select the "Printer Sharing" check button
This will display a small check mark next to the item indicated. This means that sharing of the printer connected to the Mac is active.
If the "Printer Sharing" checkbox is already selected, your Mac is already sharing the printer it is connected to
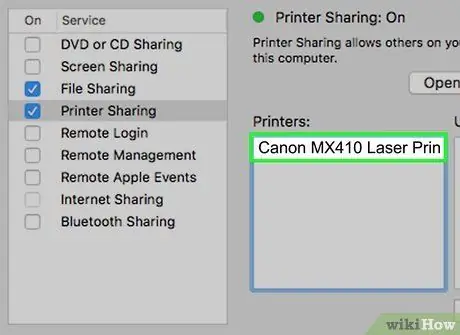
Step 6. Select the check button for the printer you wish to share on the network
In this way the printer connected to the computer will be made available to all devices connected to the same LAN network.
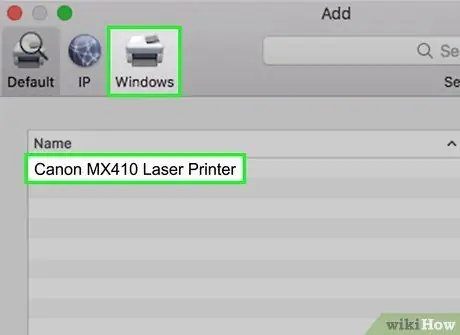
Step 7. Connect to the network printer using another Mac connected to the same local network
The computer to which the shared printer is physically connected will need to remain logged on. To connect follow these instructions:
- Access the menu Apple and select the item System Preferences;
- Click on the icon Printers and scanners;
- Push the button + placed in the lower left corner of the window;
- Access the card Windows placed in the upper part of the new window appeared;
- Select the name of the network printer to be installed from the list.
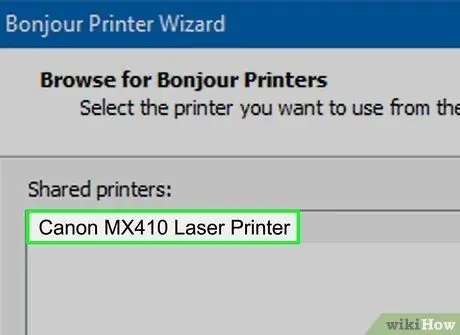
Step 8. Connect to the network printer using a Windows computer connected to the same local network
Remember that the Mac that the shared printer is physically connected to will need to stay on. To connect follow these instructions:
-
Access the following web page:
https://support.apple.com/kb/dl999?locale=it_IT
- ;
- Download and install the "Bonjour Print Services for Windows" program on your computer;
- At the end of the installation process, start the configuration wizard by running the program;
- Select the shared network printer you want to connect to;
- If prompted, choose the correct drivers to use for establishing communication from the list that appears;
- When finished, press the button end.


