This article explains how to add admin commands to your Roblox place, your personal game. To do this you need a computer and a Roblox account.
Steps
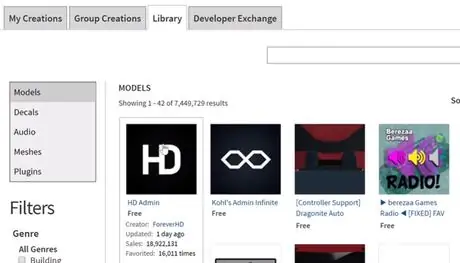
Step 1. Open Roblox library and go to HD Admin
You can also use other administration systems, such as Adonis and Kuros. In this guide we will be using HD Admin because it is open-source and the most up-to-date (up to 2019).
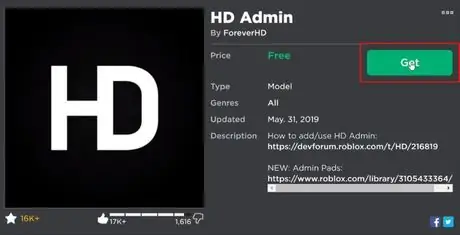
Step 2. Get a copy of the object by clicking the green Get button
You will see the admin appear in your inventory.
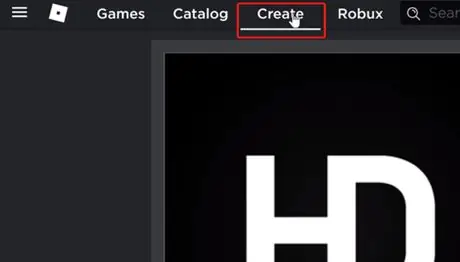
Step 3. Go to the Create page (top left of the screen)
The list of your games will open.
Step 4. Find the place where you want to add admin commands
If you don't already have one, click Create New Game and create your game.
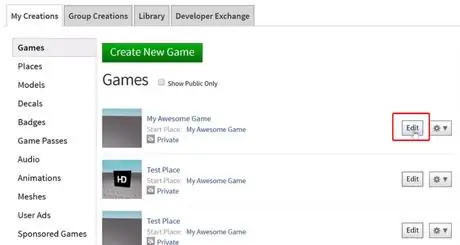
Step 5. Click Edit on the right side of the game
Roblox Studio will open.
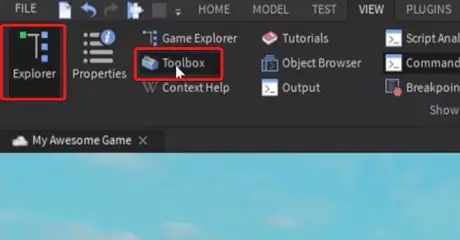
Step 6. In the top bar, click on View, then load Explorer and Toolbox
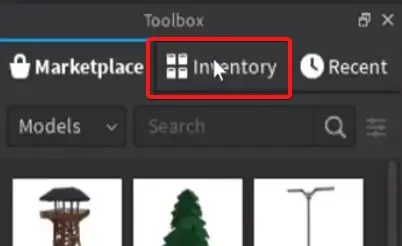
Step 7. In the Toolbox, go to Inventory
The inventory you added the admin to will open.
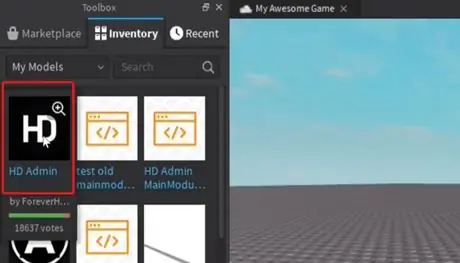
Step 8. Click on HD Admin and drag it to your game
The admin will be added to your Explorer.
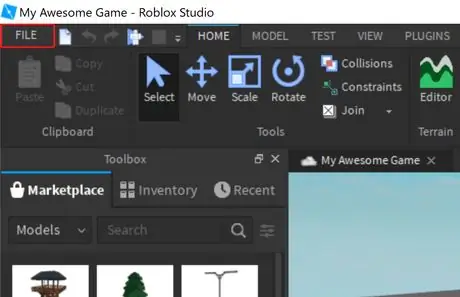
Step 9. Click on File (in the upper left corner of the window)
A drop-down menu will appear.
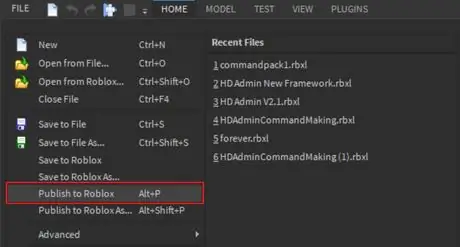
Step 10. Select Publish to Roblox
This will save the changes made to your game.
Step 11. On the game home page, press the green ► button
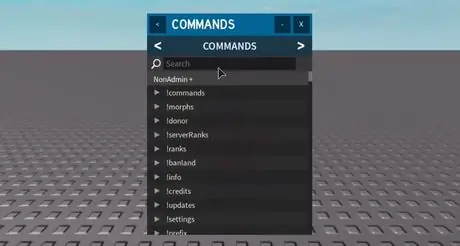
Step 12. You have now added admin commands to your game
Type; cmds (or: cmds if you are not using HD Admin) to view the command list. You can execute the commands during the game through the chat, for example; explode me.


