Sometimes it may happen that you forget your computer's login password. Fortunately, this rare occurrence is not as serious a problem as it seems. There are some "tricks" that allow you to change the login password of any account on any Windows 7 system. All you need is the operating system installation disk, which you can also create yourself for free.
Steps
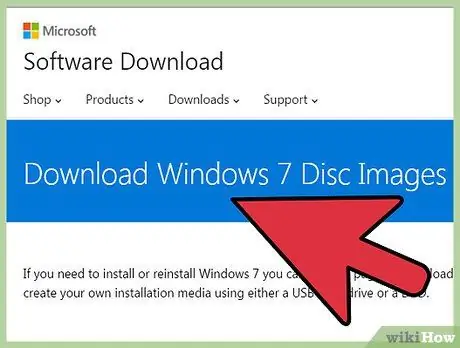
Step 1. Obtain or create a Windows 7 installation disc
In order to change the login password of a Windows 7 user, you need to start the computer using its installation disc. There are a couple of ways to do this:
- Get an installation disc for any version of Windows 7. You can borrow it from a friend or other reputable source.
- You can download the Windows 7 ISO file from Microsoft's site and use it to burn a new installation disc. If you have a valid product key, you can download the ISO file from this link. Alternatively you can download it from numerous torrent file sites. Once the download is complete, burn the ISO file to a blank DVD by selecting the file icon with the right mouse button and choosing the "Burn Image to Disc" option (Windows 7 and later). See this article for more details on how to proceed.
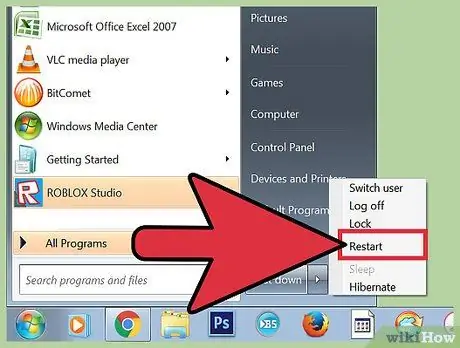
Step 2. Insert the Windows 7 installation disc into your computer's drive, then reboot the system
Instead of booting your computer from the hard drive as usual, you will have to do it using the disc inserted in the optical drive.
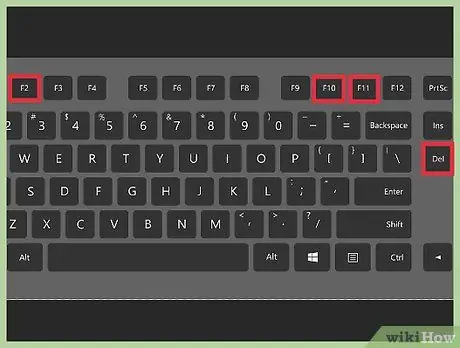
Step 3. Press the function key to enter your computer's BIOS or boot menu ("BOOT" menu)
This key varies according to the system manufacturer and appears on the first screen that appears as soon as the computer is turned on. To access the BIOS, you must press it before Windows starts loading from the hard drive. Going directly to the BIOS boot menu ("BOOT" menu) is the quickest solution, but not all computers support this feature.
The most used function keys to enter the BIOS are: F2, F10, F11 or Del

Step 4. From the "BOOT" menu, choose your computer's optical drive as the first boot device
If you had direct access to the BIOS boot menu, select the DVD drive where you inserted the Windows 7 installation disc as the first device. If you have accessed the BIOS, you will first need to locate and select the "Boot" or "BOOT" menu using the arrow keys on your keyboard to then change the order of the boot devices as described.

Step 5. Start your computer using the Windows 7 installation disc, then proceed to install the operating system
If you are still in the BIOS, save your changes and reboot the machine, then wait for the files on the installation disc to load. When prompted, press any key on your keyboard to launch the Windows installation wizard.
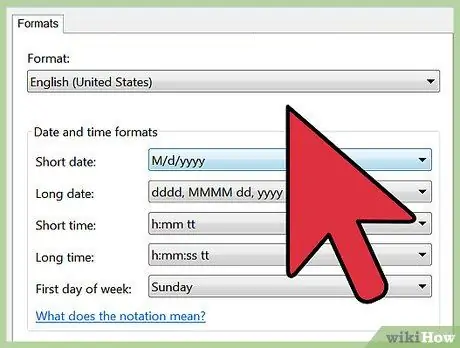
Step 6. Choose your language and input method
The first screen that will appear is that relating to the selection of the system language and of the input method. Normally the default settings are already correct.

Step 7. Choose the "Repair your computer" option located on the "Windows Setup" screen
Instead of pressing the "Install" button and starting a fresh installation of Windows, choose the "Repair your computer" link in the lower left of the window.
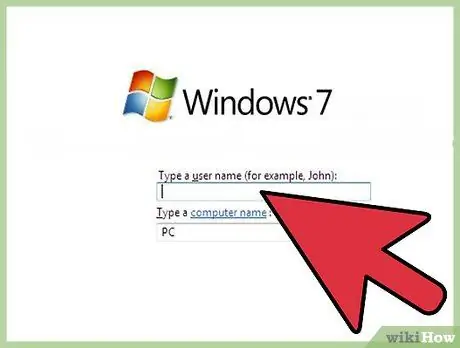
Step 8. Choose "Windows 7" from the list of available operating systems
This screen will list all the operating systems on your computer. In most cases there will be only one option.

Step 9. On the next screen, select the "Command Prompt" link
This will load the Windows Command Prompt.
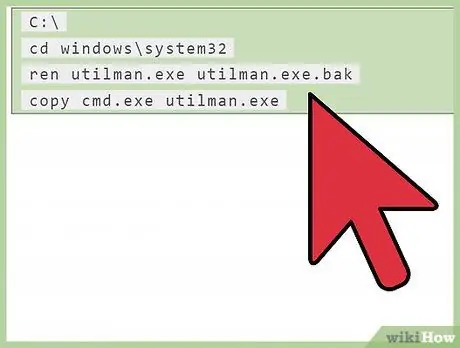
Step 10. Enter the following sequence of commands
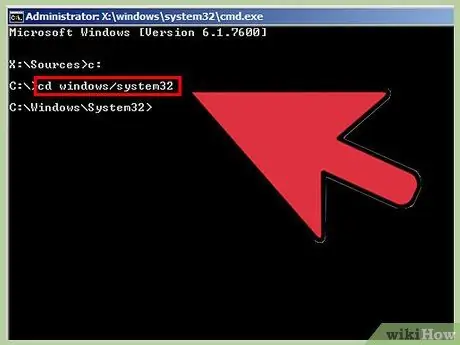
The next four commands allow you to access the command prompt directly from the Windows login screen. This will give you the option to reset your login password when Windows has finished loading. Enter the commands respecting the order in which they are described and press the Enter key after each entry:
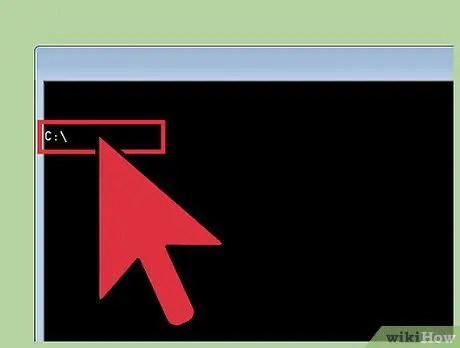
C: \
cd windows / system32
ren utilman.exe utilman.exe.bak
copy cmd.exe utilman.exe

Step 11. Remove the Windows installation disc from the optical drive, then restart your computer
Wait for Windows 7 to load normally.
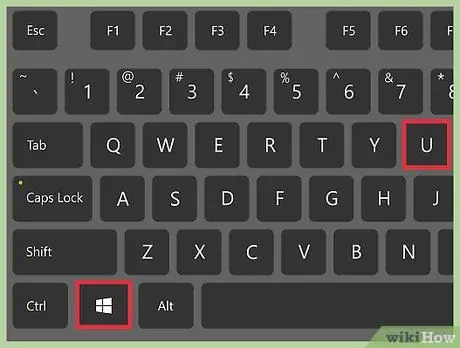
Step 12. As soon as the Windows logon screen appears, press the hotkey combination
⊞ Win + U to start command prompt. Normally, this action shows the options related to the Windows Ease of Access menu, but thanks to the series of commands entered in the previous step, the Command Prompt window will appear.
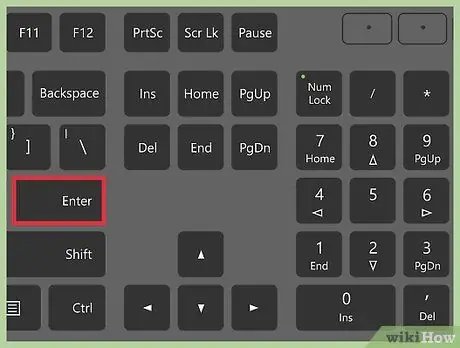
Step 13. To view the list of users registered on the system, type the command
net user and press the buttonEnter. A list of all user accounts on the computer will be displayed.
Step 14. Change the password of the account you want to log into the computer with
To change the login password of any Windows user, you can use the net user command. Type the following command, then press the Enter key without forgetting to replace the username parameter with the name of the account you want to change. If there are spaces in the username, enclose it in quotation marks. When prompted, enter the new password twice to verify it is correct.
- net user username *
- For example, if you want to change the login password of the "wikiHow Test" account, you must use the net user "wikiHow Test" * command and press the Enter key.
Step 15. Use the new password to log into the system with the desired account
After changing your password via command prompt, you can immediately use it to log in to Windows. Simply select the desired user, then enter the new password you just set.
Step 16. Revert the changes made to the Windows login screen via the command prompt
Now that you have solved your problem and are able to log in to Windows again, you can restore the normal function of the "Accessibility" menu present in the Windows login screen in case someone needs to use the "Accessibility Center". To do this, open a Command Prompt window from the "Start" menu, then enter the following sequence of commands:
C: \
cd windows / system32
of utilman.exe
ren utilman.exe.bak utilman.exe


