If you have access to a computer as a system administrator and need to change another user's account password, you can do so using the "net user" command. In case you do not have access to Windows or do not have a system administrator account available, you can use the Windows installation disc to access the "Command Prompt" and be able to use the "net user" command to change the password of any user account.
Steps
Method 1 of 2: Logging in as an Administrator
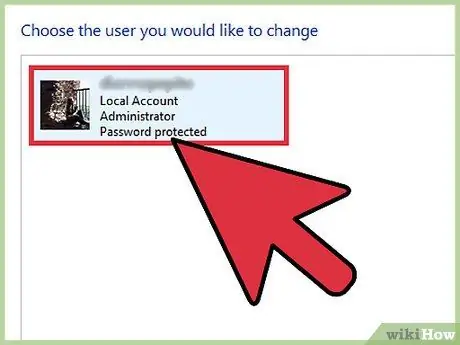
Step 1. Log in to Windows using a system administrator account
If you have the ability to log into your computer with a system administrator account, you can change the password of any user account without any problem.
If you no longer have access to Windows because your account is locked out or because you forgot your password or if you don't have a sysadmin account, refer to the next method in the article
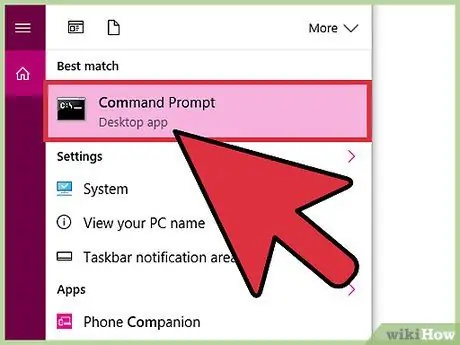
Step 2. Open a "Command Prompt" window as a computer administrator
You need to perform this step even if you are already logged in to Windows as a system administrator.
- Windows 7 and earlier - access the "Start" menu, right click on the "Command Prompt" icon, then choose the "Run as administrator" option. At this point, confirm your action.
- Windows 8 and later - Right click on the Windows "Start" button and choose the "Command Prompt (Administrator)" option. When the Windows "User Account Control" window appears, confirm your action.
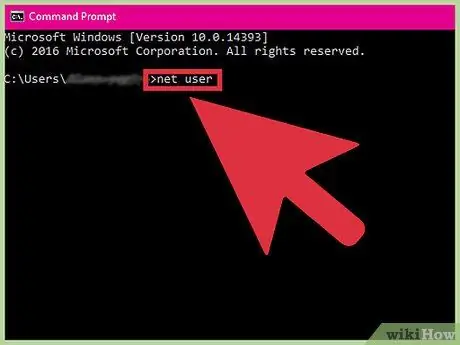
Step 3. Type the command
net user and press the button Enter.
A list of all user accounts on the computer will be displayed. The list is sorted according to system access privileges.
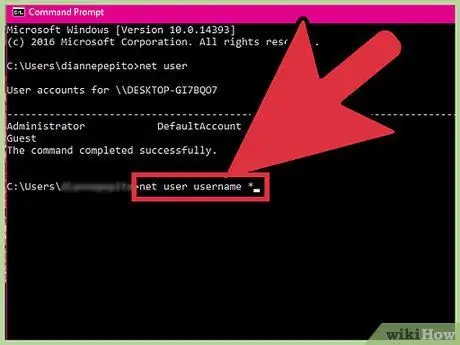
Step 4. Type the command
net user username * and press the button Enter.
You will be asked to create a new login password for the username account.
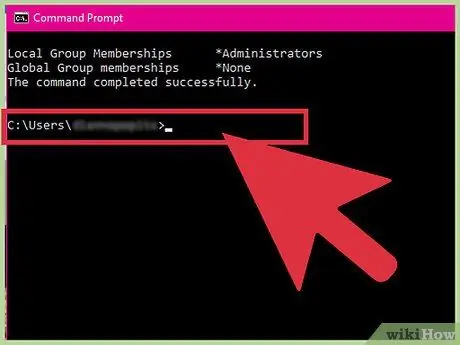
Step 5. Enter the new password
You will need to type it twice to confirm that it is correct. The new password will be active immediately.
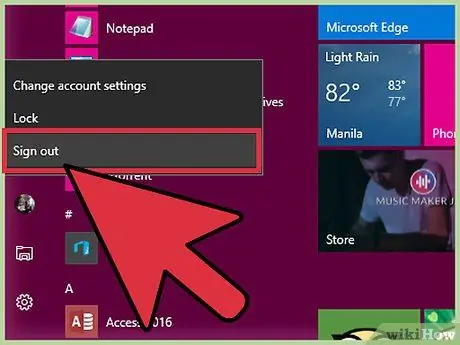
Step 6. Log in using the new password you created
At this point you can use it immediately to log in to the system with your user account. Log out of your current work session, then log in using the user account you changed and the new password you created.
Method 2 of 2: Standard Access

Step 1. Obtain or create a Windows installation disc
If you don't have access to a system administrator account, you can get around this by using a Windows installation media. In this case you will need to use an installation disc corresponding to the version of Windows installed on the computer you wish to access. You can also use an installation media other than the one that came with your computer.
If you have an ISO image of the Windows installation disc available, you can use it to burn a DVD or to create a USB installation drive. Read this article for more instructions on how to create a Windows installation USB drive
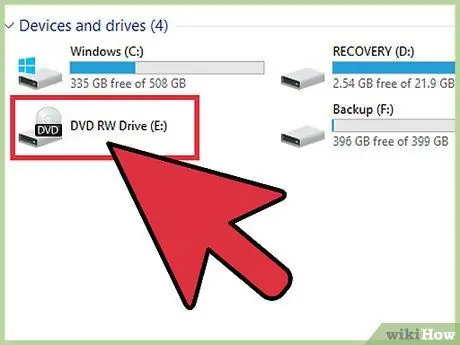
Step 2. Insert the disc into your computer's optical drive or plug the USB drive into one of the free ports on the device
You will need to use the installation media to access the administration tools which will allow you to change the password of a user account.
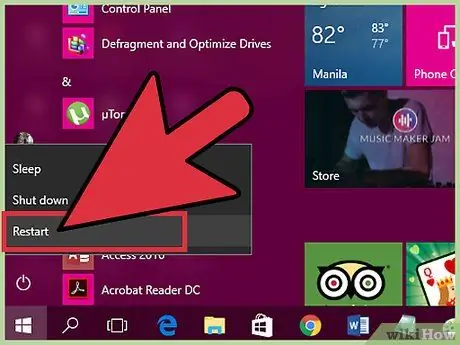
Step 3. Restart your computer and enter your computer's BIOS
You will need to perform this step before the Windows logo appears on the screen. The procedure to follow varies slightly depending on the version of Windows you are using:
- Windows 7 and earlier - press the BIOS enter key. It appears at the bottom of your computer's startup screen and varies by computer manufacturer. Normally you will have to press one of the following keys: F2, F10, F11 or Del. Once you have entered the BIOS, select the "BOOT" or "BOOT ORDER" menu.
- Windows 8 and later - go to the "Start" menu or screen and click the "Shutdown" icon. Hold down the ⇧ Shift key while clicking on the "Reboot System" option. Choose the "Troubleshoot" option from the menu that appears, then choose the "Advanced Options" item. At this point select the "UEFI Firmware Settings" option and access the "BOOT" menu.
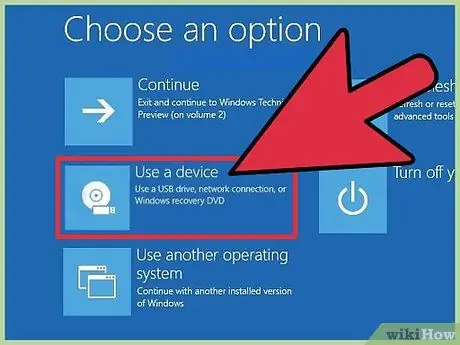
Step 4. Select your CD / DVD drive or USB drives as your computer's first boot device
The exact procedure to follow varies by BIOS or firmware manufacturer, but you will generally need to rearrange the boot device list using the identified numbers so that the computer uses the optical drive or USB drive to load the system operating instead of the hard drive, as is usual. In some cases the menu in question is called "Boot Order" and inside you will find the "Change Boot Order" option. Don't be surprised if your computer's optical drive is already set as the first boot device. If this is the case for you, you will not need to make any changes to the BIOS settings.

Step 5. Restart your PC and run the Windows installation wizard
Press any key to start the Windows installer and wait for all necessary files to load. This step will take a few minutes to complete.
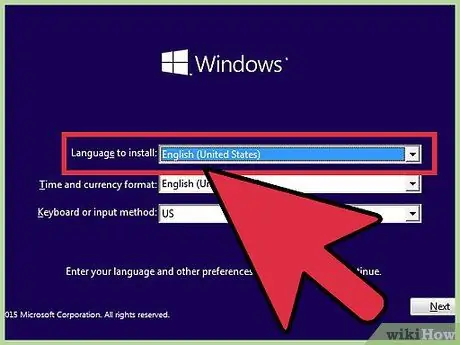
Step 6. Select the installation language and configure the input settings
Normally you shouldn't need to change the default settings.
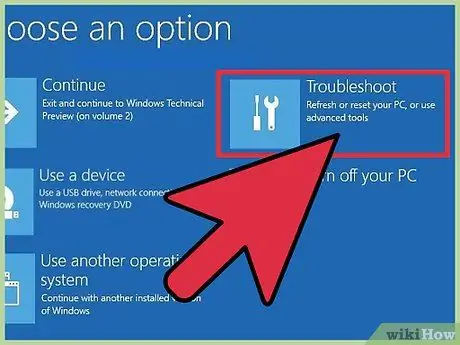
Step 7. Click on the "Repair your computer" button visible in the lower left corner of the window
It is displayed on the same screen as the "Install" installation option.
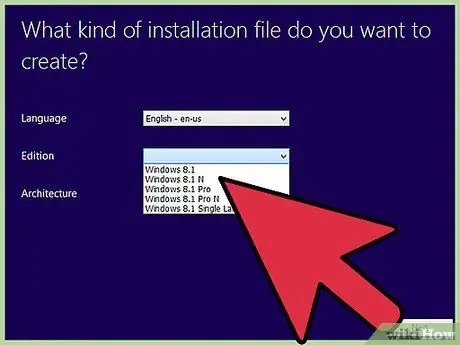
Step 8. Select the Windows installation you want to have access to
There is usually only one option to choose from.
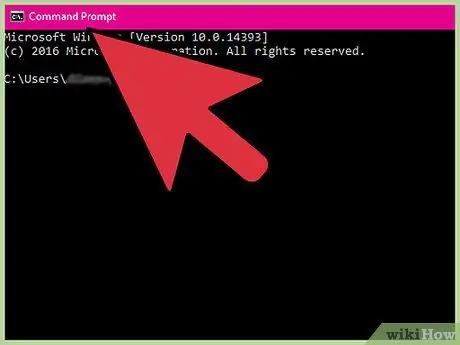
Step 9. Choose the "Command Prompt" item from the "System Recovery Options" menu
A new "Command Prompt" window will appear.
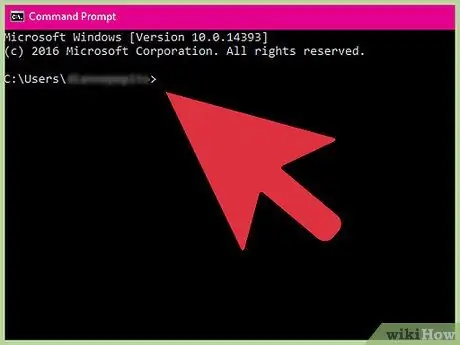
Step 10. Enter the series of commands that will allow you to access the Windows "Command Prompt" from the operating system login screen
The following commands will allow you to complete this step and have access to the "Command Prompt" directly from the Windows login screen which you can use to change the password of any user account. Run the following commands in the order provided:
- Enter the cd / command and press the Enter key;
- Enter the command cd windows / system32 and press the Enter key;
- Enter the command ren utilman.exe utilman.exe.bak and press the Enter key;
- Enter the command copy cmd.exe utilman.exe and press the Enter key.
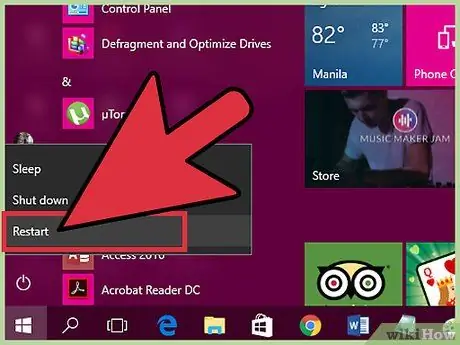
Step 11. Remove the installation media from your computer and restart your PC
Now that you have made all the necessary system file configuration changes, you can restart your computer and begin the password change process. Before restarting the PC, remove the installation CD / DVD from the drive or disconnect the USB drive from the computer, so that the system can boot normally from the hard drive.

Step 12. Press the key combination
⊞ Win + U when the Windows login screen appears.
Normally the "Ease of Access Center" program would start, but since you have edited the system files a "Command Prompt" window will appear.
Press the key combination Alt + Tab ↹ if nothing happens. The command prompt window may be hidden behind the login window
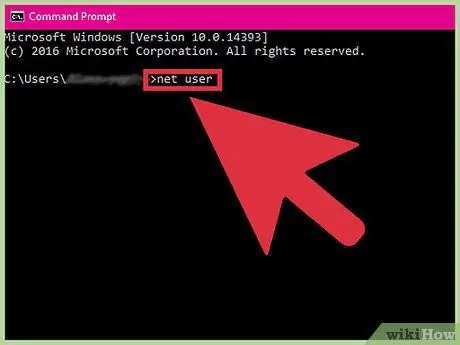
Step 13. Type the command
net user and press the button Enter.
A list of all user accounts on the computer will be displayed. Administrator accounts are listed on the left side of the table, while standard or "guest" users are listed on the right side.
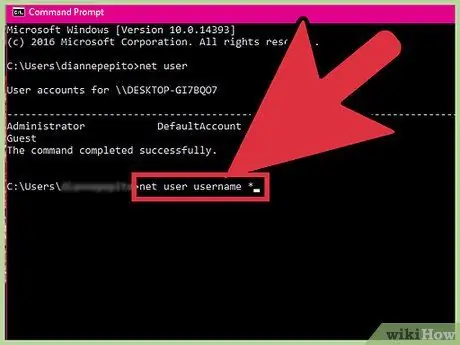
Step 14. Type the command
net user username * and press the button Enter.
Replace the username parameter with the name of the account whose login password you want to change.
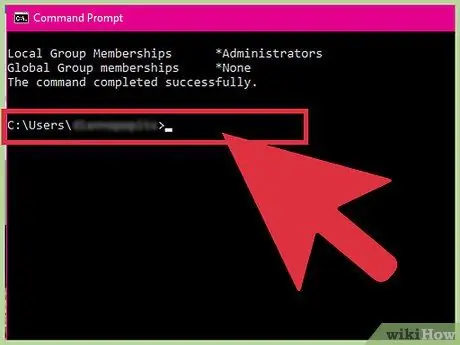
Step 15. Create a new password
When prompted, enter it twice to confirm it is correct. You can consider not using a login password. If so, simply press the Enter key twice. This will create less suspicion than using a password that the account owner does not know.
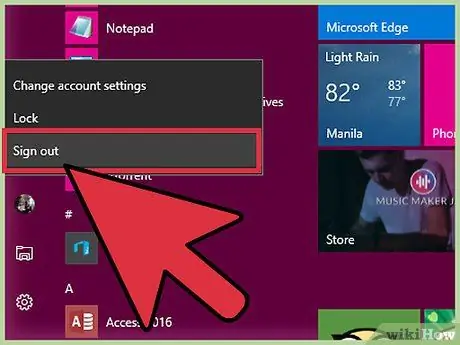
Step 16. Log in using the new password you created
The latter will be active immediately, so all you have to do is go back to the Windows login screen and use it to log in to the user account you changed.


