This article explains how to compress files into a "zipped" folder on Windows 10.
Steps
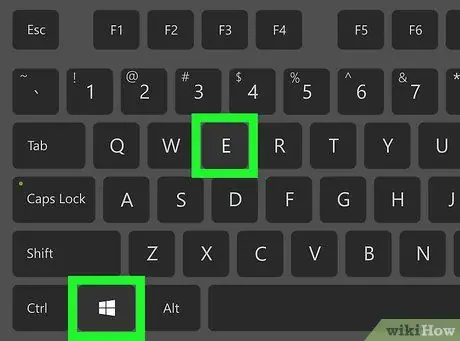
Step 1. Press the ⊞ Win + E keys
The "File Explorer" window will open.
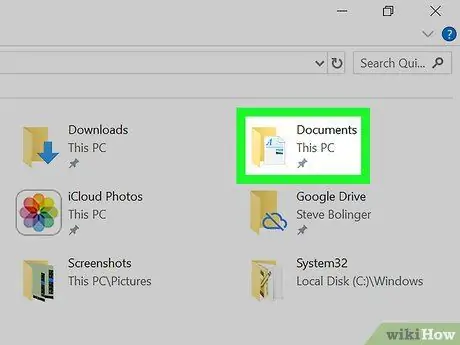
Step 2. Open the folder where the files you want to compress are located
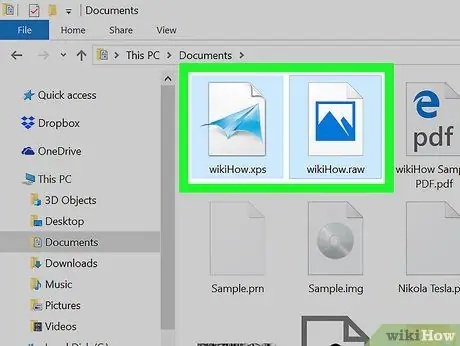
Step 3. Select all the files you want to add to the folder to be compressed
To select multiple files at a time, hold down the Ctrl key as you click on each document.
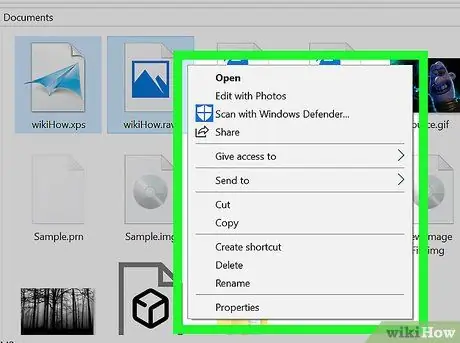
Step 4. Click on a selected file with the right mouse button
A context menu will appear.
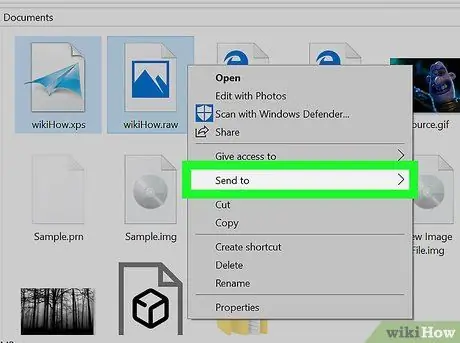
Step 5. Select Send to
Other options will appear.
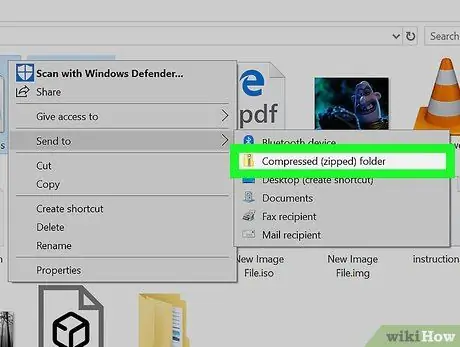
Step 6. Click on Compressed Folder
A new folder will be created, which will have the same name as the file you right-clicked on.
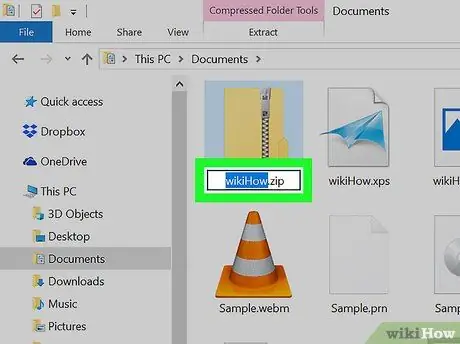
Step 7. Give the folder a new name and press Enter
The selected files will then be compressed into the new file in ZIP format.


