You took a great photograph of a beautiful subject, but the background is not that great; Did you really think that the bathroom in your home could be the right place for a photo shoot? In any case, don't worry anymore, in this article you will find instructions to remove the background of a photograph using the tools provided by GIMP.
Steps
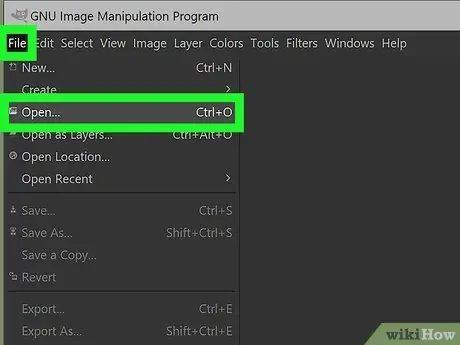
Step 1. Find the image to 'retouch'
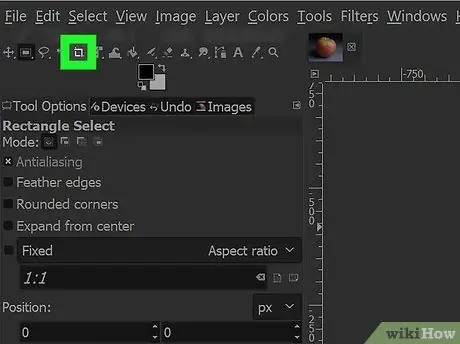
Step 2. Cut out from the image all the parts you want to delete.
Proceed by choosing the 'Rectangular Selection' tool to select the part of the image you want to keep. Now, select 'Crop to Selection' from the 'Image' menu to proceed with selecting the part to delete.
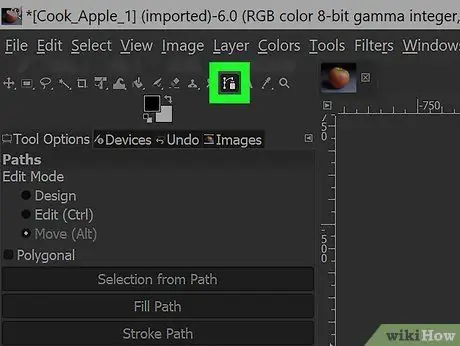
Step 3. Select the 'Paths' tool
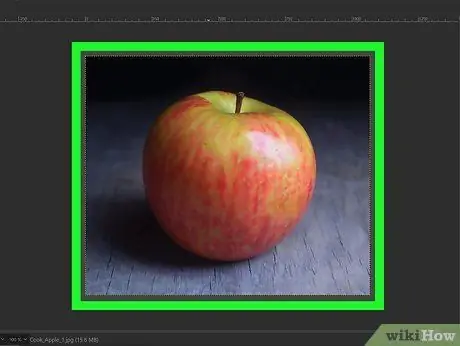
Step 4. Enlarge the image by acting on the 'Zoom'
Try to enlarge it as much as you can, to be as precise as possible.
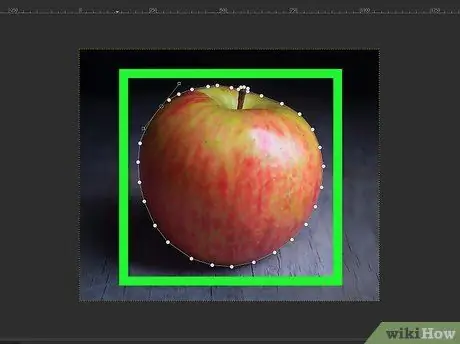
Step 5. Start 'tracing' the image outlines
When using a tool like this, remember that the fewer segments you create the better. You will need to add an extra knot only at the point where there is a change in direction of the edges of the image to be cropped. Keep drawing the path until you have highlighted all the area you want to separate from your subject.
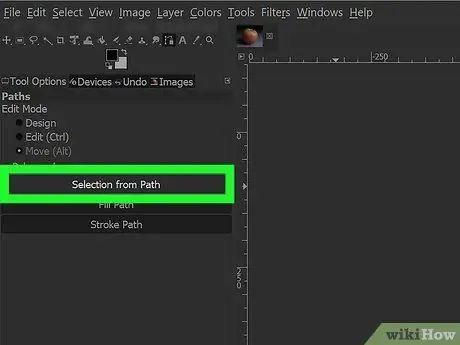
Step 6. Make a selection from the path you drew
You need to have an image area selected to be able to reverse selection and eliminate the unnecessary part.
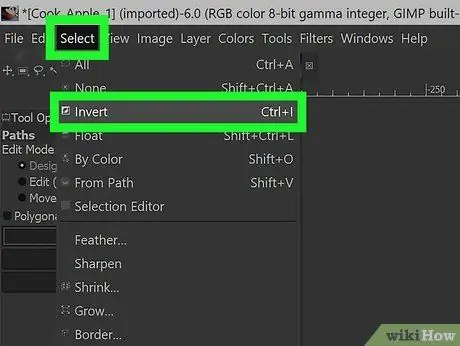
Step 7. Open the 'Select' menu and choose the 'Invert' option, after which you can proceed to delete the selected part
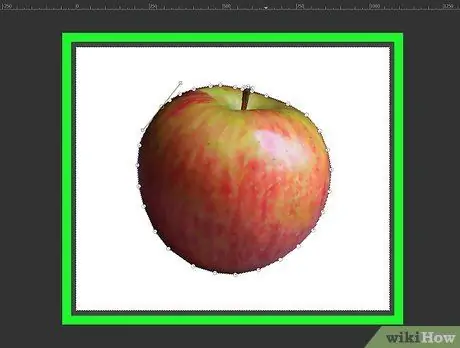
Step 8. Press the 'Delete' key on your keyboard
This will eliminate the selected area of the image, corresponding to the background of the photographed subject.


