GIMP is a free image manipulation program, directly downloadable from the official website www.gimp.org. Among the many tools made available to the user by this software, 'Clone' is certainly the most useful to remove the imperfections that can occur on an image. This tutorial shows you how to use this GIMP tool.
Steps
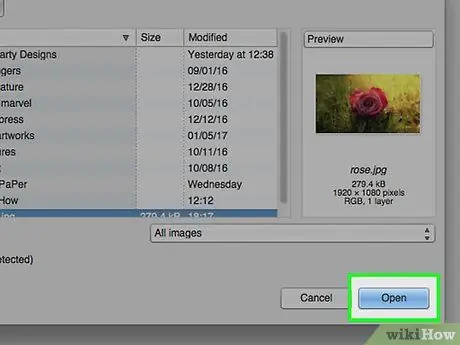
Step 1. Launch GIMP and upload the image you want to edit
In our example, the image shows a red rose.
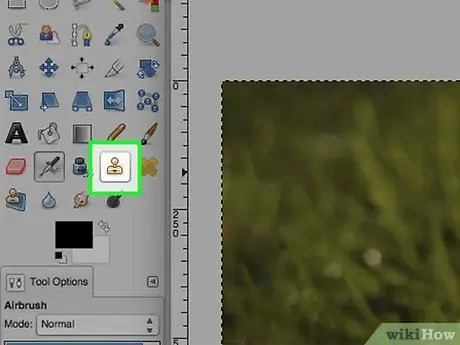
Step 2. From the 'Tools' panel, select the 'Clone' tool
The icon is in the form of a stamp.
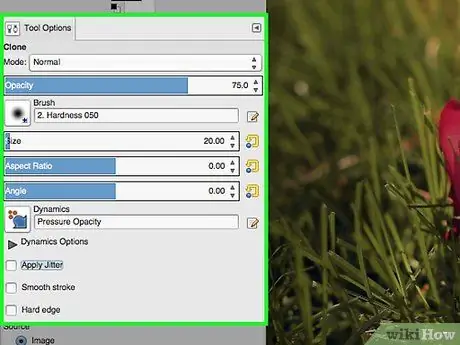
Step 3. Look at the 'Tool Options' panel for the options available for the 'Clone' tool
Most likely you will have to change the value of the 'Opacity' field, because when the opacity is set to a value below 100, the final result looks much more natural. Furthermore, depending on the imperfection you want to correct, you will have to change the scale, by acting on the 'Size ratio' slider. One of the last necessary changes is to choose a brush and its size.
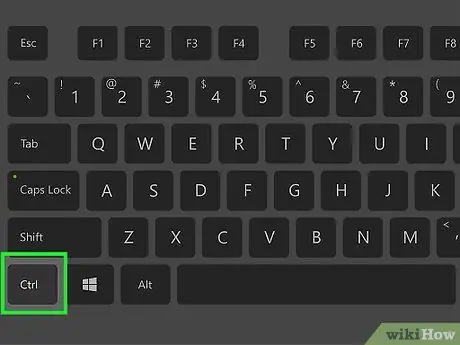
Step 4. Hold down the 'Ctrl' button on your keyboard, while using the mouse to select the area you want to clone
You can change the size of the brush used by acting on the 'Size ratio' slider.
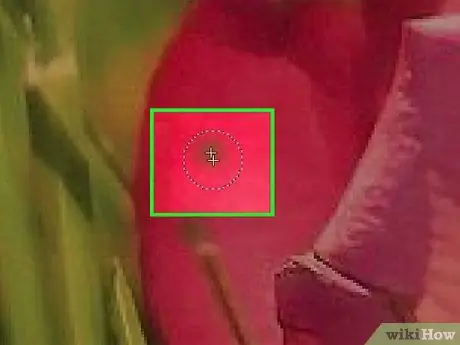
Step 5. Once you have finished selecting the area to clone, you can release the 'Ctrl' key and focus on the area to be covered
Select a point of the image that you want to cover with the cloned sample in the previous step, you will see it appear in the point indicated by the mouse cursor.


