This article explains how to make the white background of an image transparent using the Microsoft Paint editor. If you are using a Windows 10 system, you will have an updated version of Paint (called Paint 3D) that allows you to perform this change to images in a few simple mouse clicks. If, on the other hand, you have the original version of Paint, you will not be able to transform the background into a transparent area, but you will have to cut out the portion of the image to keep and paste it on a different background.
Steps
Method 1 of 2: Paint 3D
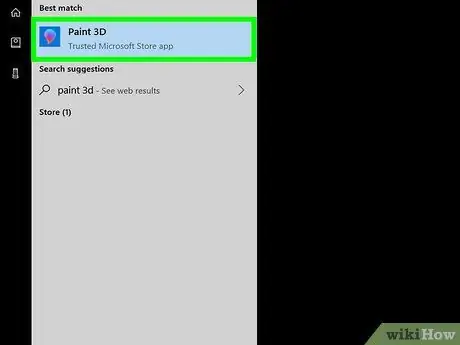
Step 1. Start Paint 3D
Windows 10 has an updated version of the old Microsoft Paint called Paint 3D. You can start the editor using the "Start" menu or by typing the keyword "Paint 3D" into the Windows search bar.
You can use this method to change only solid-color backgrounds
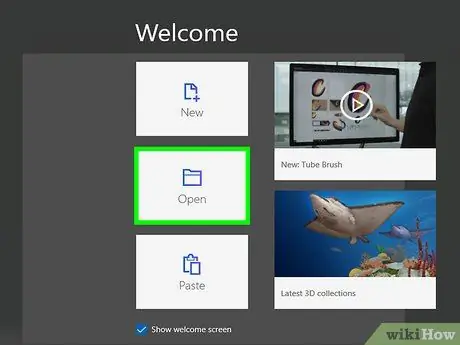
Step 2. Click on the Open option
It is the second icon displayed on the left side of the Paint 3D welcome screen.
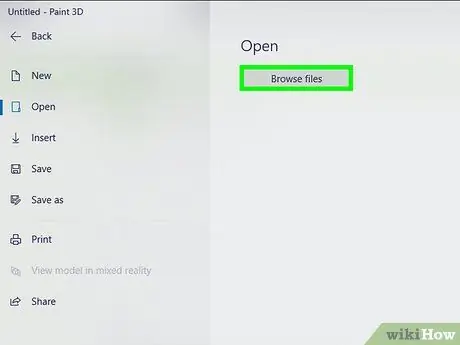
Step 3. Click the Browse Files button
It is displayed at the top of the appeared screen.
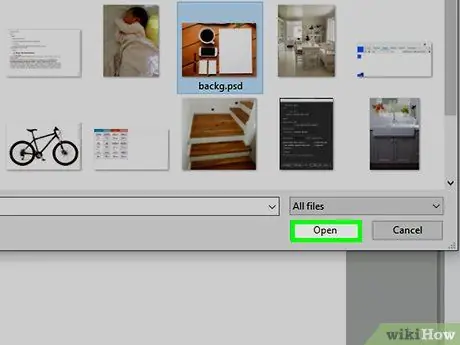
Step 4. Select the file to open and click the Open button
The selected image will be displayed inside the Paint 3D window.
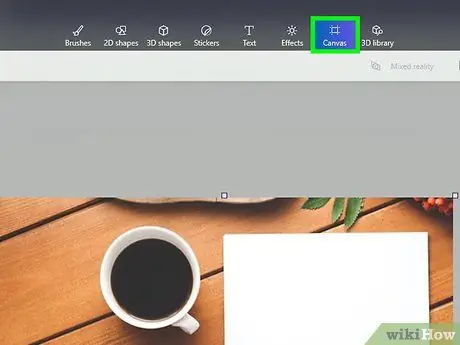
Step 5. Click the Canvas tab
It has a square icon with small segments at each corner and is displayed at the top of the window on the toolbar.
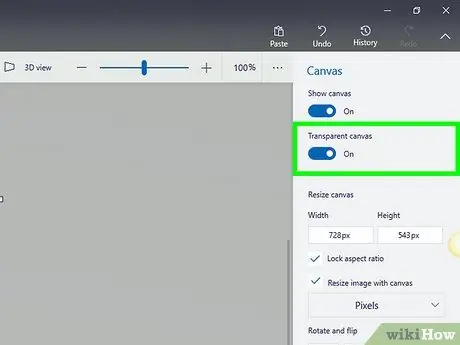
Step 6. Activate the cursor of the item "Transparent drawing area"
It is located in the box on the right of the program window in the "Drawing area" section. This will make the white background of the drawing area become completely transparent, although at the moment you may not notice any difference on the image.
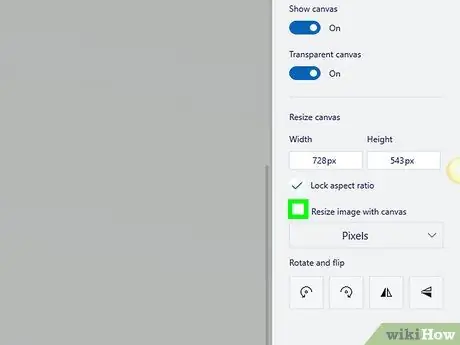
Step 7. Uncheck the "Resize image with drawing area" checkbox
It is displayed in the center of the right side pane of the program window.
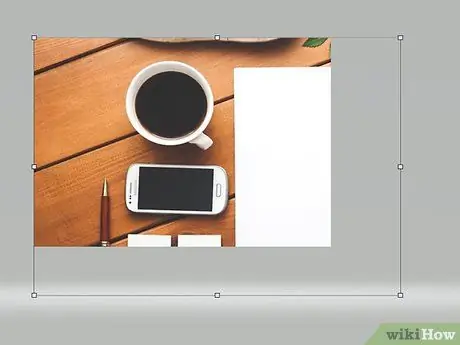
Step 8. Manually resize the drawing area so that it only encompasses the area of the original image you want to keep
Drag the various anchor points, characterized by small squares, within the image until only the portion you want to hold is visible.
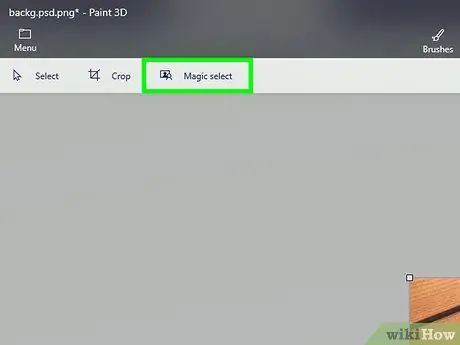
Step 9. Click on the Magic Selection button
It is located on the left side of the toolbar colored in light gray. It features an icon featuring the outline of a stylized human silhouette cut from an image. The section dedicated to the "Magic Selection" tool will be displayed in the right pane of the program window.
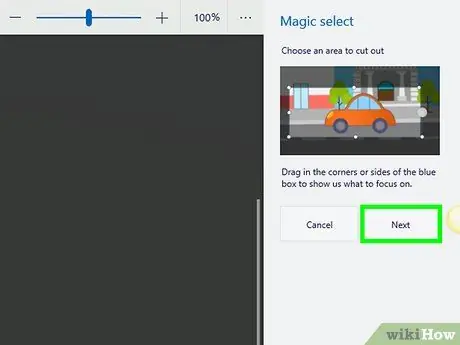
Step 10. Click the Next button
It is displayed in the right pane of the program window.
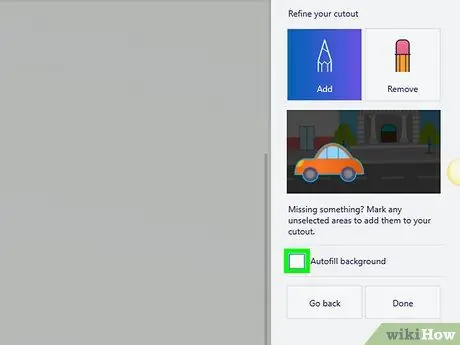
Step 11. Uncheck the "Background Autofill" checkbox
It is displayed in the right pane of the program window.
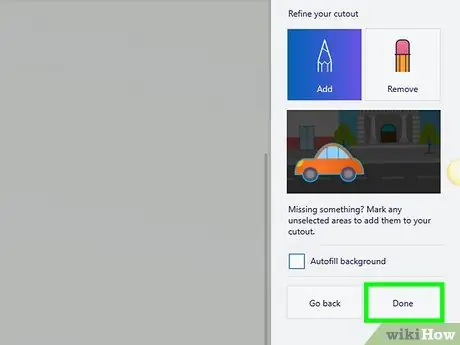
Step 12. Click the Done button
The selected part will be removed from the original image and inserted into a new workspace that will also have a white background.
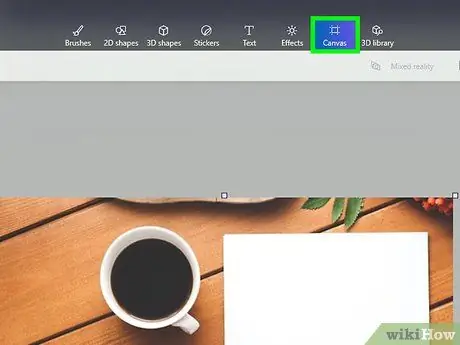
Step 13. Click on the Canvas tab again
It has a square icon with small segments at each corner and is displayed at the top of the window on the toolbar.
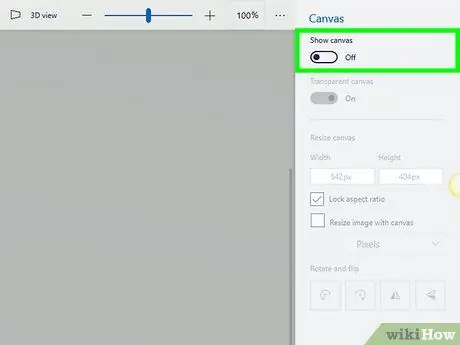
Step 14. Disable the "Show Canvas" slider by moving it to the left
It is displayed at the top of the right pane of the window. At this point, only the area of the original image you selected in the previous step should be displayed, but on a gray background.
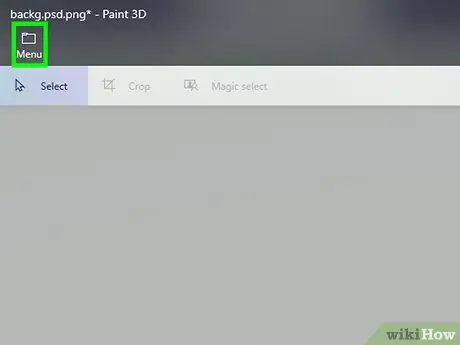
Step 15. Click the Menu button
It features a folder icon and is located in the upper left corner of the Paint 3D window.
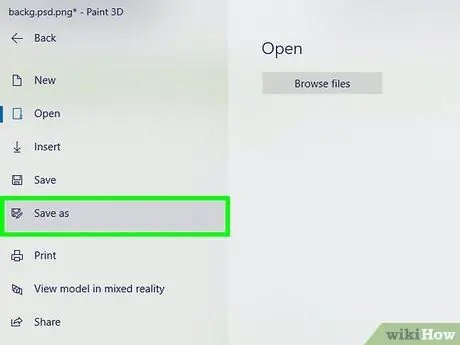
Step 16. Click on the Save As option
It is displayed in the center of the appeared menu.
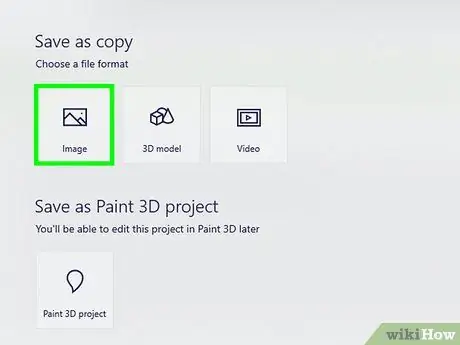
Step 17. Click the Image icon
It features a stylized photo of a mountain landscape.
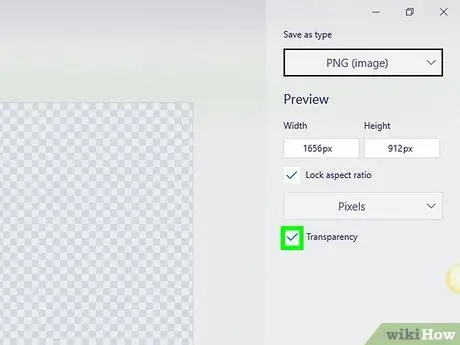
Step 18. Select the "Transparency" checkbox
It is displayed in the right pane of the window. The background of the image will appear with a checkered pattern to indicate that it is actually transparent. The background with the checkered pattern will not be saved as the background of the image in question.
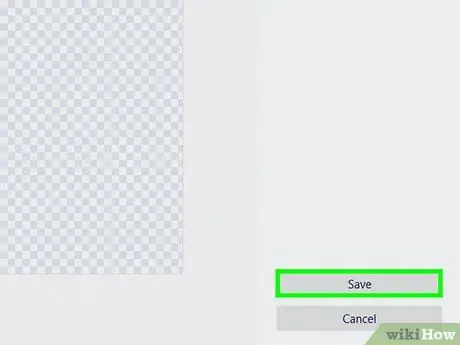
Step 19. Click the Save button
It is located in the lower right corner of the window.
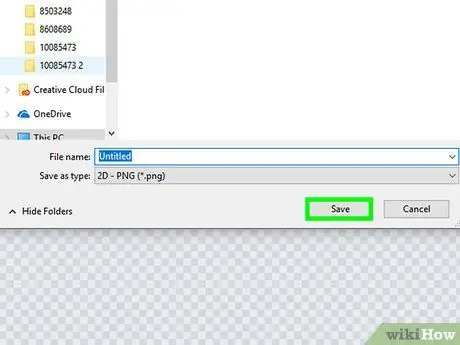
Step 20. Name the new image and click the Save button
The image will be stored on a file with a completely transparent background.
Method 2 of 2: Microsoft Paint
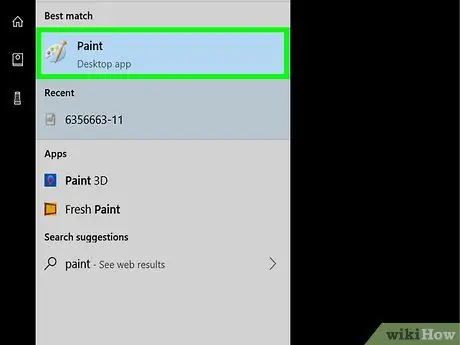
Step 1. Start Paint
Type the keyword "paint" into the Windows search bar, then click on the Paint icon that will appear in the list of results.
- If you are using a computer with Windows 10 operating system, you can use this method which involves using Paint 3D.
- Microsoft Paint does not offer a feature that automatically makes a white background transparent. This method explains how to cut out the part of the image to keep and then paste it on a background different from the original one.
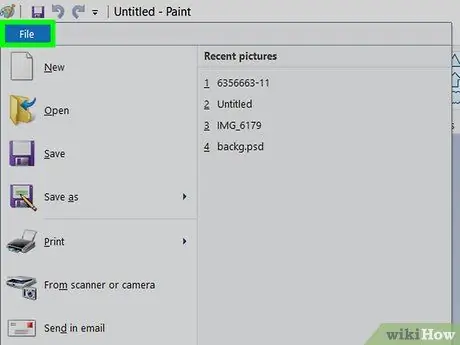
Step 2. Click on the File menu
It is located in the upper left corner of the Paint window.
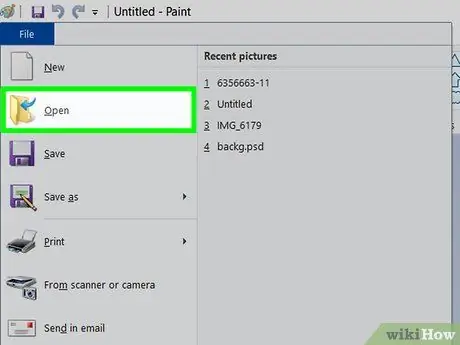
Step 3. Click on the Open item
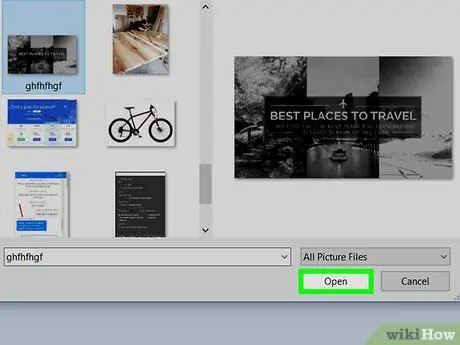
Step 4. Select the image to edit and click the Open button
Make sure the background of the image is white.
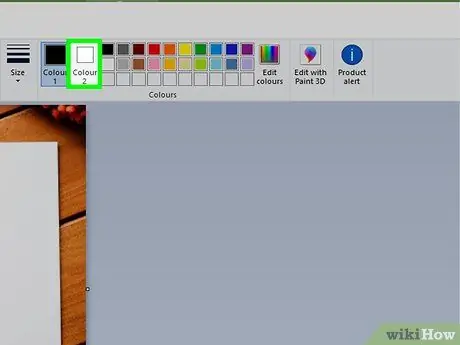
Step 5. Click the Color 2 icon
It is displayed on the Paint toolbar at the top of the program window, next to the palette of available colors.
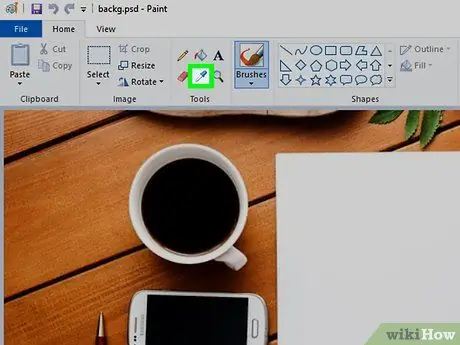
Step 6. Click on the "Color Picker" icon
It features a small eyedropper and is located within the "Tools" group of the Paint toolbar.
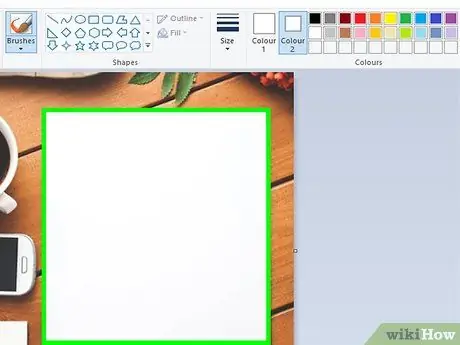
Step 7. Click on an empty spot on the white background of the image
The background color will be displayed inside the small "Color 2" box.
Even if the indicated color was already white, this is a step that should still be performed as a precaution in case the background has a gray or other coloration
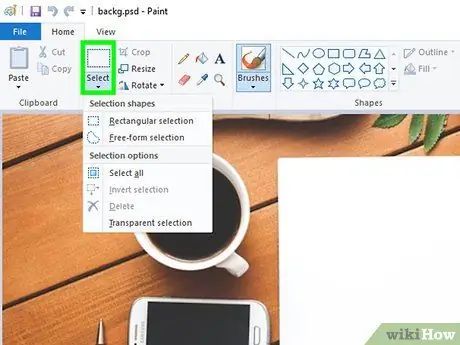
Step 8. Click the down arrow icon
placed under the heading "Selection".
It is located within the "Image" group of the Paint toolbar. A drop-down menu will appear.
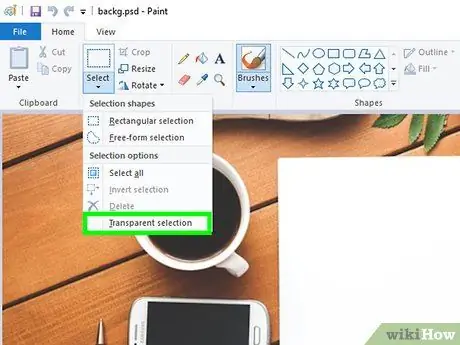
Step 9. Click on the Transparent Selection item
It is the last option in the menu that appeared. A small check mark will appear to the right of the indicated item.
The "Transparent Selection" function does not take into account the white background when you select an area of an image and then copy and paste it into a new file
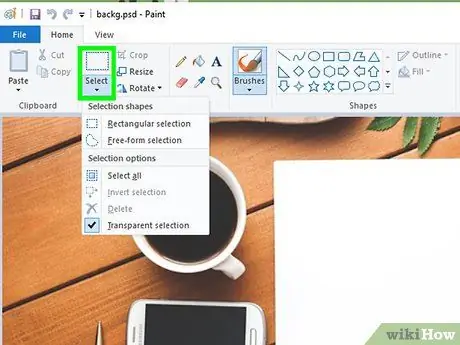
Step 10. Click the down arrow icon again
placed under the heading "Selection".
The previous drop-down menu will appear.
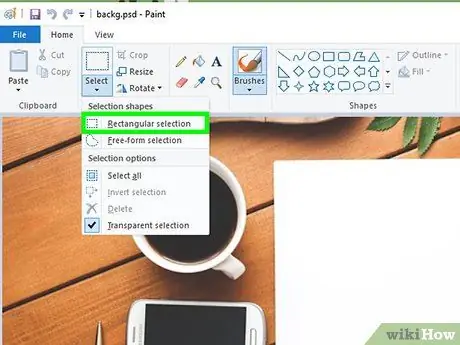
Step 11. Click on the Rectangular Selection option
It is displayed at the top of the appeared menu. This Paint tool allows you to draw a rectangular selection area that includes the subject of the current image.
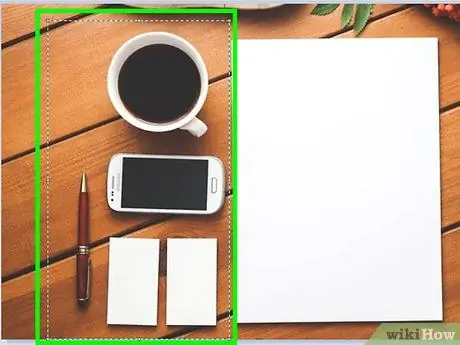
Step 12. Select the part of the image you want to keep
Click and drag the mouse pointer over the image to draw a selection area around the subject of the photo. A dashed-edged rectangle will appear around the image area you have selected.
Any content in the selection area that does not have a color identical to that indicated in the "Color 2" box will be preserved. If the background of the photo is not entirely white (for example because there are shadows or other objects that you want to remove), select the tool Freehand figure selection so that you can trace the precise outline of the portion of the image you want to keep.
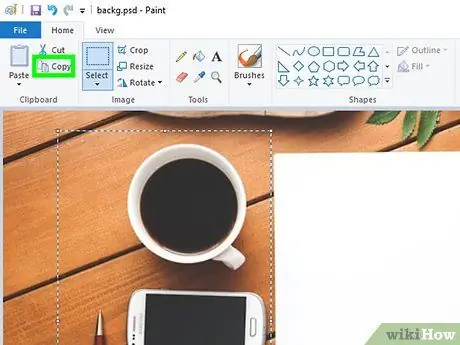
Step 13. Click on the Copy item
It is displayed in the upper left corner of the window in the "Clipboard" group of the toolbar. The selected image area will be copied to the system clipboard.
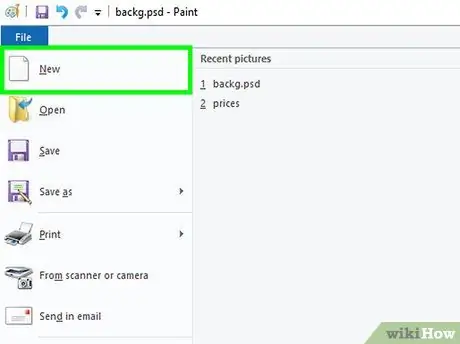
Step 14. Create or open a new file
Now that the original part of the image has been copied, you can open the file you want to paste it into. Before you can do this you will need to choose whether or not to save the changes made to the original image.
- Click on the item File displayed in the upper left corner of the window.
- Click on the option New one to create a new file or click on the item You open to open an existing image.
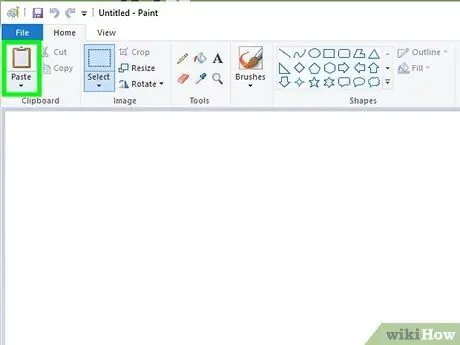
Step 15. Click the Paste button
It is displayed in the upper left corner of the Paint bar within the "Clipboard" group. The area selected from the previous image will be pasted into the one that is currently open.
- Drag the pasted image to place it in the correct place in the new file.
- There may still be some white parts near the edges of the part of the image you pasted. Continue reading the article to find out how to correct this problem.
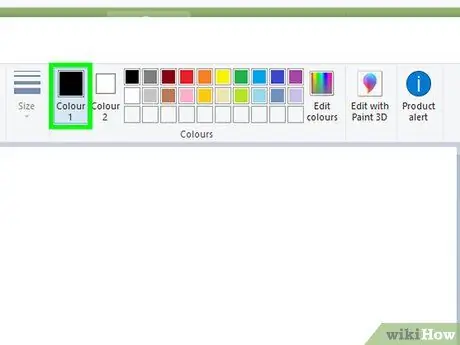
Step 16. Click the Color 1 icon
It is displayed on the Paint toolbar at the top of the program window, next to the palette of available colors.
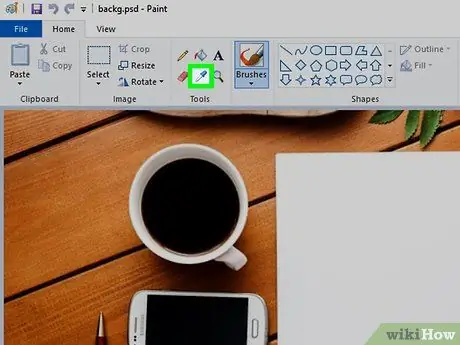
Step 17. Click on the "Color Picker" icon
It features a small eyedropper and is located within the "Tools" group of the Paint toolbar.
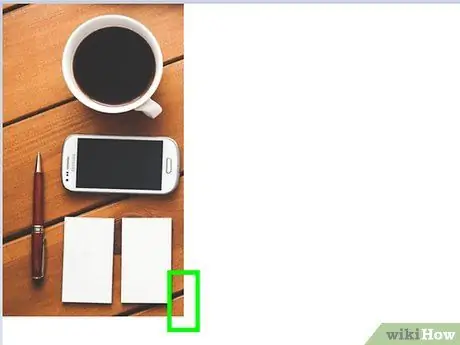
Step 18. Click on the background area located near the edges that have the white areas
This will select the background color present in the direct vicinity of these white areas. You will have the option to color them with the same background color to eliminate them.
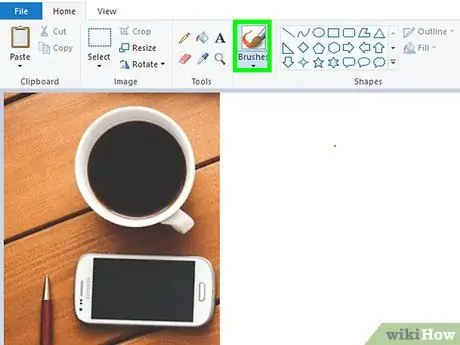
Step 19. Click on the "Brushes" icon
It features a small brush and is visible on the right of the "Tools" group of the Paint toolbar.
You can click on the down arrow icon located below the "Brushes" icon to choose which type of brush to use for drawing

Step 20. Color the border area of the image that was left white
Use the brush you selected to paint any white area left near the edges of the image you just pasted.
- Use the "Zoom in" function to be able to make changes with greater precision and not risk coloring parts of the image you want to keep.
- If the background of the image does not have a single color, you will need to use the "Color Picker" tool several times to select the correct coloring based on the area to be colored.
- Click on the drop-down menu Dimensions to change the size of the brush stroke. To paint most of the area to be edited use a large brush, then use the "Zoom In" function and reduce the size of the brush for greater precision.
- Look for any white part of the original image that the "Transparent Selection" tool did not copy, then use the brush and the most suitable color to restore it.
- If you accidentally colored a part of the image that shouldn't have been changed, press the key combination Ctrl + Z to undo the last action performed.


