This article explains how to accept a contact request on Skype using a computer (Windows or Mac).
Steps
Method 1 of 3: Windows

Step 1. Open Skype
If you use Windows 10, click on the Start menu at the bottom left, then on the blue Skype icon. If you have Windows 8 or 8.1, press ⊞ Win on the keyboard (or swipe from the right if you are using a touch screen) and tap / click on "Skype".
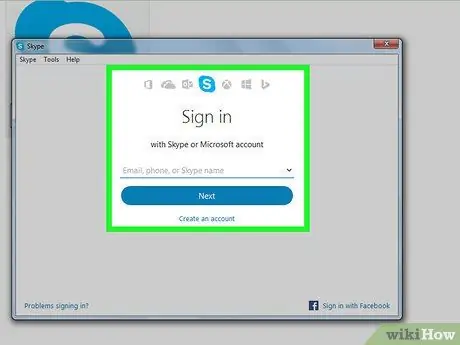
Step 2. Sign into Skype
If you are not logged in yet, enter your username and click "Next" to enter your password. Enter the correct information, click on "Login".
If this is your first time using Skype on this computer, a pop-up window may appear that has the function of describing a product feature. Click on "Close" to continue
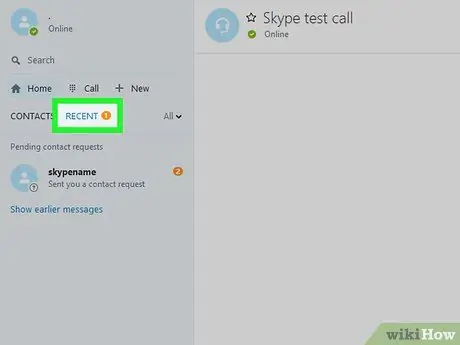
Step 3. Click on the recent conversations icon
It looks like a dialogue bubble and is located at the top left (inside the gray vertical bar). If you have a pending contact request, the icon will also have an orange dot.
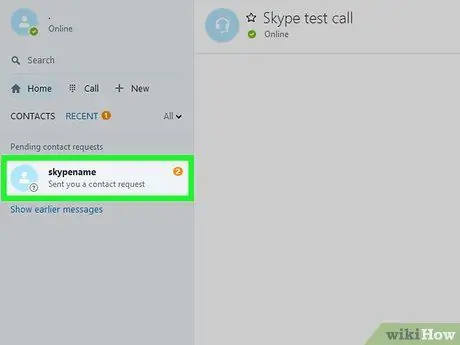
Step 4. Click on the name of the person who sent you the request
The request will appear in the "Recent" section.
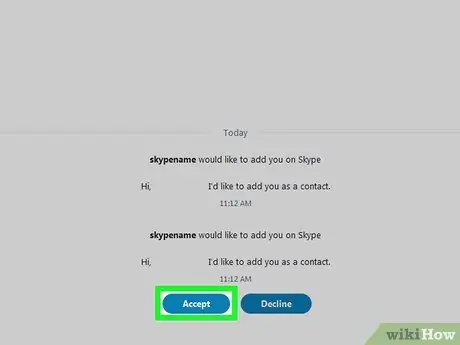
Step 5. Click Accept
The person who sent you the request will then be added to your contacts, while you will be added to theirs.
Method 2 of 3: Mac
Step 1. Open Skype
The icon looks like a white S on a light blue background. If you've already installed Skype, you'll find it in the Dock, Launchpad, or "Applications" folder.
If you haven't installed Skype on your Mac, read this article to learn how
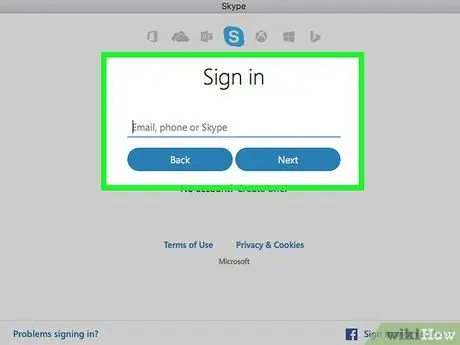
Step 2. Sign into Skype
Enter your username, then click "Next". Enter your password and click on "Login".
If this is your first time using the Skype for web version, you may see a welcome message. Read it and click "Continue" to log in to Skype
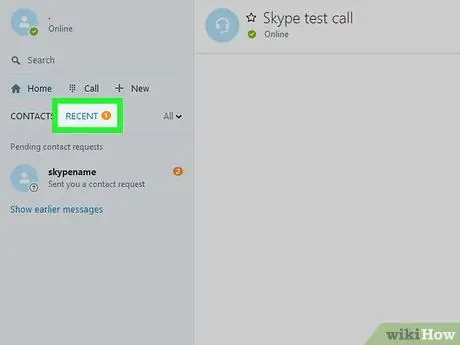
Step 3. Click on Recent
It is located on the left of the panel, next to the "Contacts" tab. People who have sent you a contact request will appear in this list.
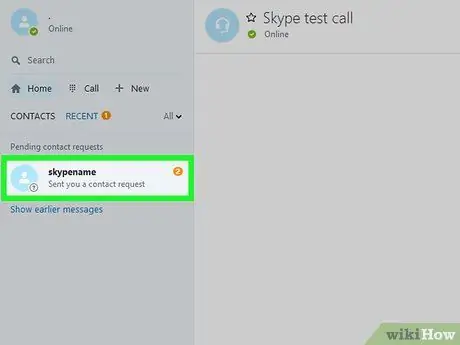
Step 4. Click on the name of the person who sent the request
You will see it in the panel on the left.
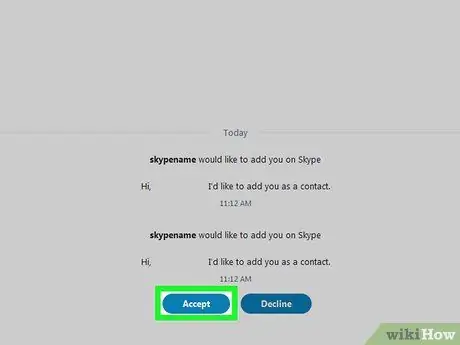
Step 5. Click Accept
It is located in the central panel. This action allows you to add the user to your address book, while you will be added to his. You can start exchanging messages right away.
Method 3 of 3: Web
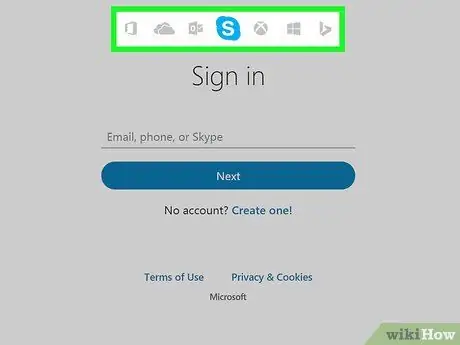
Step 1. Go to https://web.skype.com in a browser
The web version of Skype can be used on any operating system, including MacOS, Windows and Linux.
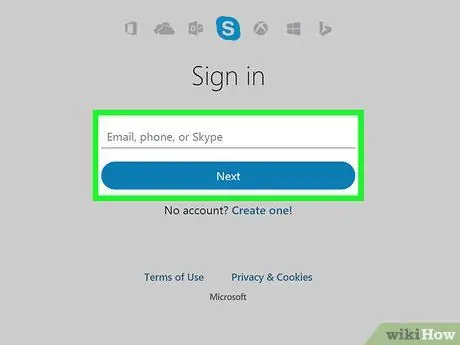
Step 2. Sign into Skype
Enter your username, click "Next" and enter your password. Click on "Login" to enter.
If this is your first time using the web version of Skype, a pop-up window may appear to welcome you. Read the message and click "Get started" to log into Skype
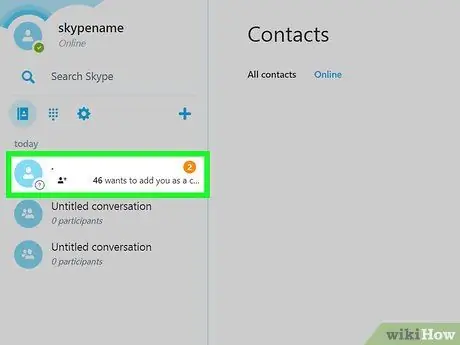
Step 3. Click on the name of the person who sent you the request
This user will appear at the bottom of the contact list, on the left side of the screen. Under its name you will see the phrase "Status unknown".
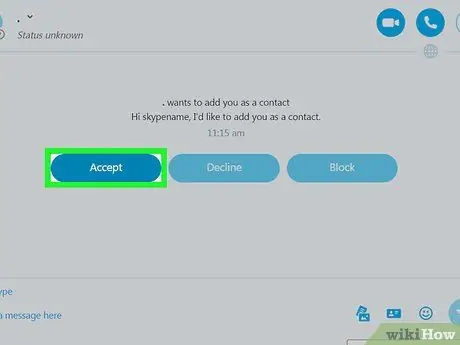
Step 4. Click Accept Request
It is located in the central panel of the Skype for web version. Accepted the request, you will be added to the address book of this user, while he will be added to yours.


