This article explains how to save a received email in Microsoft Outlook by converting it to a PDF file on Windows or macOS.
Steps
Method 1 of 2: Windows
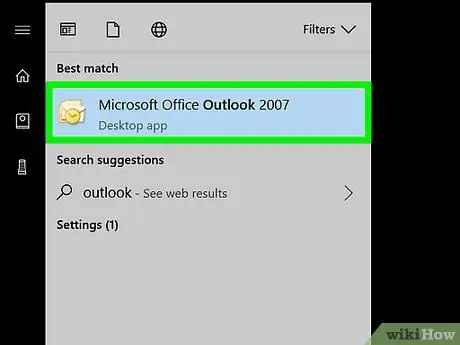
Step 1. Open Microsoft Outlook
Open the "Start" menu, click on "All Applications," expand "Microsoft Office" and select "Microsoft Outlook".
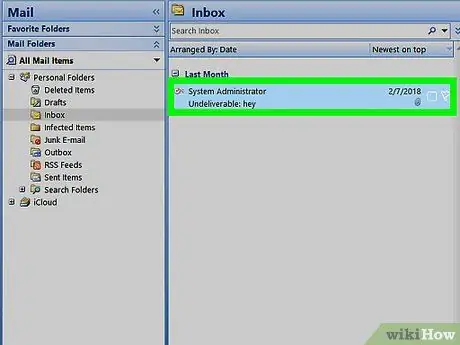
Step 2. Click on the message you want to save as a PDF
The e-mail will be opened in the reader panel.
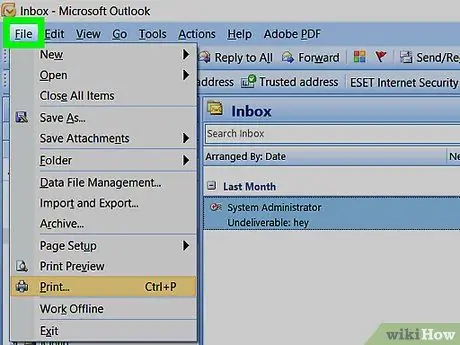
Step 3. Click on the File menu
It is located in the upper left.
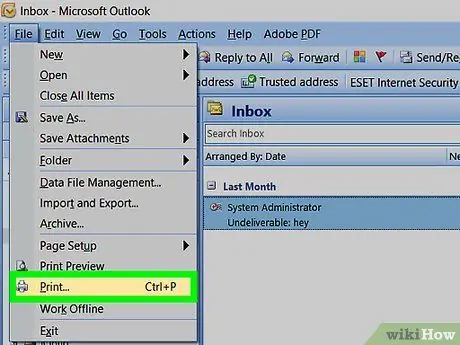
Step 4. Click Print
It is located in the column on the left side of the screen.
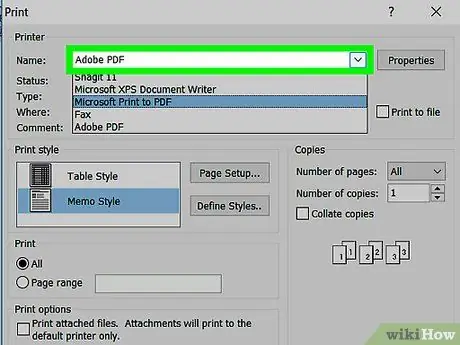
Step 5. Click on the drop-down menu in the "Printer" section
A list of printers and other options will appear.
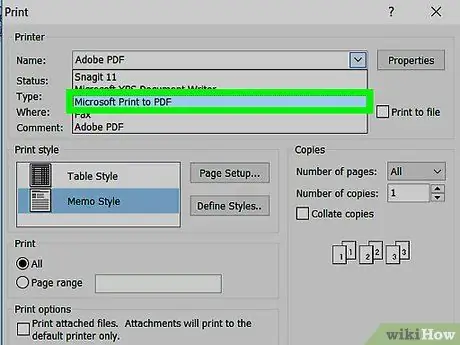
Step 6. Click on Microsoft Print to PDF
In this way Outlook will receive the command to "print" the message as a PDF.
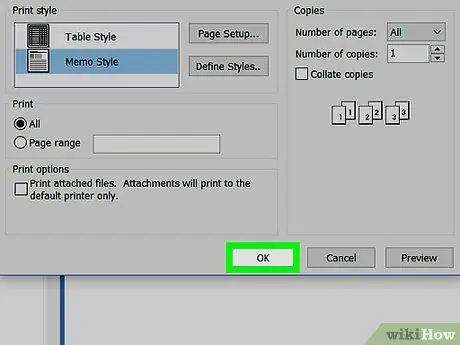
Step 7. Click Print
The icon looks like a printer and is located in the "Print" section. This will open a window titled "Save Print Output As".
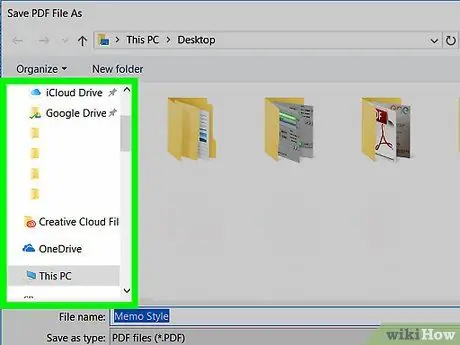
Step 8. Open the folder where you want to save the file
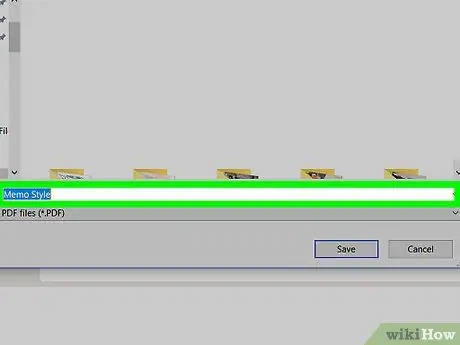
Step 9. Name the file
Type it in the "File Name" box, located at the bottom of the window.
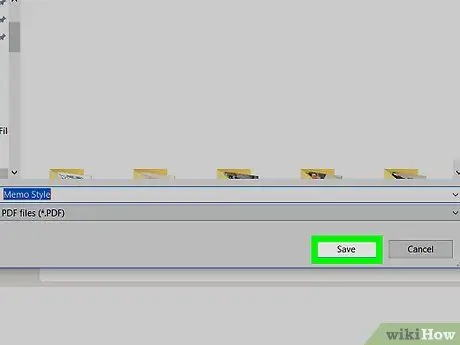
Step 10. Click Save
The e-mail will be saved as a PDF file in the selected folder.
Method 2 of 2: macOS
Step 1. Open Microsoft Outlook on the Mac
It is usually found in the "Applications" folder and in the Launchpad.
Step 2. Click on the message you want to print
The e-mail will be opened in the reader panel.
Step 3. Click on the menu titled File
It is located in the upper left.
Step 4. Click Print
This will open the configuration window for printing.
Step 5. Click on the drop-down menu titled "PDF"
It is located at the bottom left.
Step 6. Select Save as PDF
Step 7. Name the file
Type it in the "File Name" field.
Step 8. Select a location to save the file
To do this, click on the small arrow next to the "Save as" field, then search for the desired folder.
Step 9. Click Save
The file will then be saved in the selected folder.


