This article shows you how to uninstall an application from an iPad. Read on to find out what steps you need to take.
Steps
Method 1 of 2: Using the iPad
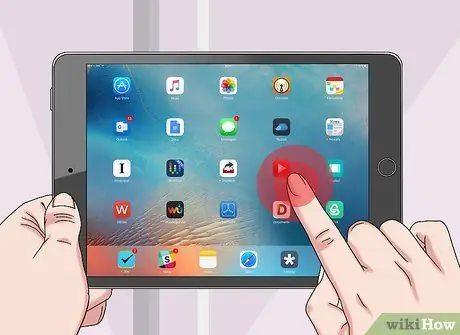
Step 1. Press and hold an application icon until all icons on the screen begin to wobble slightly
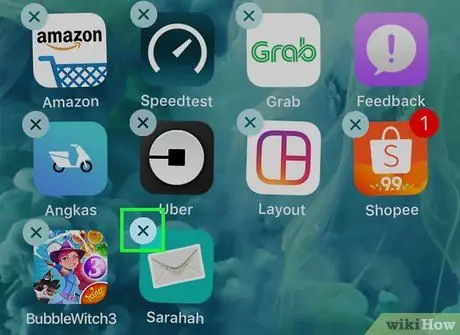
Step 2. Now tap the small "ⓧ" button that appeared in the upper left corner of the icon for the app you want to uninstall
Remember that pre-installed applications, for example the App Store, Settings, Contacts and Safari, cannot be removed, so the "ⓧ" button will not appear
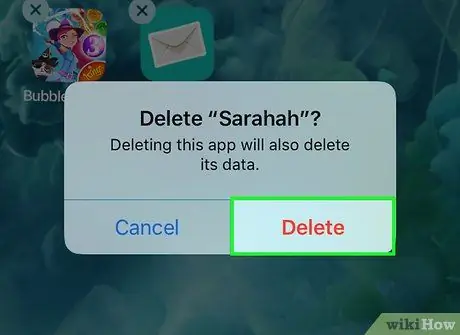
Step 3. Select the Delete option to confirm your action
If for any reason you changed your mind or selected the wrong app by mistake, you can press the button Cancel to stop the uninstall process.
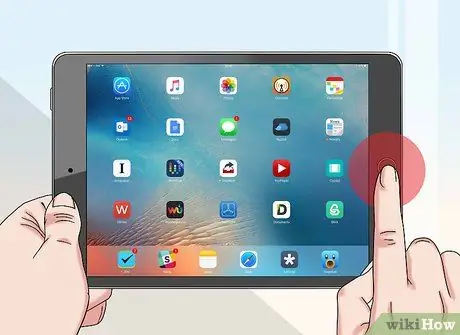
Step 4. To return to the normal viewing mode of the Home screen simply press the "Home" button
Selected app has been permanently deleted from iPad.
Method 2 of 2: Using iTunes
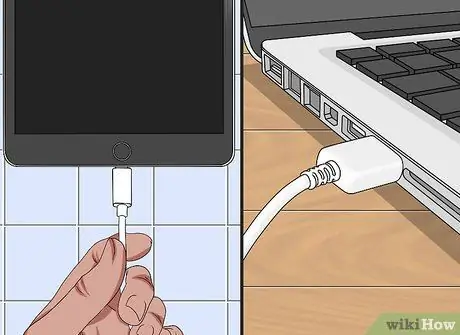
Step 1. Connect iPad to computer
To do this, use the USB cable supplied at the time of purchase, connecting one end to the USB port of the computer and the other to the communication port of the iOS device.
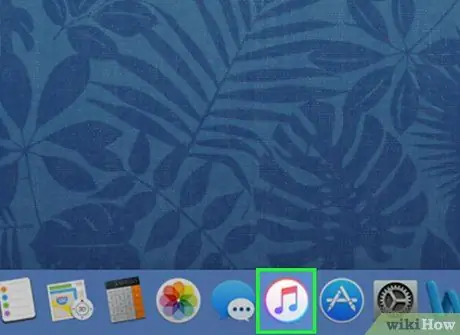
Step 2. Launch iTunes on your computer
It features a multicolored music note icon.
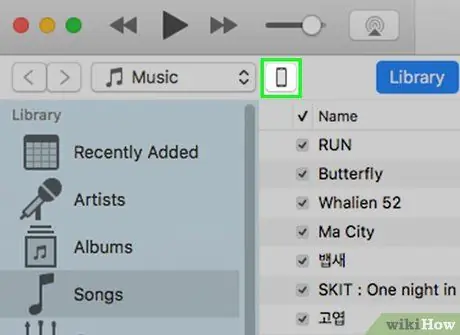
Step 3. Click the iPad icon
It is displayed in the upper left of the iTunes window.
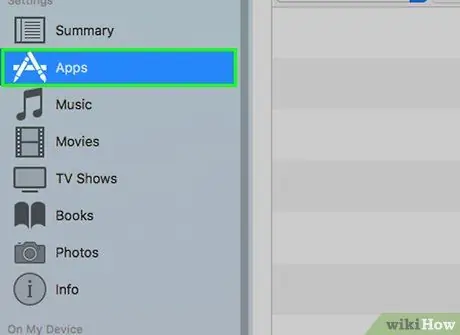
Step 4. Select the App category
It is located in the sidebar on the left of the iTunes window in the "Settings" section.
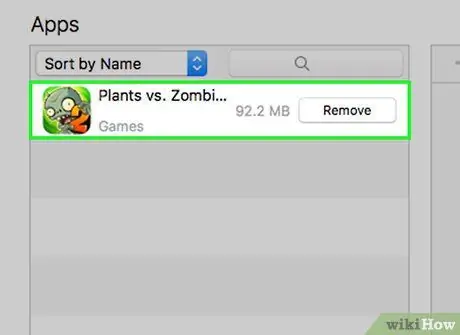
Step 5. Find the application you want to delete
The list of apps is displayed in the main iTunes pane located in the center of the window, just below the "Applications" heading.
You may need to scroll down the list to find the application you want to delete
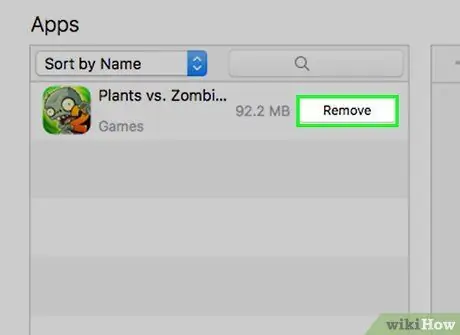
Step 6. Press the Remove button
It appears to the right of the name of each application listed and then installed on the iPad.
- The button label will change to indicate that the application has been flagged for removal, but this process will only run after the device is synced.
- Repeat this step for any other applications you want to uninstall from the iPad.
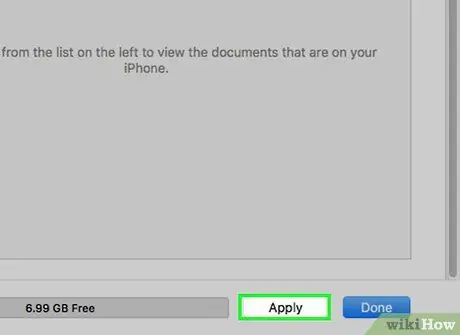
Step 7. Now press the Apply button
It is located in the lower right corner of the iTunes window. When the sync is complete, all the removed apps will no longer be present inside the iPad.


