This article explains how to create a free Minecraft server. There are many hosting services that you can sign up for, but Minehut is one of the few that allows you to do it for free. The servers hosted on this platform are only compatible with the Java version of the game. Read on to find out how to create a free Minecraft server using Minehut.
Steps
Part 1 of 4: Creating a Minehut Account
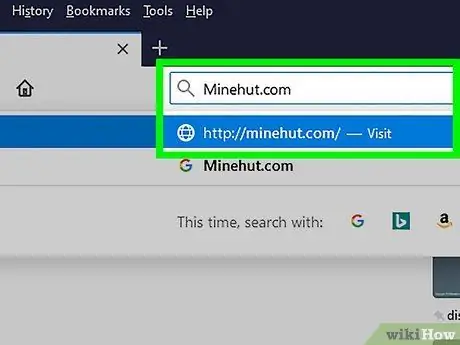
Step 1. Go to https://minehut.com/ with your computer's browser
Minehut is one of many Minecraft server hosting services. It is easy to use and is one of the few that offers this service for free. Allows you to host two Minecraft servers for up to 10 players at no cost. If you want to create more than 2 servers or have more than 10 players participate in your games, you can buy credits.
- Alternatively, you can host a free Minecraft server on your computer. You can do this for all versions of the game. However, bear in mind that the setup is quite complicated, that the server uses a lot of RAM and requires a fast internet connection, as well as the resources needed to play and keep the computer's operating system running.
- Minehut servers are only available for the Java edition of Minecraft. If you want to create a server for Windows 10, mobile or console versions, you can do it using Realms or Aternos. Alternatively, you can host the server on your computer. You can download the program to run a Minecraft: Bedrock Edition server from this address: https://www.minecraft.net/en-us/download/server/bedrock/.
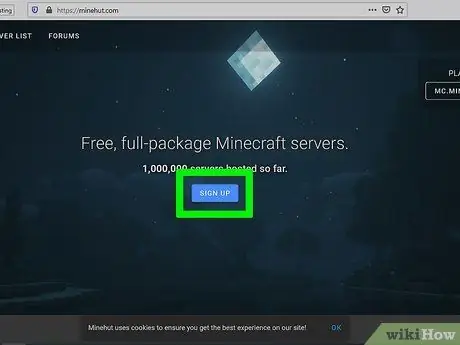
Step 2. Click Sign Up
You will see this blue button in the center of the page.
If you already have a Minehut account, click on Log In in the upper right corner, then enter the email and password associated with your profile, in order to access the Dashboard.
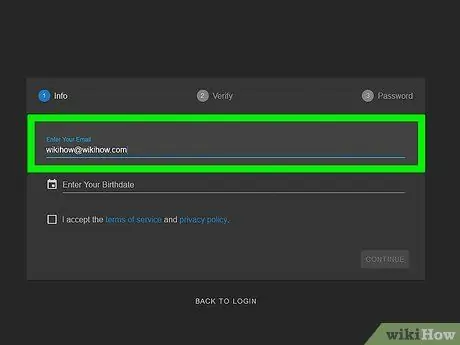
Step 3. Enter an email
Type a working email address in the text field that contains "Enter your email". This is the first line at the top of the page.
Make sure you have access to this email; you will need to verify your account shortly
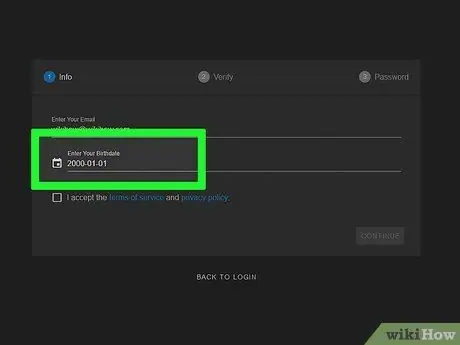
Step 4. Enter your date of birth
To do this, click on the second line on the page. Click on the year you were born in the menu that appears, then click on the month and finally on the day in the calendar.
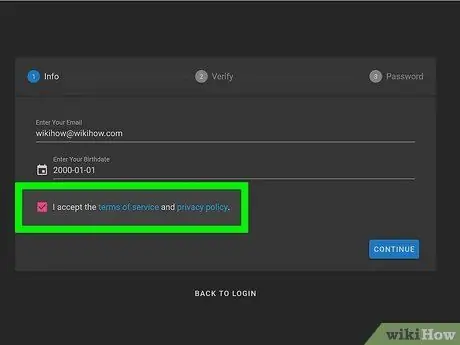
Step 5. Check the box at the bottom of the form
By doing so you agree to Minehut's terms of service and privacy policy. You can read both documents by clicking on the blue links at the bottom of the form.
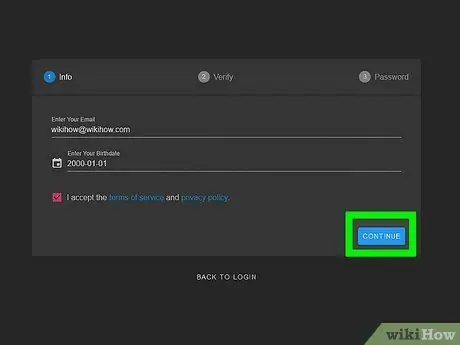
Step 6. Click Continue in the lower right corner of the form
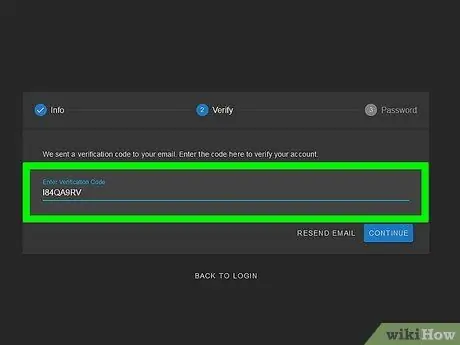
Step 7. Verify your email
Open your inbox and look for the message titled Minehut Account Verification (check your Spam or Trash folder if necessary). Follow these steps to verify your email address.
- Open the email inbox.
- Click on the message Minehut Account Verification from "info".
- Read the 8-character code contained in the message.
- Enter the 8-character code in the "Verify" text field on the Minehut page.
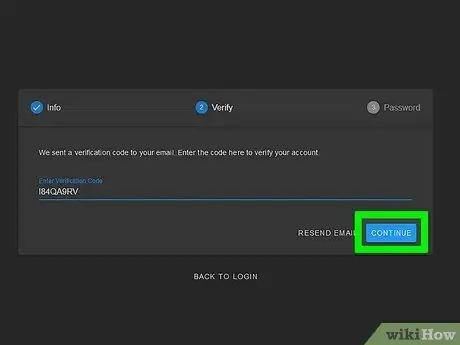
Step 8. Click Continue
If you entered the code correctly, the password creation page will open.
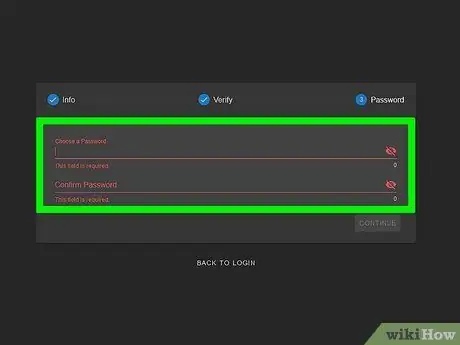
Step 9. Create a password
Type your preferred password in the "Choose a password" text field. To confirm it, repeat it in the text field below.
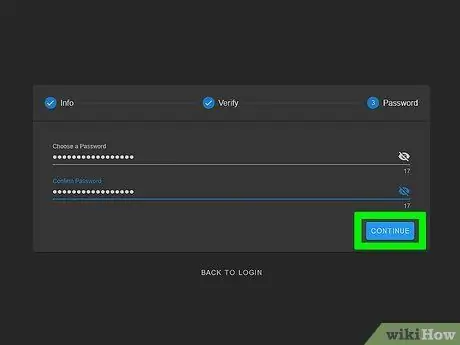
Step 10. Click Continue
You have just created your Minehut account: the server creation page will open.
Part 2 of 4: Configure the Server
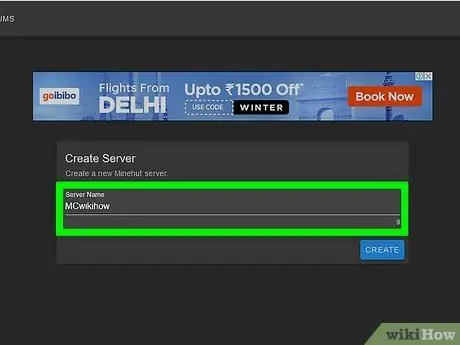
Step 1. Name the server
Type a simple name in the text field in the center of the page.
- The server name must not exceed 10 characters.
- The server name cannot contain spaces and special characters.
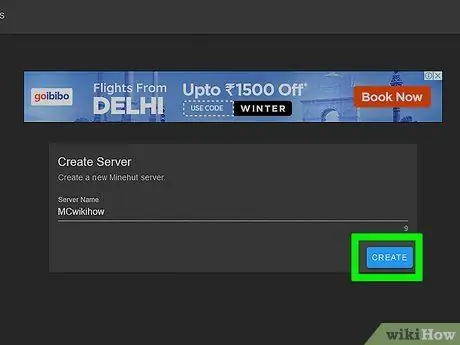
Step 2. Click Create
You will see this blue button in the lower right corner. Press it to create the server and open the Dashboard.
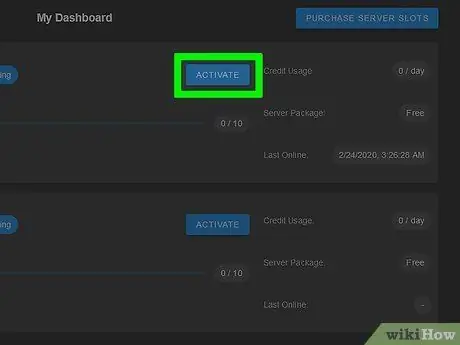
Step 3. Click on Activate
This blue button is located to the right of your server status within the Dashboard. It can take a few minutes to move your server to a high-performance, DDoS-protected system.
If the server is disconnected during the configuration operations, click again on Activate to reconnect it.
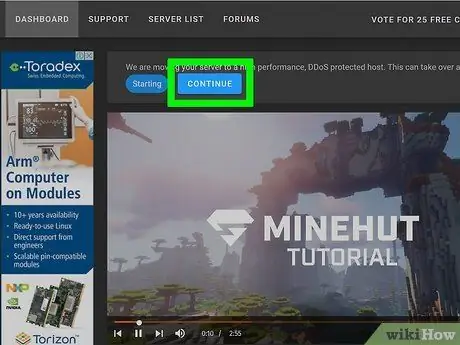
Step 4. Click Continue
When the server has been transferred to the new host, the blue "Continue" button will appear next to the "Online" button.
Part 3 of 4: Change the Server Settings
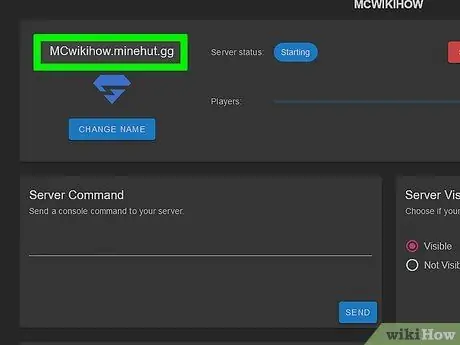
Step 1. Find out the server address
You will see it in the box in the upper left corner. Under the address you will notice a blue shield icon.
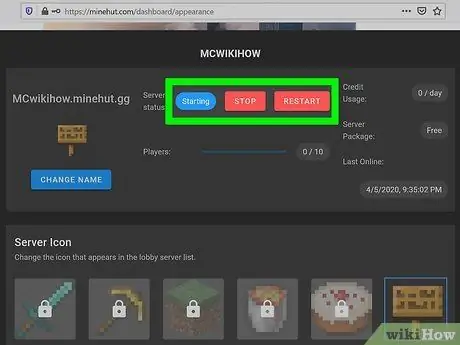
Step 2. Stop or restart the server
If you need to shut down or restart the server, click on the red buttons Stop or Restart visible at the top of the page.
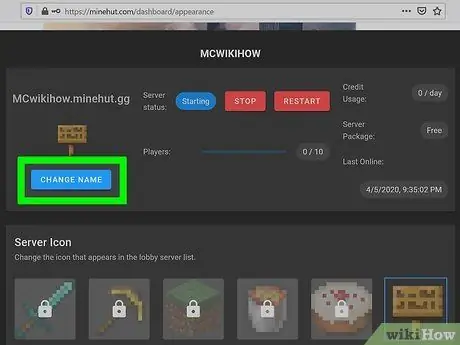
Step 3. Change the server name
To do this, click on the blue button Change Name under the server address. Enter the new name, then click on Apply.
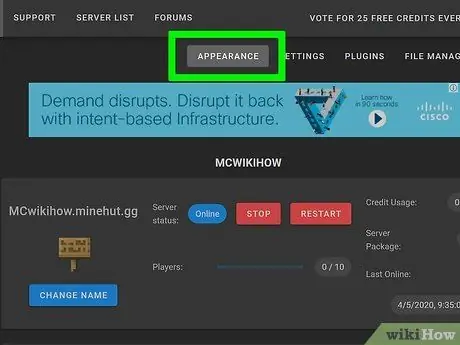
Step 4. Change the appearance of the server
To do this, click on the tab Appearance up. Use the following fields to change the server appearance settings.
- Server Command: if you want to send a command to your server, type it in the "Server Command" line, then click on Send.
- Server Visibility: click on the button next to "Visible" or "Not visible" to decide if the server should be public or hidden, then click on Update.
- MOTD server: type a description for your server under the "Server MOTD" line, visible at the bottom of the page, then click on Update.
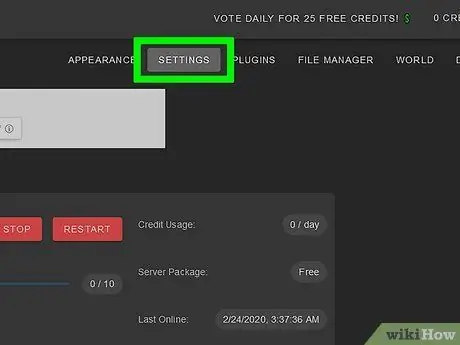
Step 5. Change the server settings
To do this, click on the tab Settings at the top of the page, then follow these steps:
- Max Players: Click the button next to the maximum number of players the server can host, then click Save. You need to purchase credits if you want to host more than 10 players.
- Level Type: to change the type of layer, click the button next to one of the options "Default", "Flat", Amplified "," Large Biomes "or" Customized ", then click on Save.
- Level Name: if you want to name your world, type it in this field, then click on Save.
- Generator Settings: enter the generation settings in this field, then click on Save. The level type in this case must be set to "Flat" for flat pre-generated worlds and to "customized" for all others.
- Gamemode: to select the game mode, click the button next to one of the options "Survival", "Creative", "Adventure" or "Spectator", then click on Save.
- Force Gamemode: To prevent users from changing the game mode of your server click the button under "Force Gamemode", then click Save.
- PVP: to enable PVP (Player vs Player or player vs player), click on the button under "PVP", then on Save.
- Monster Spawning: click on the button under "Monster Spawning" to activate or deactivate the generation of monsters, then click on Save.
- Animal Spawning: click on the button under "Animal Spawning" to activate or deactivate the spawning of animals, then click on Save.
- Flight: click on the button under "Flight" to activate or deactivate the flight on your server, then click on Save.
- Difficulty: to change the difficulty of your server, click on the button next to one of the "Peaceful", "Easy", "Normal" or "Hard" items under "Difficulty", then click on Save.
- Hardcore: click on the button under "Hardcore" to activate or deactivate hardcore mode for your server, then click on Save.
- Command Blocks: click on the button below Command Blocks to activate or deactivate command blocks on your server, then click on Save.
- Announce Player Achievements: Click on the button under "Announce Player Achievements" to activate or deactivate the announcement of achievements for other players on your server, then click on Save.
- Nether World: click on the button under "Nether World" to activate or deactivate the Nether dimension on your server, then click on Save.
- Structures: click on the button under "Structures" to activate or deactivate the generation of random structures on your server, then click on Save.
- Resource Pack: if you have a resource pack URL, enter it in this field, then click Save.
- Resource Pack Hash: To add the SHA-1 hash code of a resource pack, type it in this field, then click on Save.
- View Distance: to increase the viewing distance on your server, drag the selector under "View Distance", then click on Save.
- Spawn Protection: to increase or decrease the range of protection for players upon entering your server, type a number greater than or equal to 0 in this field, then click on Save. The default is 16.
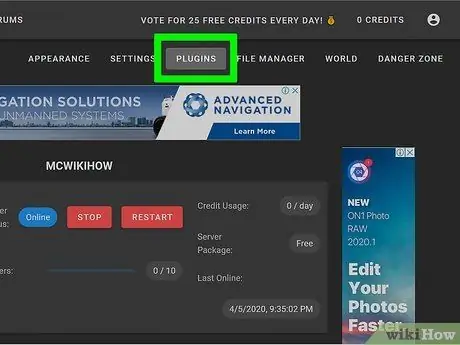
Step 6. Add a plugin to your server
To do this, follow these steps:
- Click on the tab Plugins in the upper right corner.
- Scroll down and browse the plugins, or enter the name of the add-on you are interested in in the search bar.
- Click on a plugin name.
- Click on Install Plugin.
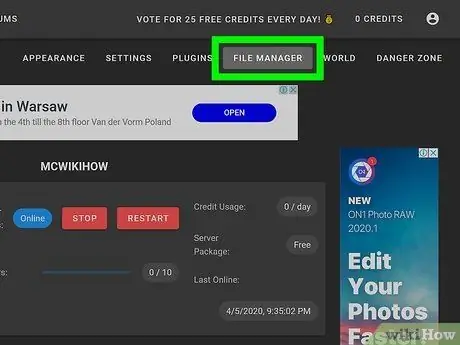
Step 7. Manage server files (for advanced users only)
If you want to edit the server files, follow these steps:
- Click on the tab File Manager in the upper right corner.
- Click on a file in the list to edit it. Click on Save to save it.
- Click on the cloud icon to upload a file from your computer.
- Click on the icon that looks like a sheet of paper to create a new file.
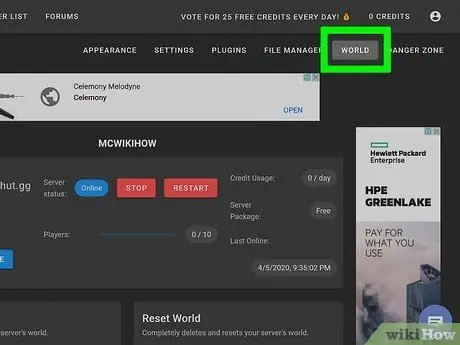
Step 8. Change the world settings
To do this, click on the tab World in the upper right corner, then use the following options:
- Save World: click on Save World to immediately save the world on the server.
- Reset World: click on Reset World to delete and reset the world on the server.
- World Seed: to change the world generation seed, type it in the field under "World Seed", then click on Update.
- Upload World: To upload a world to your server, save it as a zip file. Click on the paperclip icon under "Upload World", then select the zip file that contains your world and click on Open. Finally, click on Upload.
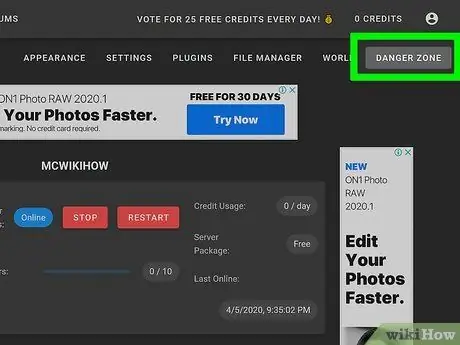
Step 9. Access the "Danger Zone" settings
In this section you will find some emergency measures that you can take. To open these settings, click on the tab Danger Zone in the upper right corner. You will see the following options:
- Force Hibernate Server: to force the server to hibernate, click on the red button Force Hibernate under "Force Hibernate Server".
- Reset Server: to reset the server, click on the red button Reset Server under "Reset Server.
- Repair Files: to repair corrupt files that prevent the server from functioning correctly, click on the red button Repair Files under "Repair Files".
Part 4 of 4: Connecting to the Server
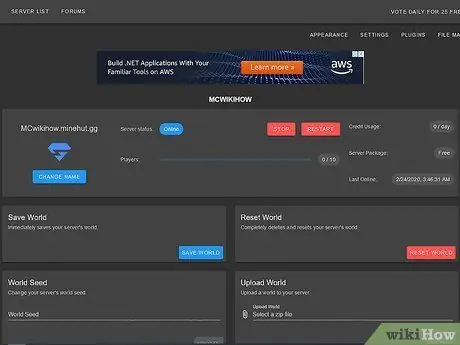
Step 1. Leave the server dashboard open
This allows you to quickly change the server, minimizing the Minecraft window and opening the browser window.
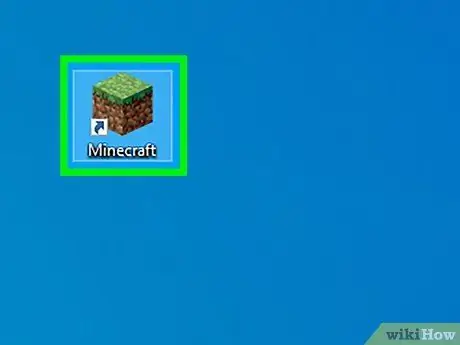
Step 2. Open Minecraft
The Java edition icon of the game depicts a block of grass. Click on that icon to open the Minecraft launcher.
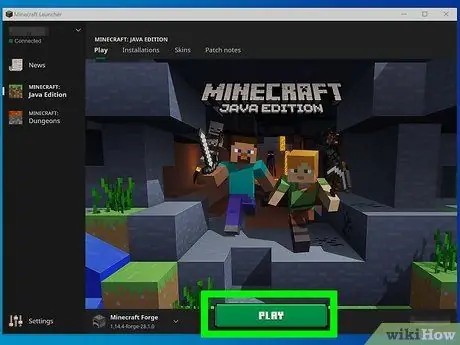
Step 3. Click on Play
You will see this green button in the Minecraft launcher. Press it to start the game.
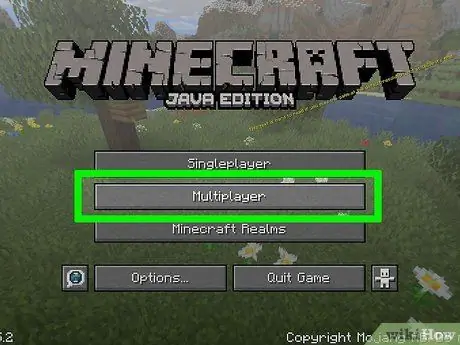
Step 4. Click on Multiplayer in the center of the Minecraft title screen
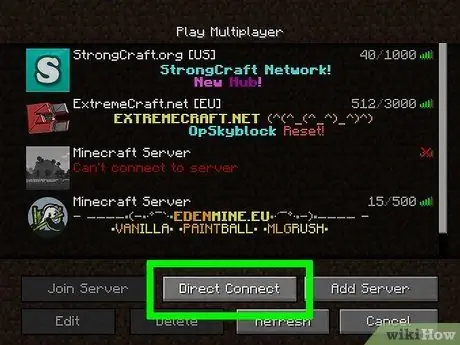
Step 5. Click Direct Connection
You will see this button at the bottom of the multiplayer menu, in the center.
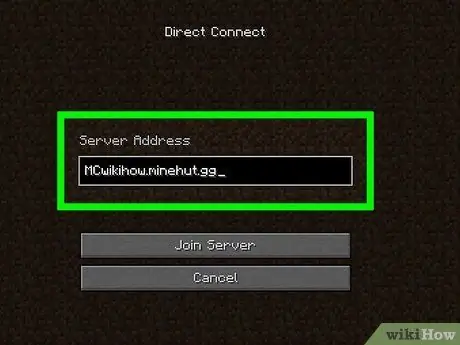
Step 6. Enter the server address
Type the server address, which you can find under the "Connect" heading on the Minehut page, in the text field in the center of the page.
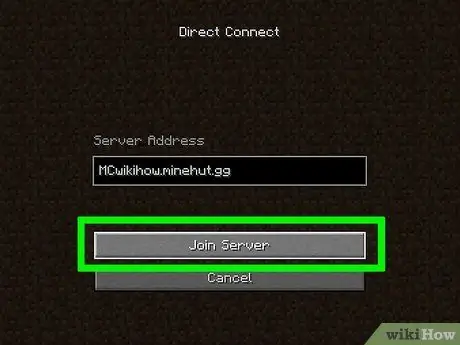
Step 7. Click on Join Server at the bottom of the page
By pressing this button you will connect to the server and enter the game world.


