This article shows you how to copy, save or download files directly to a USB external memory drive connected to your Windows or Mac computer. Read on to find out how.
Steps
Part 1 of 6: Connect the USB Drive to the Computer
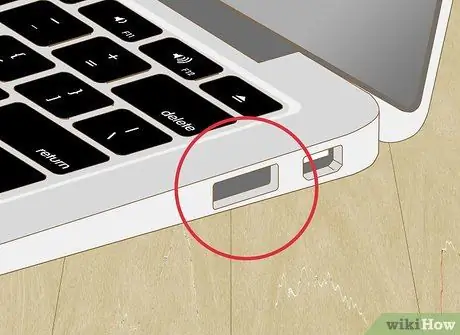
Step 1. Find out where your computer's USB ports are located
If you are using a laptop, the USB ports will most likely be on the left or right side of the computer case. If you are using a desktop computer, the USB ports are likely located on the back of the case or on the front. If you're using an iMac, the USB ports are located on the back of the monitor.
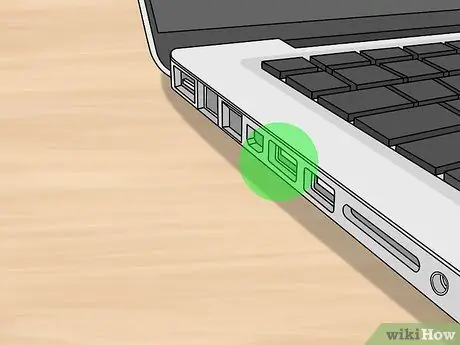
Step 2. Determine the type of USB ports on your computer
There are currently two types of USB ports that can be found on modern computers:
- USB 3.0 - have a tapered rectangular shape and are approximately 1.5cm wide. Inside there is a blue plastic divider located at the top of the door. USB 3.0 ports equip most computers with a Windows operating system and most Macs manufactured before 2016.
- USB-C - have a rectangular shape with rounded smaller sides and are about half a centimeter wide. This type of ports equips most new generation MacBooks and MacBook Pros, but can also be found on some modern laptops with a Windows operating system.
- If your computer has both of these types of USB ports, you are free to choose which one to use based on the type of USB drive you need to connect.
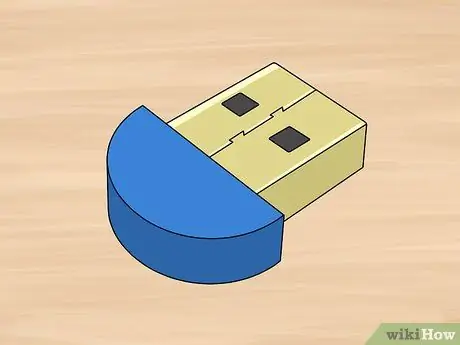
Step 3. Identify the type of USB memory drive you are going to use
Look at the ends of the connecting cable or the USB stick connector:
- If the connectors are rectangular in shape and a plastic divider is visible inside, it means that it is a USB 3.0 connection.
- If the connector is rectangular with rounded shorter sides and there is no plastic divider inside, it is a USB-C memory drive.
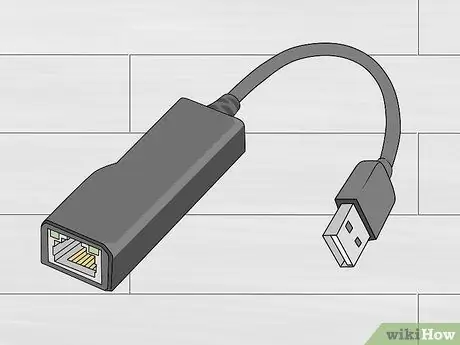
Step 4. Purchase an adapter if needed
If the USB drive you want to connect to your computer has a USB 3.0 connector, but the latter only has USB-C ports, you'll need to purchase a USB 3.0 to USB-C adapter for your computer.
It is very likely that you will need to perform this step if you are using a MacBook or MacBook Pro manufactured from 2016 onwards, although some of the more modern laptops equipped with the Windows operating system use USB-C ports
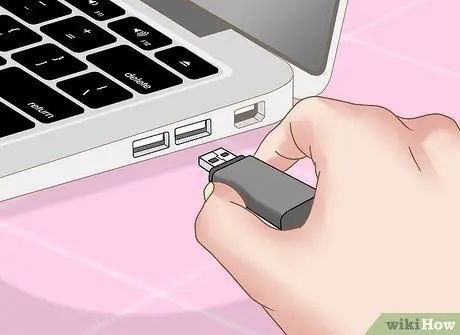
Step 5. Connect the external memory drive to the computer
If you are using a USB 3.0 key, make sure that the plastic divider inside the connector is placed at the bottom of the connector, since the same plastic component is located at the top of the computer's USB ports.
- USB-C ports do not have a specific orientation to connect.
- If you had to purchase a USB 3.0 to USB-C adapter, you'll need to plug it into the USB 3.0 connector on the memory unit and then plug it into your computer's USB-C port.
Part 2 of 6: Transfer a File to a USB Drive (Windows)
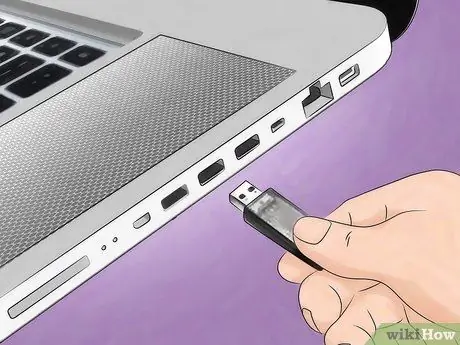
Step 1. Make sure the USB drive is properly connected to your computer
If you haven't logged in yet, please do so before continuing.
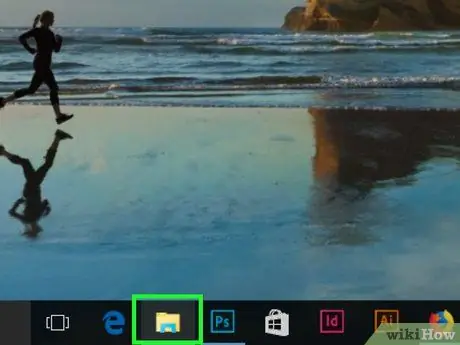
Step 2. Open a new "File Explorer" window by clicking the icon
It features a small folder and is located at the bottom left of the "Start" menu. Alternatively, press the key combination ⊞ Win + E.
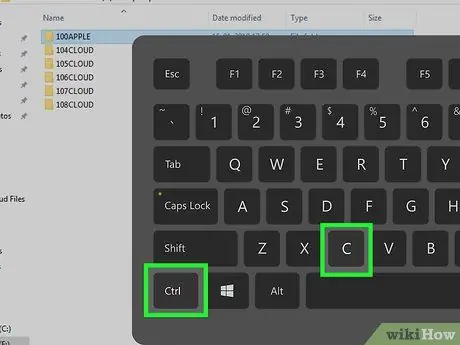
Step 3. Copy the file to be transferred to the USB drive
Access the folder where it is stored, select it with the mouse, then copy it by pressing the key combination Ctrl + C.
If you need to perform a multiple selection of files or folders, hold down the Ctrl key while clicking the icons of all the items to be copied
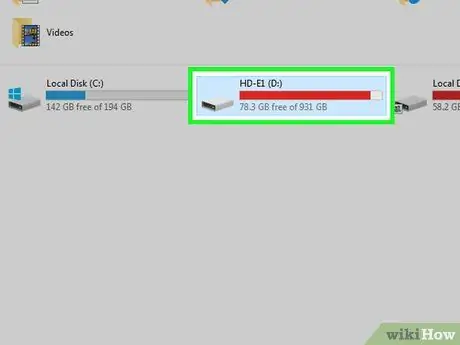
Step 4. Select the name of the USB drive
It is displayed inside the left sidebar of the "File Explorer" window (you may need to scroll down to locate it).
If you can't find the name of the USB drive, choose the item This PC located in the upper part of the left bar, then double-click the relative icon in the "Devices and units" section.
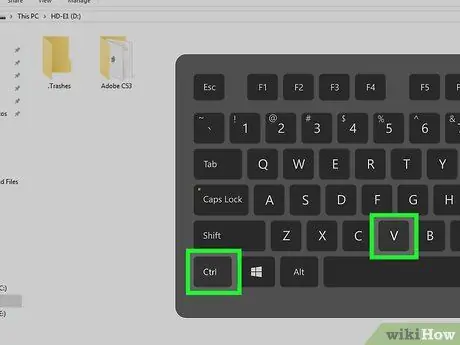
Step 5. Paste the copied items
Select an empty spot in the USB drive contents box, then press the key combination Ctrl + V. The files and folders you copied in the previous step should appear within the "File Explorer" window for the selected USB drive.
If you need to transfer the copied items to a specific folder on the USB drive in question, double-click it before pasting the files you copied
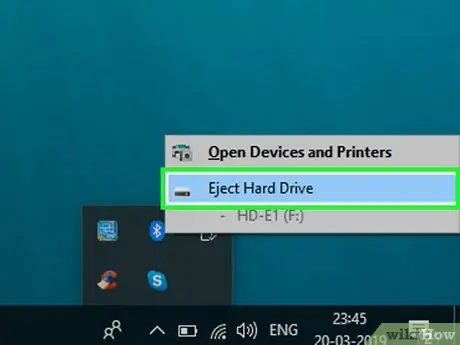
Step 6. Eject the USB drive before physically disconnecting it from the computer
In this way the operating system will correctly save the data inside the drive, preventing them from becoming corrupted when you physically disconnect it from the system:
-
Windows - click the USB drive icon in the lower right corner of the desktop (if it is not visible, first select the "Show hidden icons" icon
), then choose the option Eject USB Drive.
-
Mac - open a Finder window, then select the "Eject" icon
located to the right of the name of the USB drive to be disconnected. The latter is located in the lower left part of the window.
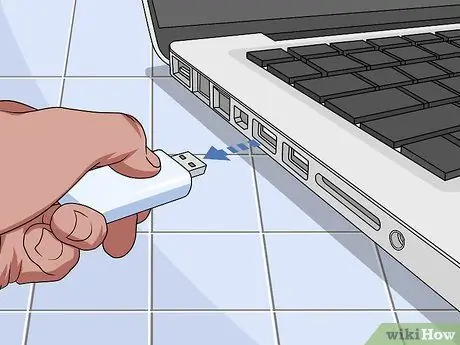
Step 7. Remove the USB drive from the computer
After following the Safely Remove Hardware procedure, you can physically disconnect the USB drive from your computer by gently pulling it, without any danger of losing or corrupting the data on it.
Part 3 of 6: Transfer a File to a USB Drive (Mac)
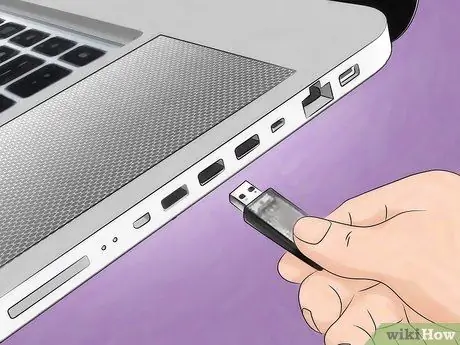
Step 1. Make sure the USB drive is properly connected to your computer
If you haven't logged in yet, please do so before continuing.
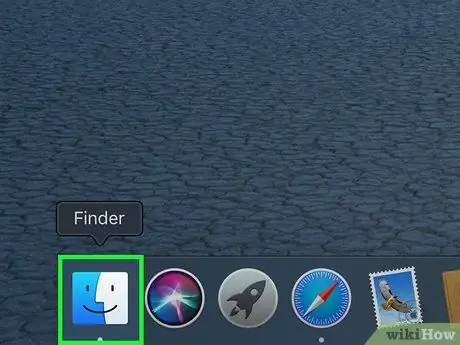
Step 2. Open a Finder window by clicking the icon
It is blue in color and features a stylized face. It is located on the system dock.
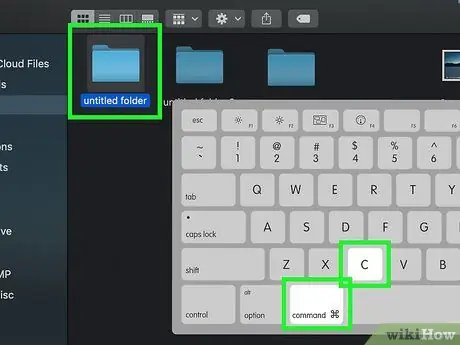
Step 3. Copy the file to be transferred to the USB drive
Access the folder where it is stored, select it with the mouse, then copy it by pressing the key combination ⌘ Command + C.
If you need to perform a multiple selection of files or folders, hold down the ⌘ Command key while clicking the icons of all items to be copied
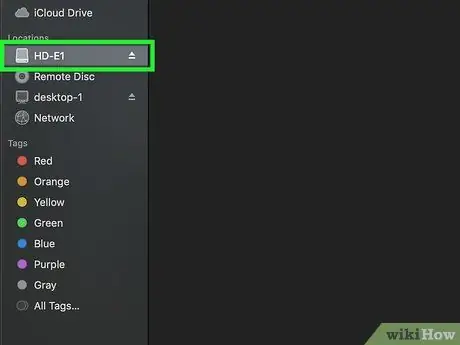
Step 4. Access the USB drive
Select the name of the latter listed in the lower left of the Finder window. The memory unit is located in the "Devices" section.
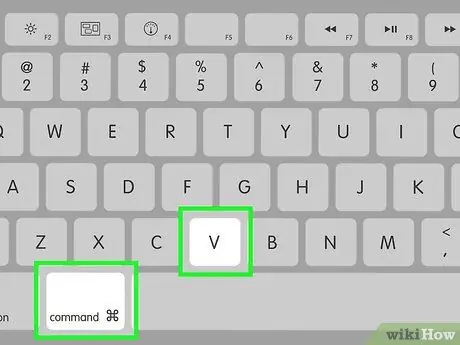
Step 5. Paste the copied items
Select an empty spot on the USB drive contents box, then press the key combination ⌘ Command + V. The files and folders you copied in the previous step should appear within the Finder window for the selected USB drive.
If you need to transfer the copied items to a specific folder on the USB drive in question, double-click it before pasting the files you copied
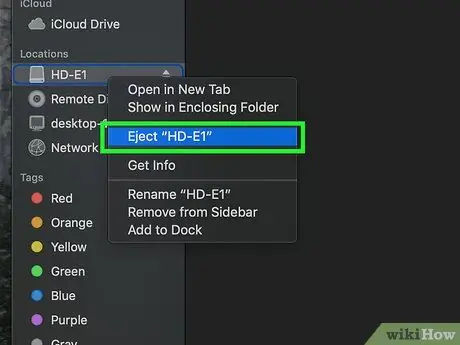
Step 6. Eject the USB drive before physically disconnecting it from the computer
In this way the operating system will correctly save the data inside the drive, preventing them from becoming corrupted when you physically disconnect it from the system:
-
Windows - click the USB drive icon in the lower right corner of the desktop (if it is not visible, first select the "Show hidden icons" icon
), then choose the option Eject USB Drive.
-
Mac - open a Finder window, then select the "Eject" icon
located to the right of the name of the USB drive to be disconnected. The latter is located in the lower left part of the window.
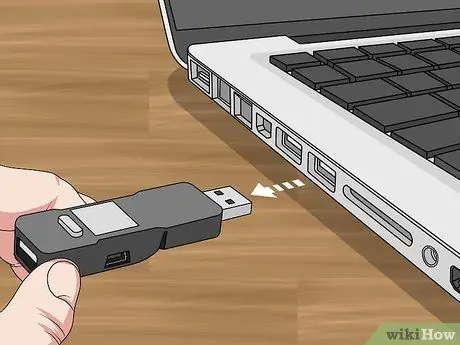
Step 7. Remove the USB drive from the computer
After following the Safely Remove Hardware procedure, you can physically disconnect the USB drive from your computer by gently pulling it, without any danger of losing or corrupting the data on it.
Part 4 of 6: Saving a File Directly to a USB Drive
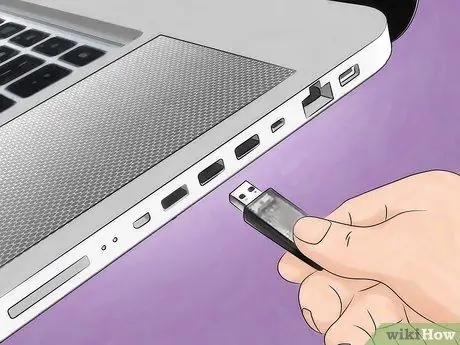
Step 1. Make sure the USB drive is properly connected to your computer
If you haven't logged in yet, please do so before continuing.
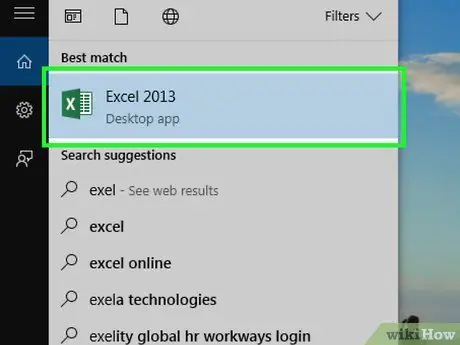
Step 2. Launch the program you want to use
If necessary, search for the application you need using the menu Start
Windows or the search bar Spotlight
of your Mac.
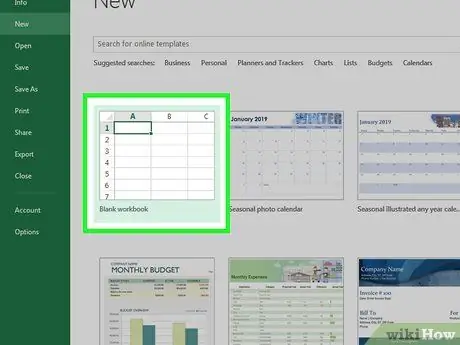
Step 3. Create a new file if necessary
If the file you want to save on the USB stick in use does not yet exist, create it now using the appropriate program and only then continue reading the instructions for this method.
Skip this step if you need to create a copy of the original file which will then be saved on the USB drive
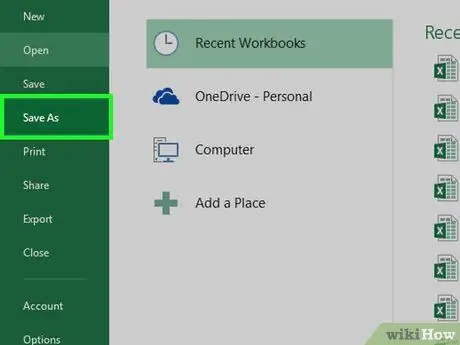
Step 4. Open the "Save As" window
If it is a new document that has not yet been saved previously, simply press the key combination Ctrl + S (on Windows systems) or ⌘ Command + S on Mac. Otherwise follow these instructions:
- Windows - access the menu File, then choose the option Save with name. If you are using Microsoft Office, select the item This PC with a double click of the mouse after choosing the option Save with name. This will bring up the "File Explorer" dialog.
- Mac - access the menu File, then choose the option Save with name….
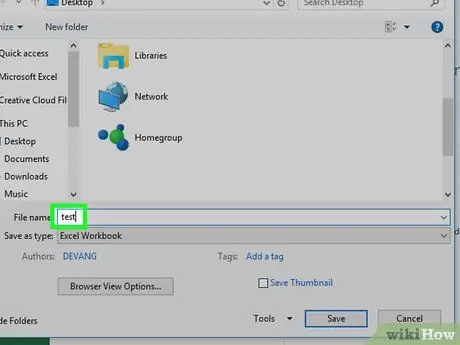
Step 5. Name the new file if necessary
If you want to change the file name, type the new one in the "File Name" (on Windows) or "Name" (on Mac) text field.
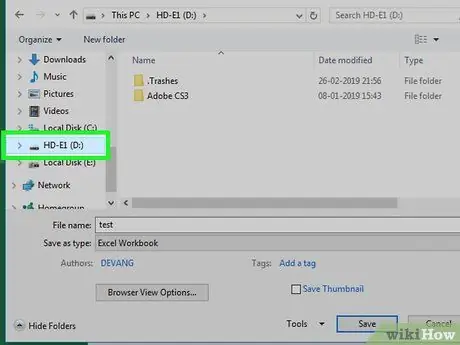
Step 6. Select the name of the USB drive
It is displayed within the left sidebar of the dialog box that appeared (you may need to scroll down to locate it).
If you are using a Mac, you may need to access the drop-down menu Located in to then select the name of the USB drive to use. Alternatively you will need to use the left sidebar of the Finder window.
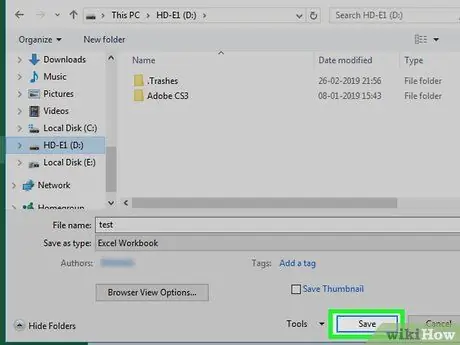
Step 7. Press the Save button
It is located in the lower right corner of the window. The file in question will be saved directly inside the selected USB external drive.
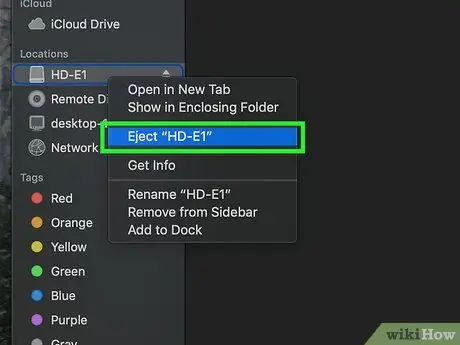
Step 8. Eject the USB drive before physically disconnecting it from the computer
In this way the operating system will correctly save the data inside the drive, preventing them from becoming corrupted when you physically disconnect it from the system:
-
Windows - click the USB drive icon in the lower right corner of the desktop (if it is not visible, first select the "Show hidden icons" icon
), then choose the option Eject USB Drive.
-
Mac - open a Finder window, then select the "Eject" icon
located to the right of the name of the USB drive to be disconnected. The latter is located in the lower left part of the window.
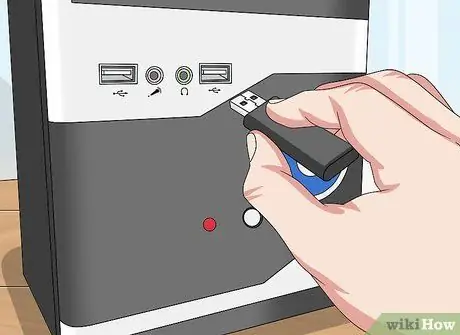
Step 9. Remove the USB drive from the computer
After following the Safely Remove Hardware procedure, you can physically disconnect the USB drive from your computer by gently pulling it, without any danger of losing or corrupting the data on it.
Part 5 of 6: Downloading a File Directly to a USB Drive
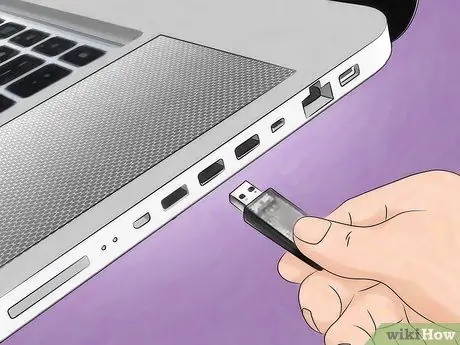
Step 1. Make sure the USB drive is properly connected to your computer
If you haven't logged in yet, please do so before continuing.
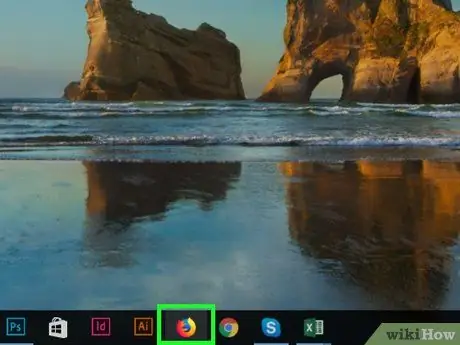
Step 2. Launch your favorite internet browser
If you need to download a file from the internet and save it directly on a USB stick, the first thing to do is to open a browser (for example Chrome).
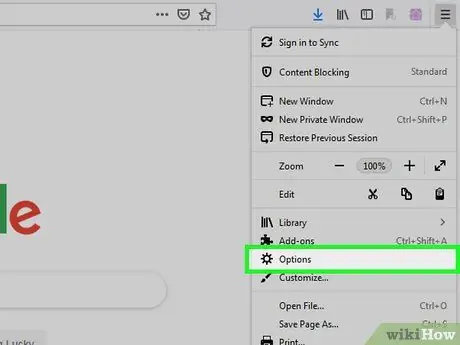
Step 3. Make sure you have enabled the confirmation prompt to download
Most browsers download files from the web by automatically saving them in the folder indicated for this purpose, which is normally the "Download" directory. However, the user can configure the program to ask for where to save the file before starting the download. Follow these instructions to make changes to the settings:
- Chrome - press the button ⋮ located in the upper right corner of the window, choose the item Settings, scroll through the menu that appeared to the end to locate and select the link Advanced, access the "Download" section and activate the "Ask where to save the file before downloading" slider by moving it to the right.
- Firefox - press the button ☰ located in the upper right corner of the screen. Choose the voice Options (or Preferences on Mac), scroll down to the "Files and Applications" section, then select the radio button "Ask where to save each file".
- Edge - press the button ⋯ located in the upper right corner of the window, choose the item Settings, scroll down the appeared menu and press the button View advanced settings, then activate the slider "Request the operation to be performed with each download" by moving it to the right (if the latter is blue it means that it is already active).
- Safari - access the menu Safari located in the upper left corner of the screen, choose the item Preferences…, access the "File Download Location" drop-down menu and choose the option Ask for each download.
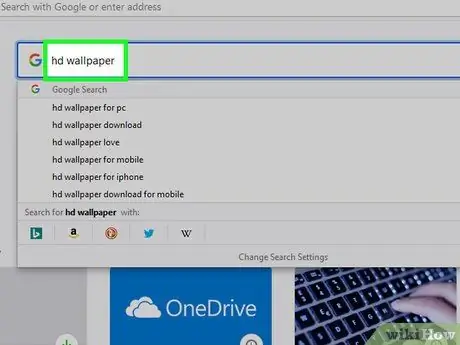
Step 4. Navigate to the location where the file to download is located
Use the internet browser of your choice to access the site, page or web service where you can download the file in question.
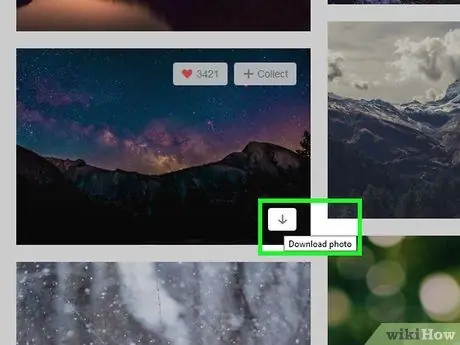
Step 5. Press the Download button or link
This option varies based on the type of content to download. A dialog box will appear that will allow you to select where to download the file in question.
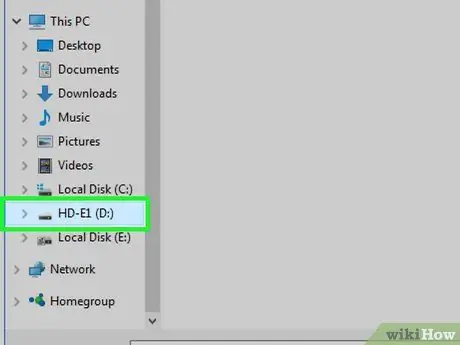
Step 6. Select the USB drive
When asked where to save the chosen file, select the name of the USB drive using the left sidebar of the dialog box that appeared, then press the button Save. This way the chosen content will be downloaded and stored on the indicated USB drive.
- If you are using a Mac, you will need to press the button You choose rather than Save.
- If you need to save the file inside a specific folder of the USB drive in question, double-click it before pressing the button Save or You choose.
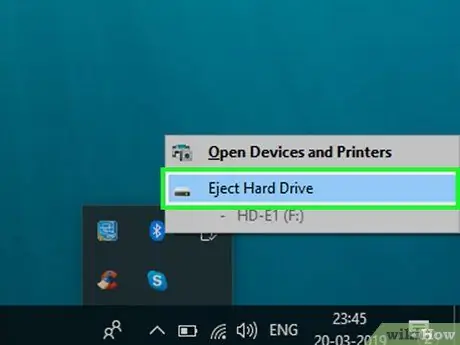
Step 7. Eject the USB drive before physically disconnecting it from the computer
In this way the operating system will correctly save the data inside the drive, preventing them from becoming corrupted when you physically disconnect it from the system:
-
Windows - click the USB drive icon in the lower right corner of the desktop (if it is not visible, first select the "Show hidden icons" icon
), then choose the option Eject USB Drive.
-
Mac - open a Finder window, then select the "Eject" icon
located to the right of the name of the USB drive to be disconnected. The latter is located in the lower left part of the window.
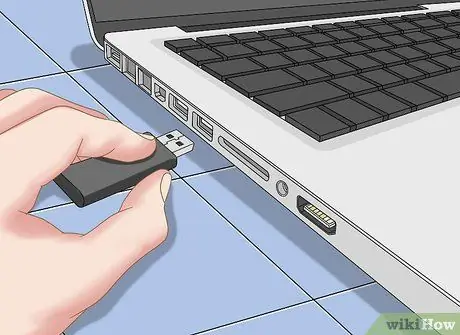
Step 8. Remove the USB drive from the computer
After following the Safely Remove Hardware procedure, you can physically disconnect the USB drive from your computer by gently pulling it, without any danger of losing or corrupting the data on it.
Part 6 of 6: Troubleshooting USB Drives
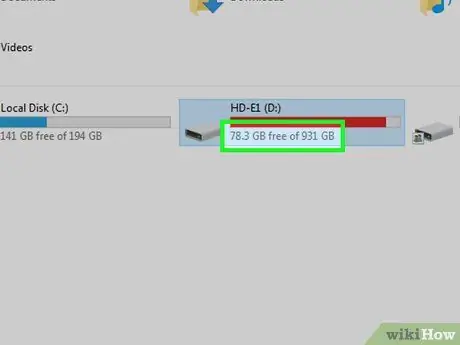
Step 1. Make sure the selected storage device is not full
Having a limited capacity, USB sticks in particular tend to run out of memory space very quickly, especially if they are older devices. If this is the problem, try deleting some of the files or folders you no longer need.
To delete files from the USB stick, drag them from the stick into the system recycle bin. You can do this on both Windows and Mac systems
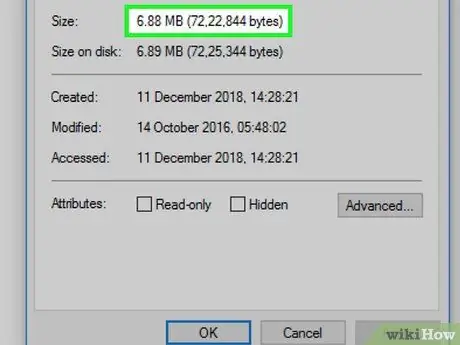
Step 2. Check in advance the size of the file you want to transfer or download to the USB drive
Many USB sticks are unable to store files larger than 4 GB in them. If you need to store a file larger than 4GB on your USB stick, you will need to format the device by choosing a file system format that supports this feature. Read on for more details.
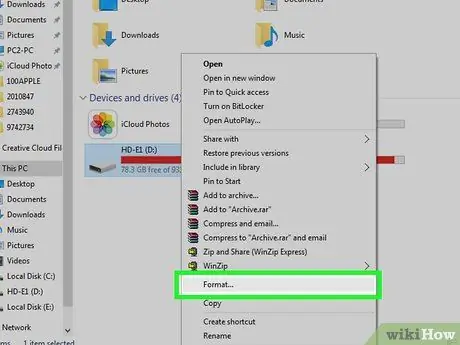
Step 3. Format the USB drive.
In this way you will have the possibility to select a different file system format, which can also handle files with a size greater than 4 GB or which is compatible with the hardware architecture of the computer in use. Remember that formatting a memory drive erases all of its contents permanently.
- If you need to store a file larger than 4GB, you will need to choose the file system exFAT (on Windows) or ExFAT (on Mac).
- Remember that USB memory drives formatted with a file system dedicated to Windows operating systems are not compatible with Macs and vice versa. To solve this problem, format your USB stick by choosing a file system that guarantees compatibility with these two platforms.


