Colles fracture occurs when the part of the wrist closest to the hand (the distal part) breaks. This is one of the most common injuries to the upper limbs (ie the arms) and usually occurs when trying to "stop" during a fall. If you have injured your wrist, read on to learn how to treat this injury.
Steps
Method 1 of 3: Splint Your Wrist Before Going to the Hospital
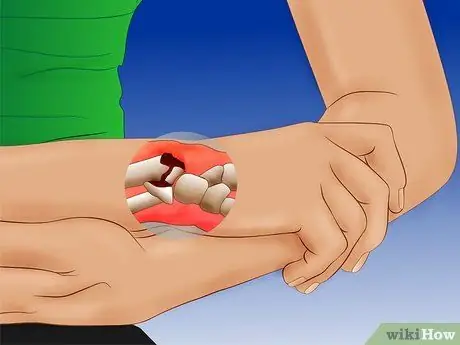
Step 1. Do not move your wrist as soon as the injury occurs
If you have fallen or something else has happened that makes you think you have fractured your wrist, it is important to avoid moving too much. You don't necessarily have to go to the doctor the same day if the pain isn't too bad and your wrist doesn't look deformed. you should still go there the next day. In the meantime, though, you absolutely need to be careful not to use your wrist or move it more than you should.
If the pain is severe or your wrist appears deformed (the bone is sticking out or you think it could be fractured in multiple places), you need to go to the hospital immediately
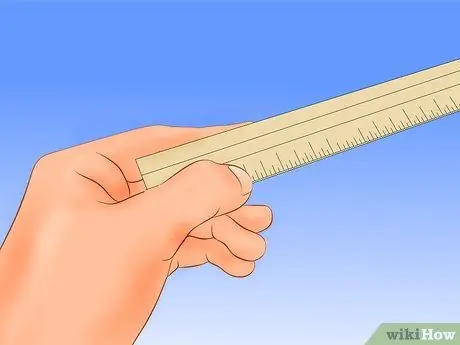
Step 2. Find a splint that you can use to keep your wrist still
It has to be something that can keep the wrist locked and it has to be as long as the forearm, wrist and hand. If you can't get a proper medical splint at home (or wherever you are when the injury occurs), you can use other items that are wide, flat, and just the right length.
For example, if you have a ruler of the same length as your hand, wrist and most of your forearm, you can use it as a splint
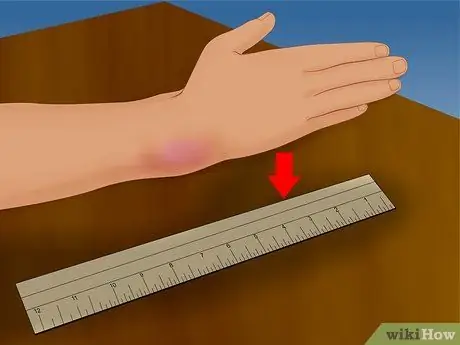
Step 3. Place your arm on the splint
Don't try to straighten your wrist as you rest it on the splint; you should keep it at the same angle it formed after the injury. If you try to straighten it, you could make the fracture worse. Instead, let your wrist and arm rest on the splint.
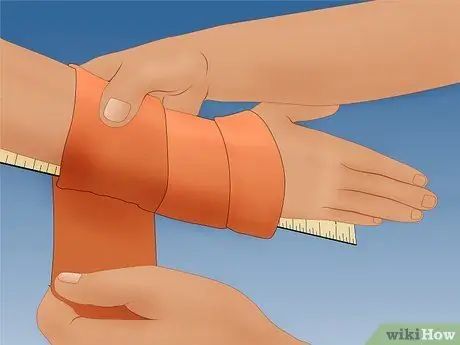
Step 4. Wrap the splint and wrist
Band the forearm and wrist with a gauze or elastic bandage. You should tie it tight enough so it doesn't move, but not enough to block blood circulation.
If you don't have gauze or an elastic bandage on hand, you can grab a scarf or bandana to hold your wrist in place
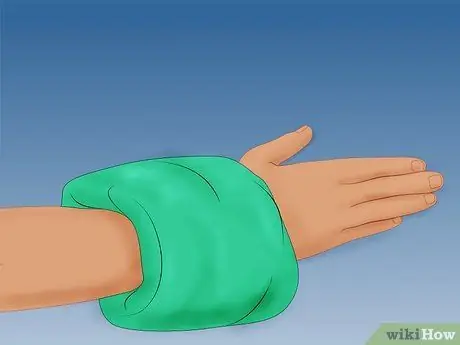
Step 5. Apply ice
Place a cold pack or ice bag on the injured area. Place it on top of your wrist, letting ice cover the fracture. Ice helps reduce swelling and keeps it from getting worse.
Do not put ice directly on the skin. You should already have your wrist bandaged, so this shouldn't be a problem
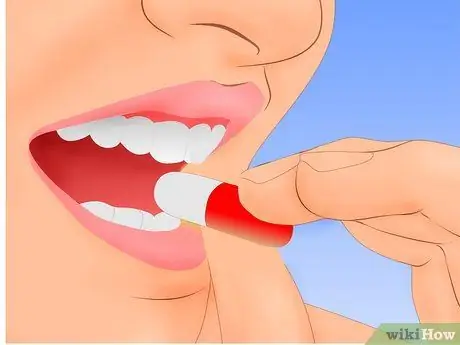
Step 6. Take over-the-counter pain medications
You can take acetaminophen to treat pain caused by the fracture. Optionally, you can also take ibuprofen and acetaminophen together to combat pain and swelling at the same time.
Method 2 of 3: Get Treated in the Hospital
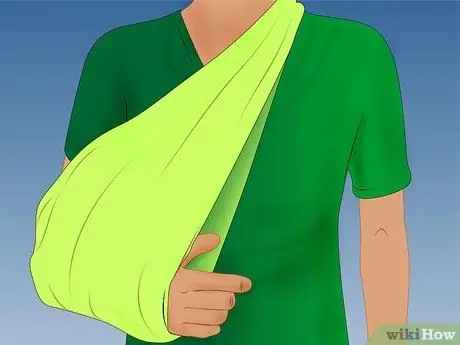
Step 1. Keep your wrist still while you go to the hospital
While traveling, you should keep your arm to your chest to prevent it from shifting while in the car. If you have a shoulder strap, put it on your arm to make sure your wrist doesn't move.
You can also make a shoulder strap yourself using a scarf or other piece of clothing
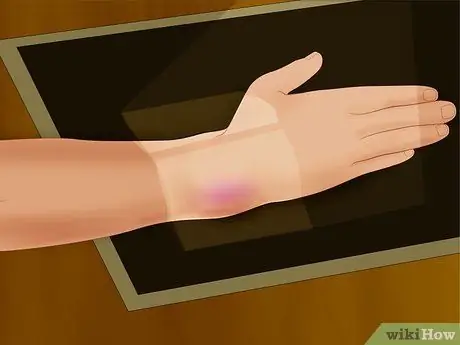
Step 2. Take a wrist x-ray
When you arrive at the hospital, the doctor will undergo an x-ray to establish the extent of the fracture. If the fracture is small, which is referred to as superficial, your doctor will most likely put a brace on you to allow your wrist to heal.
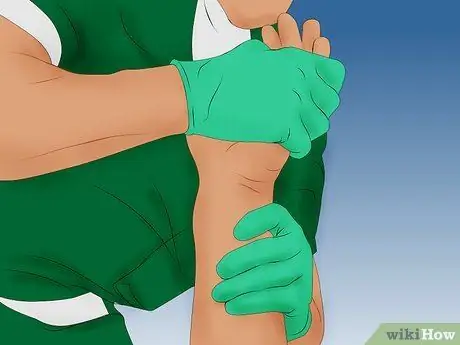
Step 3. Prepare for a closed reduction
If the wrist is fractured so that the ends of the bone overlap or are a little misaligned, the doctor will probably perform a closed reduction. This procedure involves putting the opposite pressure on the wrist that caused the fracture. In other words, the doctor will do traction to pull the two ends of the bone, and realign them.
- If this type of surgery is needed, they will give you an anesthesia. However, know that this procedure does not require a surgical operation; the doctor simply returns the wrist to its original position.
- You may need to wear a brace for a couple of days to treat wrist swelling before putting on a proper cast.
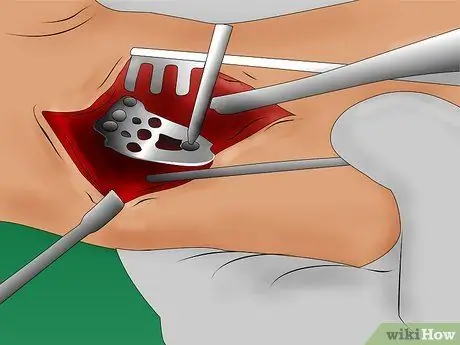
Step 4. Keep in mind that surgery may be required if the bone is severely fractured
If the wrist has really been subjected to a severe blow and is severely fractured, you may be subjected to orthopedic surgery to reposition the limb correctly. During the operation, you will be asleep (under general anesthesia) and your bones will be straightened, positioned correctly and secured with pins, plates and / or screws specifically designed for surgery. After the surgery, you will have a splint or cast on your wrist to prevent it from moving. This type of surgery must be performed:
- If the fracture involves the wrist joints.
- If the fractured bone breaks the skin.
- If the bone is fractured or broken in many places.
- If the injury also involves torn ligaments.
Method 3 of 3: Recovery After Treatment
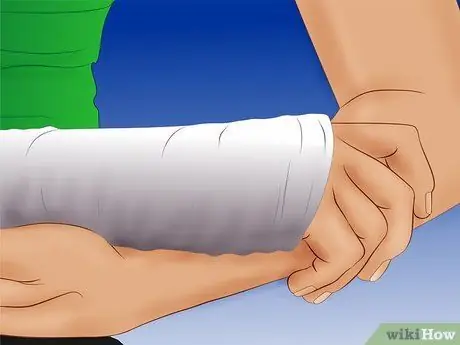
Step 1. Wear the brace / cast for as long as necessary
Most patients have to keep it for 4-6 weeks, depending on the extent of the damage and how quickly it heals. During your recovery period, your doctor will give you instructions to facilitate recovery and will provide you with a shoulder strap. Basic instructions are listed in this section.
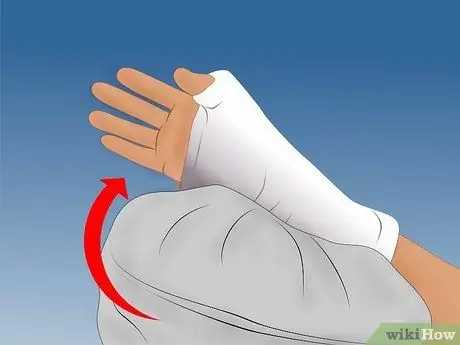
Step 2. Keep your wrist elevated and be sure to rest for at least a week when you put the brace on
It should remain on a higher level of the heart. Resting your wrist means avoiding strenuous exercises or activities where you use your wrist.
You can sit on a chair and raise your wrist with pillows. Lounge chairs are ideal, but any chair or sofa will do
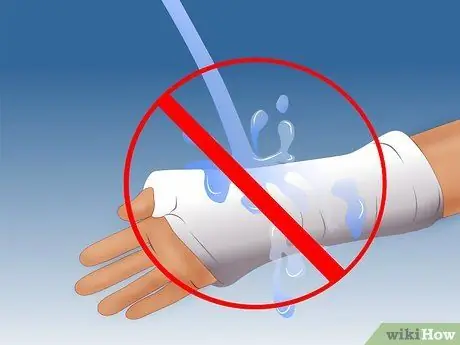
Step 3. Do not wet the orthosis
The water damages the cast and could seep up to the arm, favoring conditions that can lead to infection, especially if you have undergone surgery and had an incision. If you are showering or bathing, place a plastic bag securely on the plaster and tape the ends of the bag so that no water can enter. The ideal would be to completely prevent the plaster from getting wet during the bath.
- Some doctors recommend placing a towel over the plastic bag as an extra precaution.
- You can ask a family member or friend to help you bathe or shower.
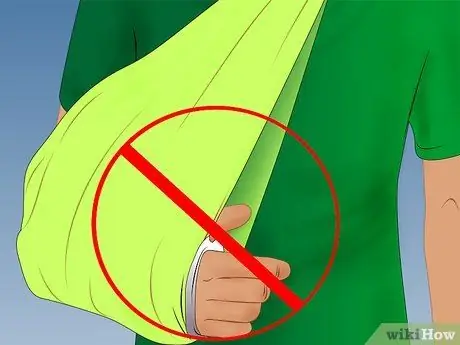
Step 4. Avoid engaging in activities that could harm your wrist
You should avoid moving it as much as possible. This means not carrying out activities that involve its use. You also need to avoid situations where someone could hit the injured area.
As an added protection, always wear the shoulder strap when in public, as it prevents you from moving your wrist when you walk and at the same time warns others that you have an injury and that they should avoid hitting you
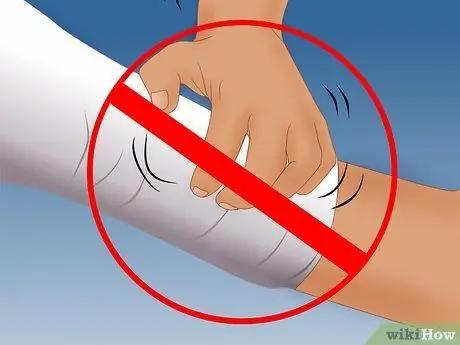
Step 5. Try as much as possible not to insert sticks or sticks into the plaster to scratch the itch
After a couple of days, the arm locked in the brace may become itchy. Itchiness is usually due to hair growth, mild skin irritation, or dead skin cells that usually disperse, but now they can't because there is plaster blocking them.
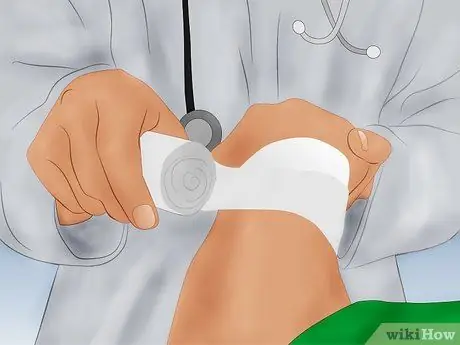
Step 6. Get regular checkups with your doctor
He will likely ask you to have regular checkups throughout the recovery period. You may order x-rays to make sure your wrist is healing properly. In this case it will probably give you a smaller cast (which can also be cut in the ends itself), thus making it easier for you to bathe and scratch those itches you have always dreamed of relieving.
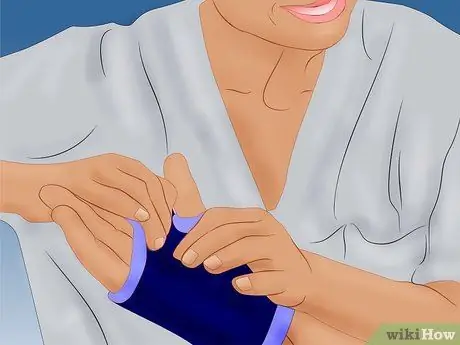
Step 7. Once the cast has been removed, visit a physiotherapist
When you have removed the brace, you will be instructed to go to a physiotherapist who will help you perform the appropriate exercises to regain strength in the wrist and surrounding muscles, so as to regain the normal function of the limb. Physical therapy usually lasts a month, with 3-4 sessions each week.


