Your Mac's profile picture is also known as the user account picture. It is shown when you first log into your computer with your account and when you use applications such as iChat and Address Book. Although your profile picture is normally chosen during initial Mac setup, you can change it at any time via System Preferences.
Steps
Part 1 of 3: Accessing a User's Account Image
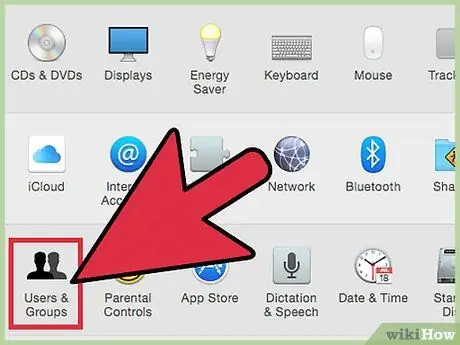
Step 1. Enter the "Apple" menu
Select the "System Preferences" item, then choose the "Users and Groups" icon.
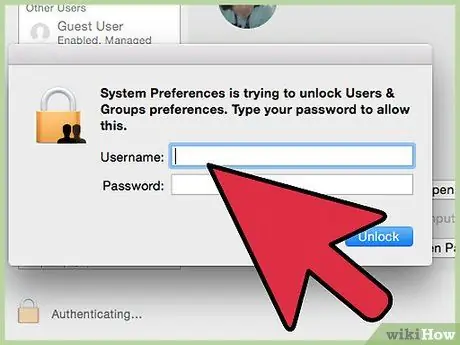
Step 2. Log in as the system administrator
First, click the lock icon, then type in the login credentials (username and password) of a computer administrator account.
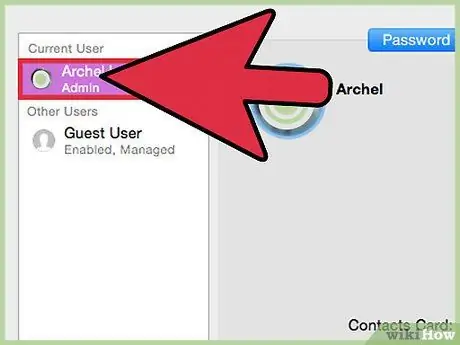
Step 3. Select the user account you want to edit
Click on the relevant image. This will bring up a menu through which you can choose the source from which to select the new profile picture.
Alternatively, you can now simply drag and drop the photo onto the user's tile
Part 2 of 3: Select an Image
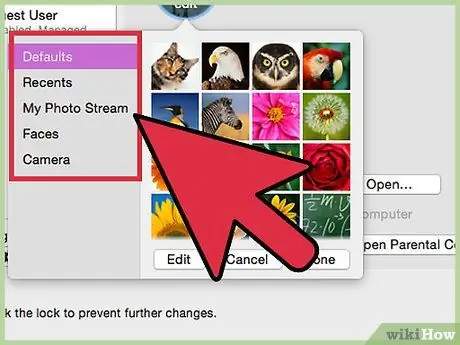
Step 1. Choose the category from which to select the new image
The available options are: "Defaults" (contains all images already included in the OS X operating system), "Recent" (all images that have recently been used as a user image) and "Linked" (images from the Contacts application). You can also choose the "Faces" option, in this case the OS X operating system will automatically detect and extract the faces present in the images saved on your computer. Choose the "iCloud Photos" item to use one of the images on your iCloud account. If you want to use a photograph captured via your Mac's built-in webcam, stand in front of the screen and skip to the next section of this article.
Before you can use iCloud as a source for user images, you need to enable the "iCloud Photo Library" feature. Access the "Apple" menu, choose "System Preferences", then select "iCloud". At this point, press the "Options" button next to "Photos", then select the "iCloud Photo Library" function
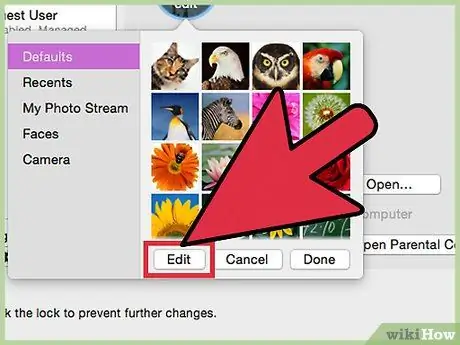
Step 2. Click on the "Edit" button below the image selection
This step allows you to zoom in on parts of an image to crop the area that will be used as an end user image.
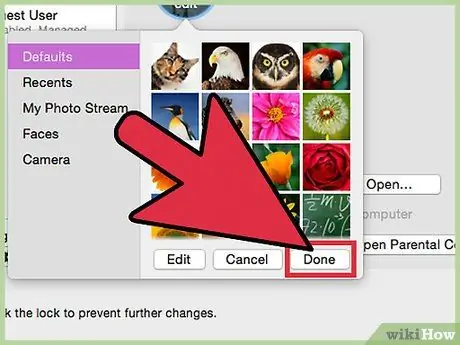
Step 3. Click on the image you want to use, then press the "Finish" button
The user image of the selected profile will be changed using that chosen one.
Part 3 of 3: Using a Webcam Image
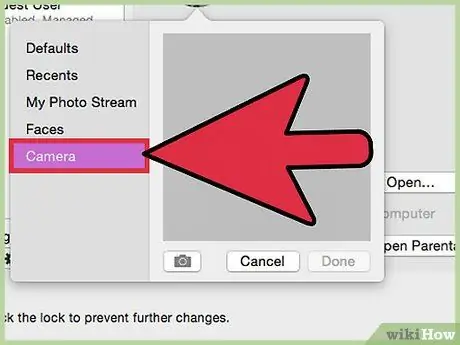
Step 1. Click on the "Camera" button
It is available in the menu that appeared after clicking on the current user profile picture, along with the other options related to choosing the source for the new picture.
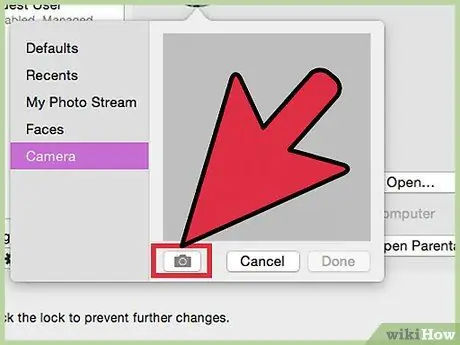
Step 2. Press the camera button
After 3 seconds, your Mac's built-in camera will take a photograph.
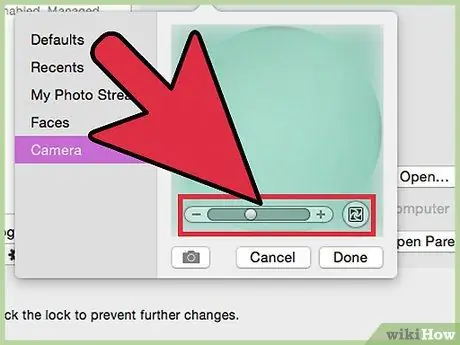
Step 3. Click on the "Edit" button below your image to crop and use the part of the photograph you want
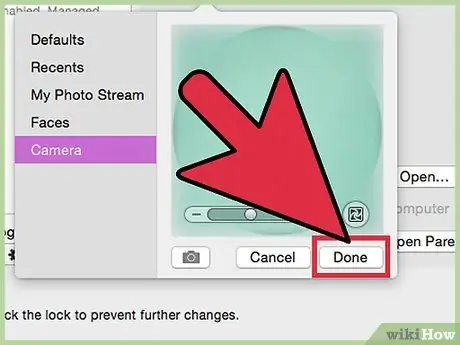
Step 4. Click on the "Finish" button
The user image of the selected profile will be changed to the chosen one.


