Setting up an Openvoip VOIP account on an Android smartphone is relatively simple and requires an internet connection, access to Google Play (the Android store) and the Openvoip access data, already available to the customers of this telephone company. The service works with any Android softphone.
At the moment, the recommended (free) software is Zoiper, on which you can configure the service.
Zoiper installation takes seconds and the software is extremely light in terms of space occupied on mobile devices. The configuration process takes less than a minute; here's how.
Steps

Step 1. Log in to the Openvoip.it website with your Customer credentials and go to the SWITCHBOARD -> INTERNAL menu item
Step 2. Select the desired extension to be configured (example 427) and then click on the "Configuration parameters" icon (orange icon at the top right of the previous screen)
The parameters to be taken for use in Zoiper are exclusively those of "Username" and "Password"
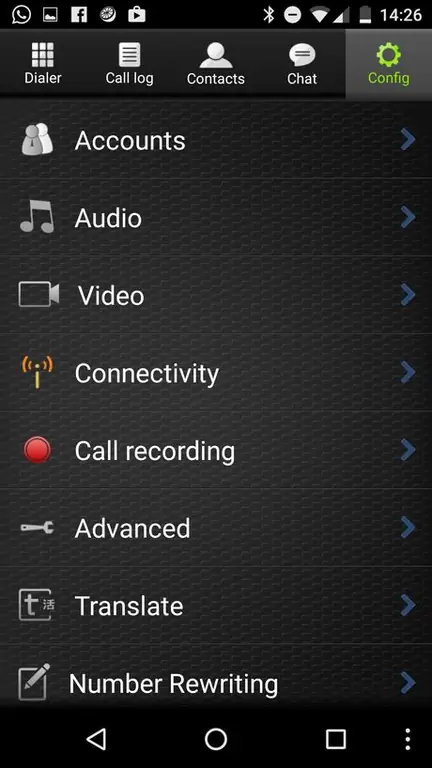
Step 3. Activate the Zoiper application and click on the "Config" icon at the top right; subsequently, all the activated accounts will be shown on Accounts (through Zoiper it is in fact possible to activate multiple lines with multiple operators or multiple Openvoip extensions)
In case of multiple accounts the system will notify, in case of a call, which account is concerned.
In case of an outgoing call, it will ask the user which account should be used (and therefore the geographic number that the recipient will see)
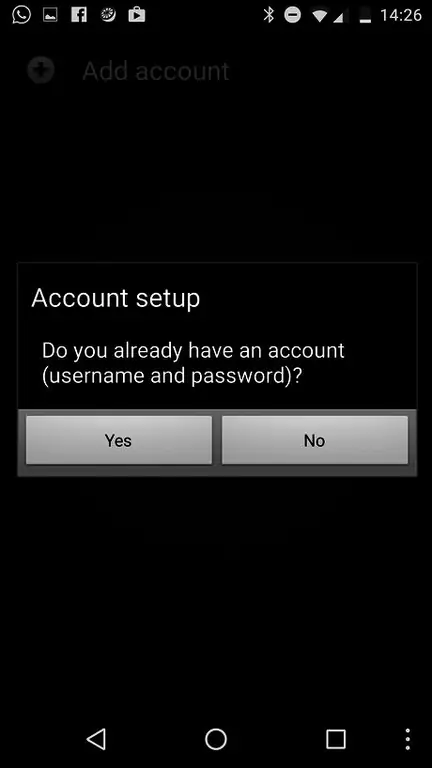
Step 4. Click on the option on the left of the screen to confirm that you already have openvoip login details
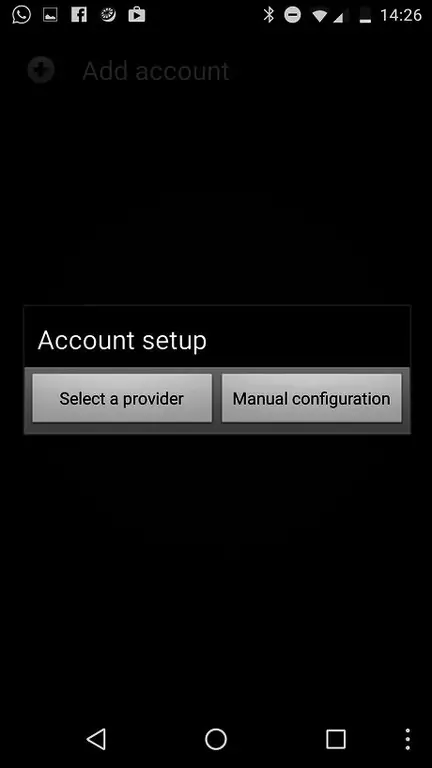
Step 5. Then click on "Select a provider" to then choose the "openvoip" operator from the list of those preconfigured by Zoiper
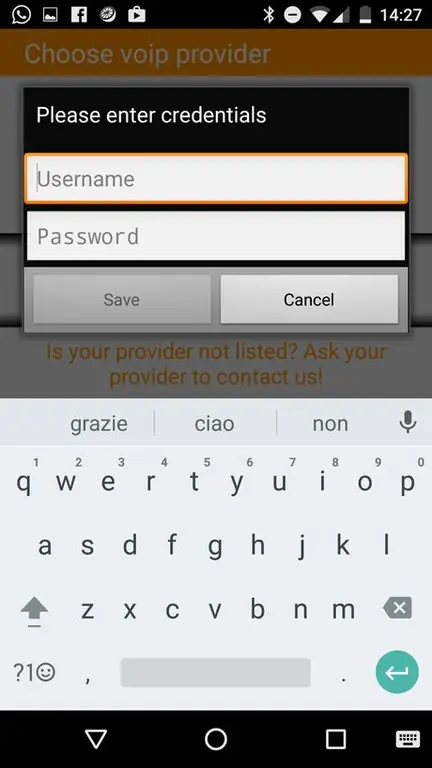
Step 6. Enter the parameters of the extension of the next screen taken from the Openvoip site (username and password)
Once the login data has been entered, the system will show a green tick under the Openvoip account
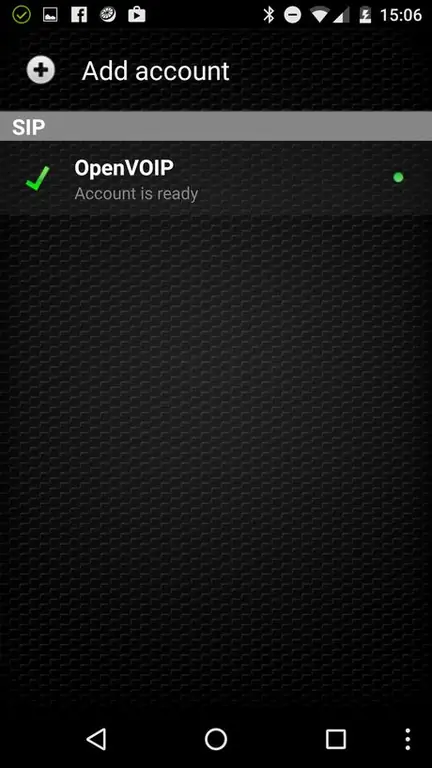
Step 7. Finished
It will now be possible to call and receive under the wi-fi or 4G network using your geographical number with the prefix of the district you belong to.


