This article describes how to install a Discord chat bot on your Android device and how to customize its settings.
Steps
Part 1 of 4: Download a Bot from the Web
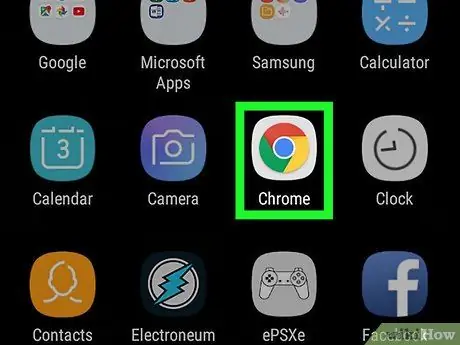
Step 1. Open the internet browser of your mobile device
You can use Chrome, Firefox, Opera or the application of your choice to browse the web.
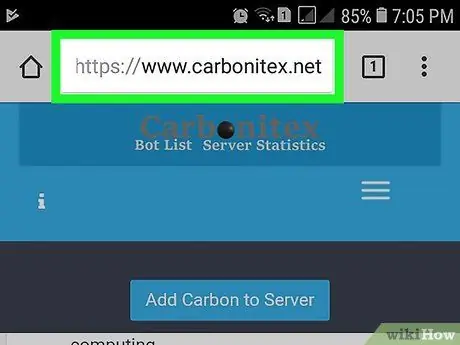
Step 2. Find the bot you want to use
There are many, designed for various purposes, applications and with different functionalities. You can do an internet search to find a Discord bot that is right for you.
Be sure to check out the bot libraries on Carbonitex and Discord Bots. Both of these sites offer libraries with many bots for Discord and there you will be able to find the program you need
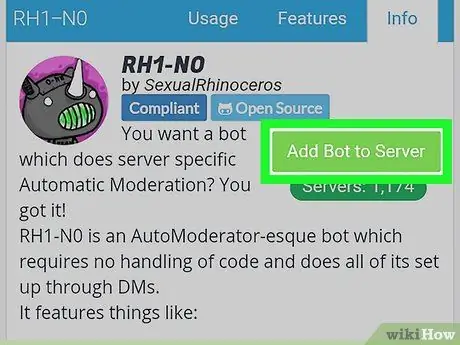
Step 3. Install the bot on your device
Depending on the website and the bot, the installation process may vary. In most cases, you will see the button Invite, Install or Add Bot to Server. Press the button and Discord will open.
If Discord doesn't automatically connect to your account, enter your credentials
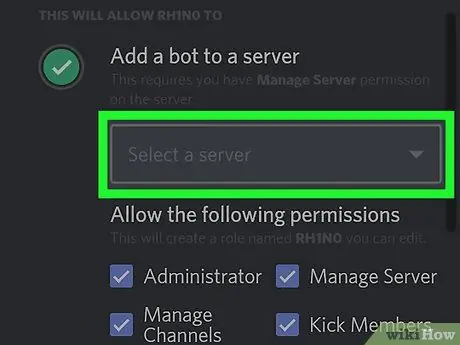
Step 4. Press Choose a server on Discord
When the install operation opens Discord, press this button to see the list of all your servers.
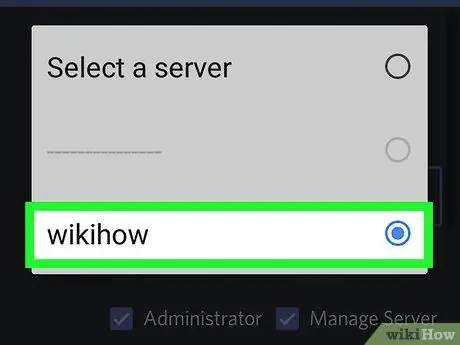
Step 5. Choose a server for your bot
The program will be installed on that destination. You can include the bot in text and voice channels.
You must be a server administrator to add a bot
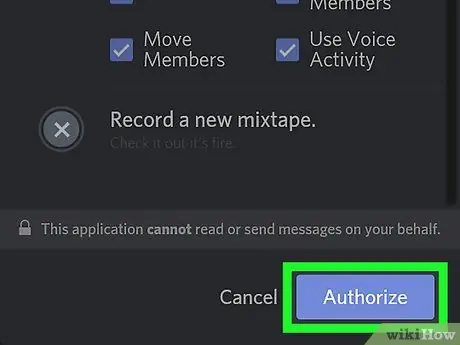
Step 6. Press Authorize
This is a blue button in the lower right corner of the screen. Press it, so you will authorize the bot and add it to the selected server.
Part 2 of 4: Assigning a Role to the Bot
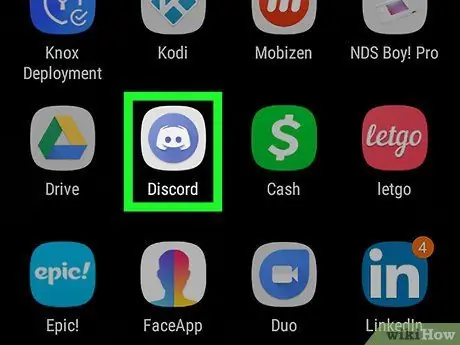
Step 1. Open the Discord app on your device
The program icon looks like a white controller inside a blue circle.
If Discord doesn't automatically log into your account, enter your email and password
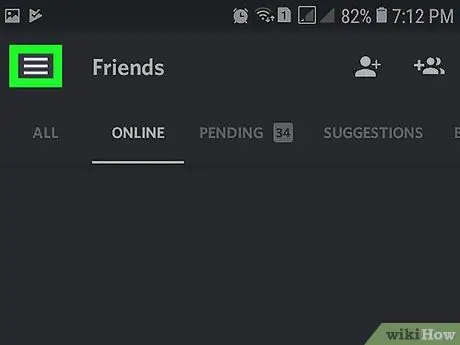
Step 2. Press the button with the three horizontal lines
It is located in the upper left corner of the screen. The navigation window will open.
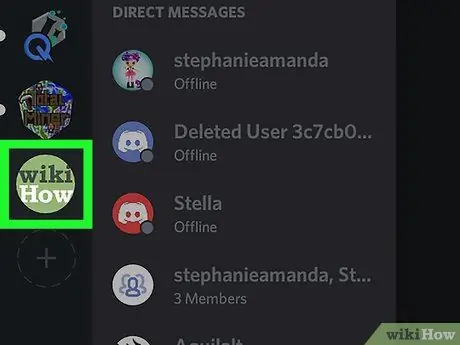
Step 3. Press the server where you installed the bot
On the right you will see the list of all text and voice channels on the server.
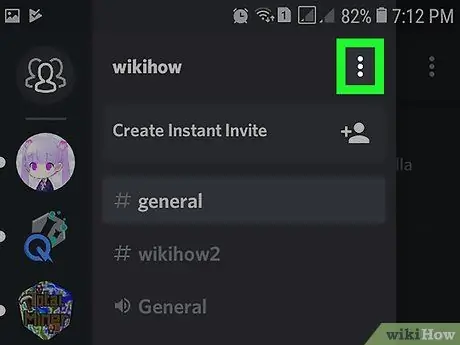
Step 4. Press the button with the three vertical dots next to the server name
You will find it in the upper right corner of the navigation window. A menu will open.
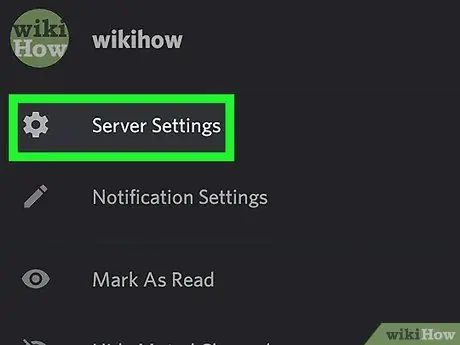
Step 5. Press Server Settings in the menu
You will find this entry next to a gear icon. Press the button and the Server Settings menu will open in a new page.
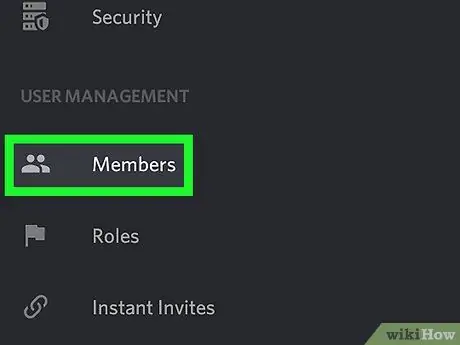
Step 6. Scroll down and press Members
This is the first option under the USER MANAGEMENT heading. By pressing the button you will see the list of all members of the server, including the bot you just installed.
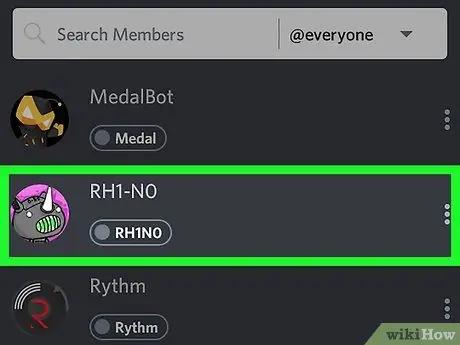
Step 7. Click on the bot in the list
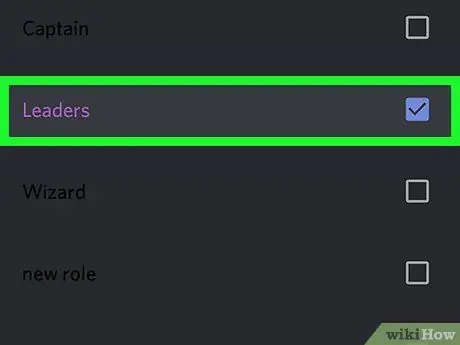
Step 8. Select a role for the bot
Under the ROLES heading, press one of the server roles to tick the box next to the entry and assign it to the bot.
- Some bots are automatically assigned a role upon installation;
- If you haven't set any roles for your server yet, you can do it now.
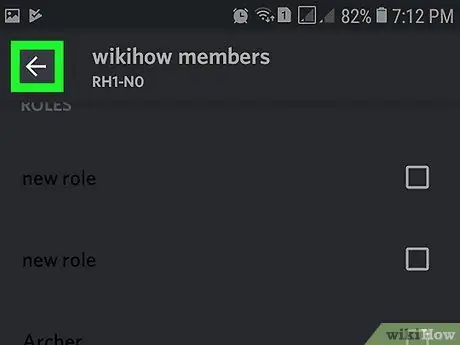
Step 9. Press
The settings will be saved and you will return to the navigation window.
Part 3 of 4: Adding the Bot to an Existing Channel
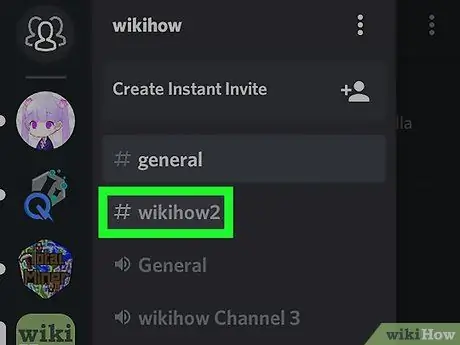
Step 1. Choose an existing channel from the navigation window
The chat will open in full screen.

Step 2. Press the button with the three vertical dots
You will find it in the upper right corner of the chat. A drop-down menu will open.
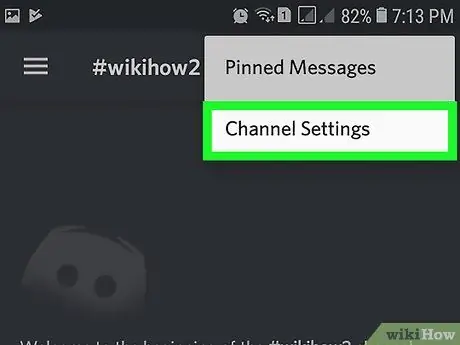
Step 3. Press Channel Settings in the menu
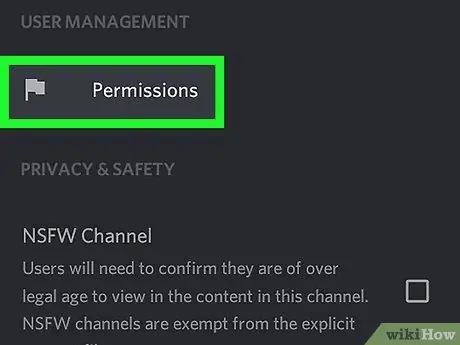
Step 4. Scroll down and hit Permissions
You will find this item among the last ones on the Channel Settings page.
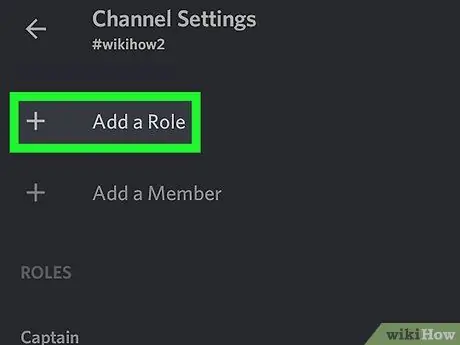
Step 5. Press Add a Role
The list of all roles assigned to this server will open.

Step 6. Press the role you have assigned to your bot
The Permissions menu for the bot role on the server will open.
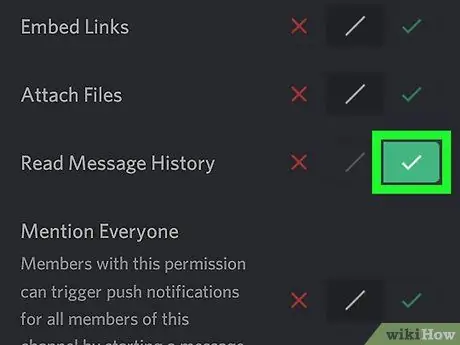
Step 7. Scroll down and press the green check mark next to Read Messages
This is the first option under the Text Permissions heading. This allows the bot to read all chat messages in this channel.
You can freely customize the other permissions on this page. This is where you will control the bot
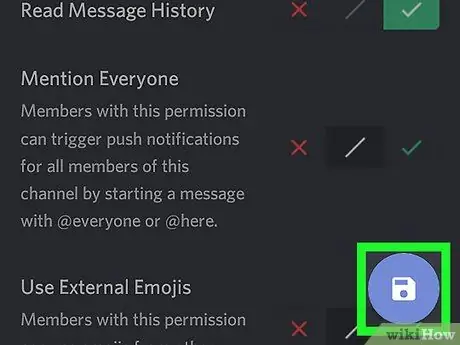
Step 8. Press the Save button
It looks like a floppy disk in the lower right corner of the screen. This will save the bot's permission settings.
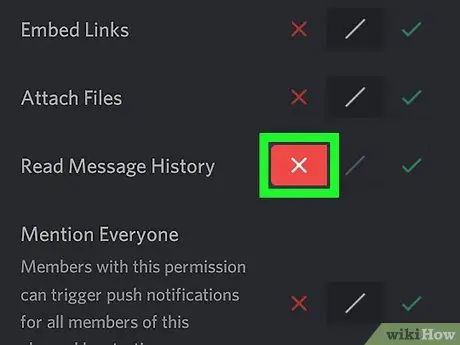
Step 9. Block the bot from accessing other channels
Probably the bot will appear in the list of members of all channels on the server. If you want to limit its use to a single channel, you can customize the permissions. To do this, repeat the previous steps for the channel you are interested in and select the "X" red to the voice Read messages.
Part 4 of 4: Adding the Bot to a New Channel
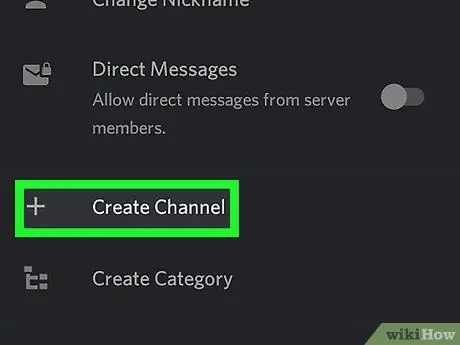
Step 1. Press the + button next to TEXT CHANNELS or VOICE CHANNELS
Open the server where you installed the bot in the navigation window and press the button "+" to create a new channel. The Create Channel page will open.
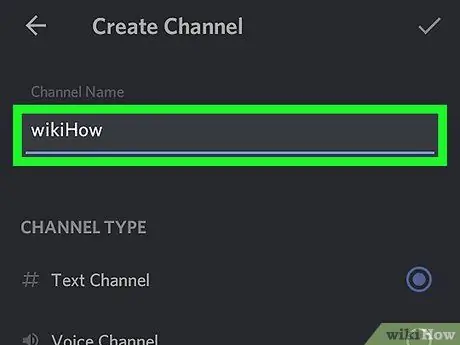
Step 2. Enter a channel name
Under the heading CHANNEL NAME, type or paste the name of the new channel.
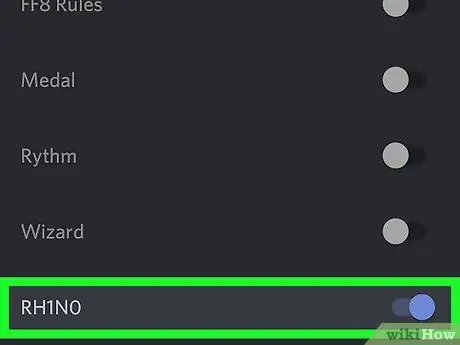
Step 3. Select the role of the bot under the heading WHO CAN ACCESS THIS CHANNEL
The bot will be added to the new channel.
By selecting the option @all the bot will also be included.
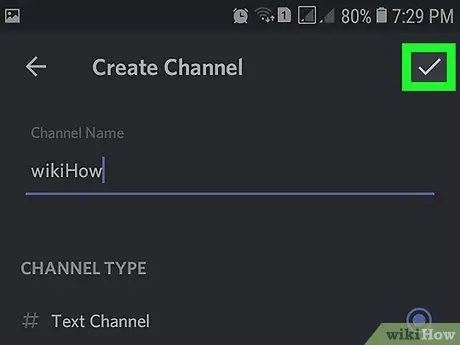
Step 4. Press Save
This button looks like a floppy disk and is located in the lower right corner of the screen. The new channel will be created.


