This article explains how to add a bot to a server's member list, assign it a specific role, and customize its channel permissions using an iPhone or iPad.
Steps
Part 1 of 3: Install a Bot
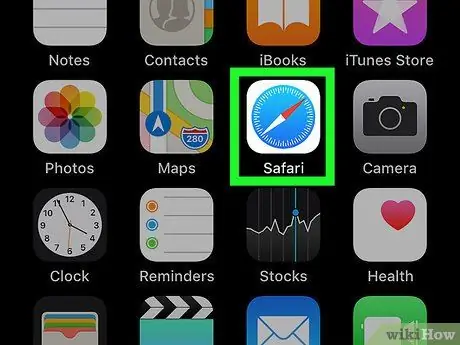
Step 1. Open Safari on your iPhone or iPad
Search and tap the Safari icon on the home screen or open another mobile browser.
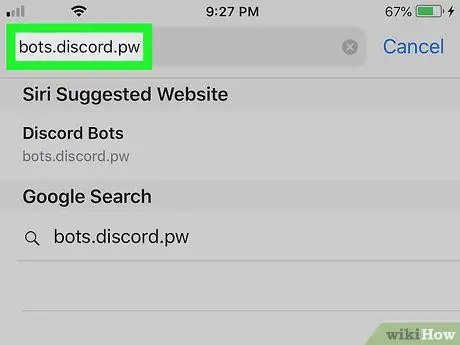
Step 2. Visit the unofficial Discord Bots site
Type bots.discord.pw in the browser address bar and tap the "Go" button.
You can also take a look at other sites, such as Carbonitex or Bot List to find more options
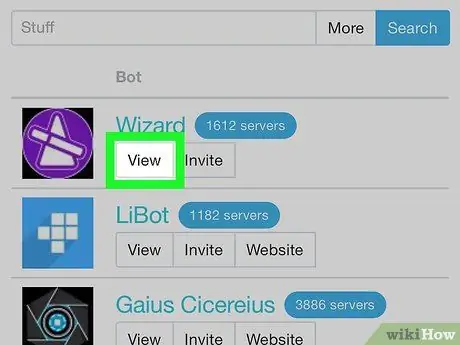
Step 3. Tap the View button next to a bot
Look for a bot that interests you on the list and tap this button to view the details.
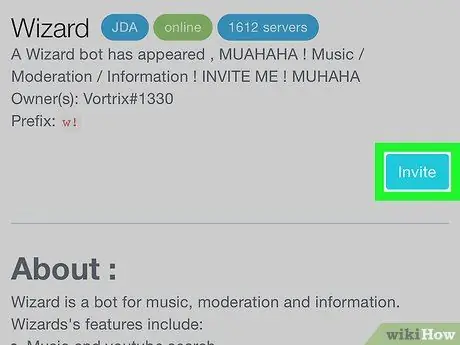
Step 4. Tap the Invite button
This will open a new page where you will be prompted to log into your Discord account.
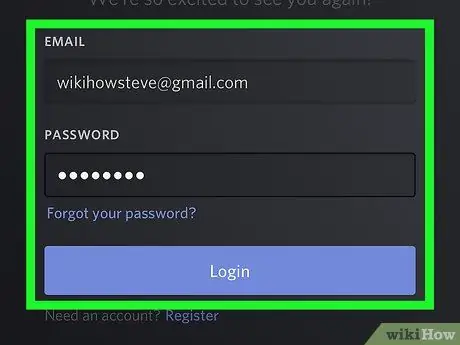
Step 5. Log into your Discord account
Enter your email address and password, then tap the blue "Sign in" button.
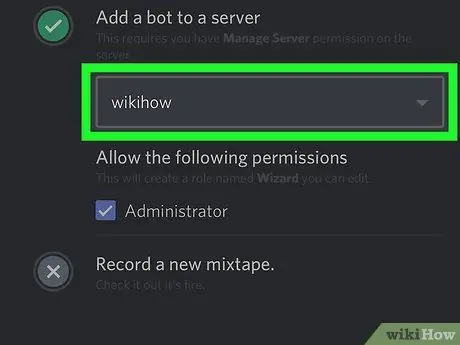
Step 6. Select a server to add the bot
Tap the drop-down menu titled "Select a server", then choose one for the new bot.
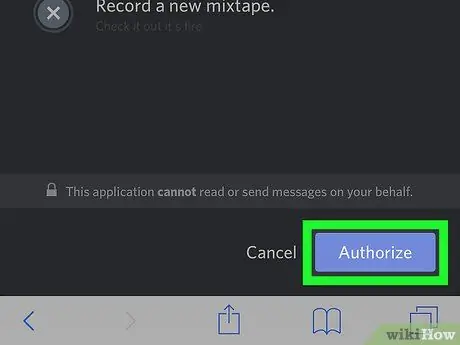
Step 7. Tap the Authorize button
This will authorize the operation and the bot will be added to the selected server.
Part 2 of 3: Assigning a Role to a Bot
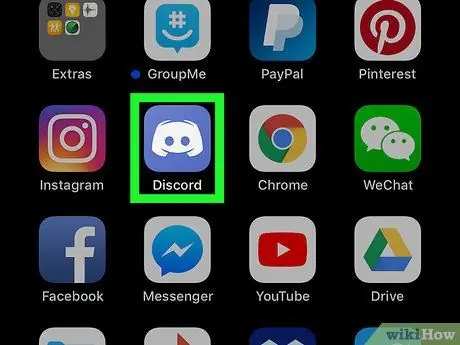
Step 1. Open Discord on your iPhone or iPad
The icon looks like a white joystick on a blue background.
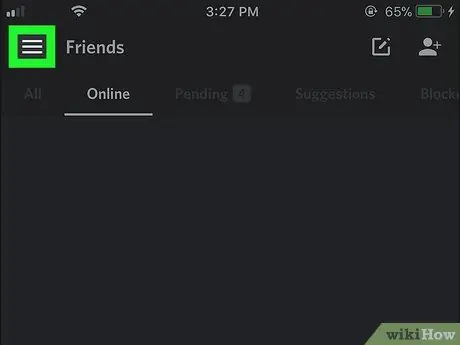
Step 2. Tap the ☰ icon
This button is located in the upper left corner and opens a navigation panel on the left side of the screen.

Step 3. Tap the server you added the bot to
Look for the server on the left side of the screen and tap its icon.
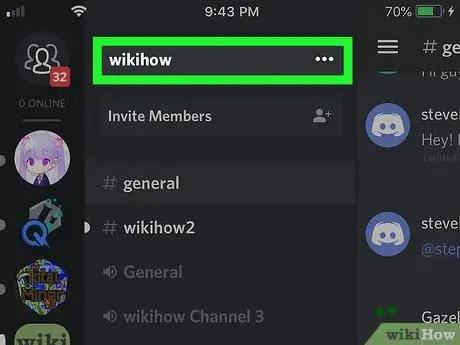
Step 4. Tap the server name at the top of the screen
It is at the top of the channel list. Several options will appear.
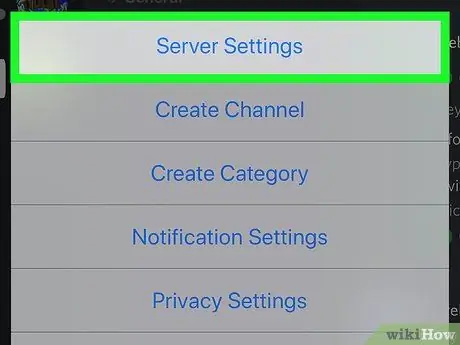
Step 5. Tap Server Settings in the pop-up menu
A dedicated server settings menu will open on a new page.
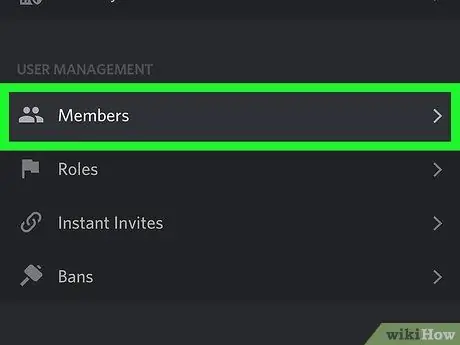
Step 6. Scroll down and tap Members in the section titled "User Management"
A list of all users who are on this server will open.
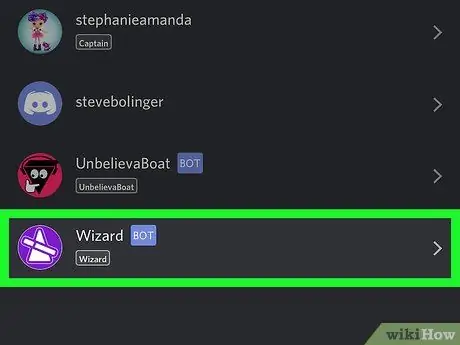
Step 7. Tap the bot in the member list
A page will open that will allow you to make various changes.
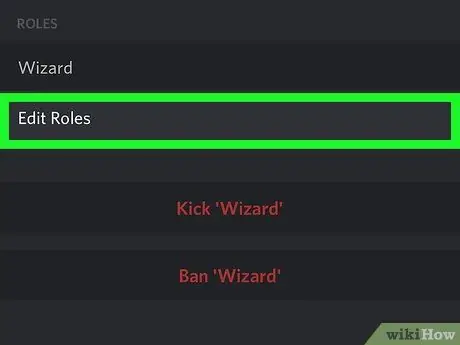
Step 8. Tap Edit Roles in the section titled "Roles"
A list will appear with all the available roles that you can assign to the bot.
If you have not configured a role for the bot, you can create a new one in the "Roles" menu. You can find it in the section titled "User Management" within the "Server Settings" page
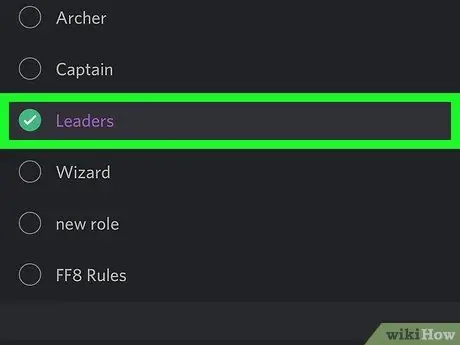
Step 9. Select the role you want to assign to the bot
You can return to this section and change the role at any time.
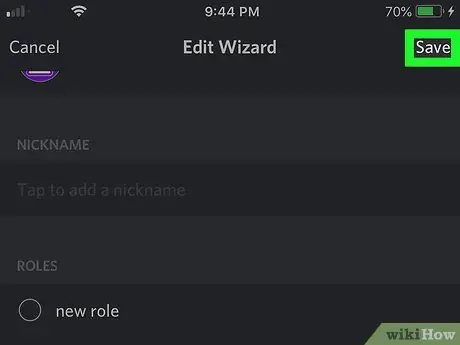
Step 10. Tap Save
This button is located in the upper right corner. This will save the new role of the bot.
Part 3 of 3: Adding a Bot to a Channel

Step 1. Open the server channel list
All text and voice channels are listed under the server name on the navigation panel.
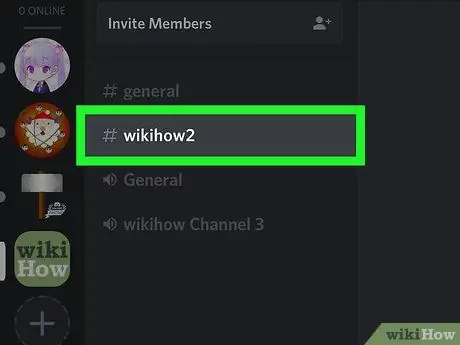
Step 2. Tap the channel you want to add the bot to
Look for the channel on the list and open it.
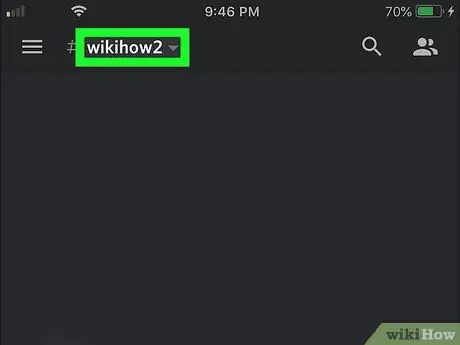
Step 3. Tap the channel name at the top of the chat
The channel settings page will open.
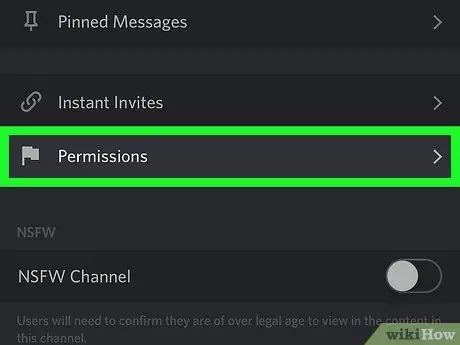
Step 4. Tap Permissions at the bottom of the screen
The page dedicated to channel permissions will open.
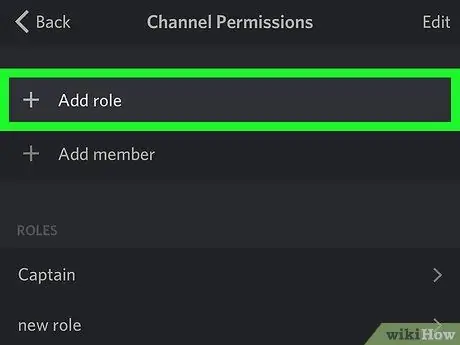
Step 5. Tap the + Add a Role option
A list with all server roles will open.
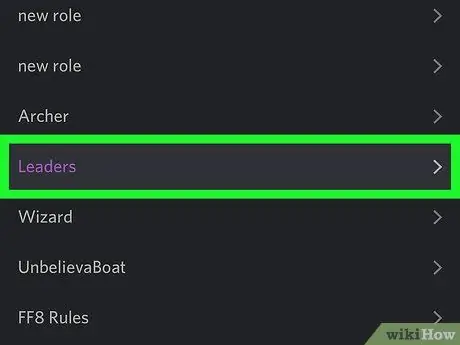
Step 6. Select the role of the bot on the list
A page will open with the channel permissions associated with the selected role.
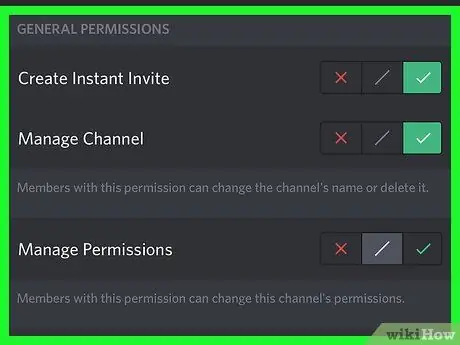
Step 7. Customize the bot's permissions on the channel
Scroll down to see the list of permissions and change the various options according to what the bot might need.
Tap the green check mark next to an option to give the bot a permission, while tap the red "x" to revoke it
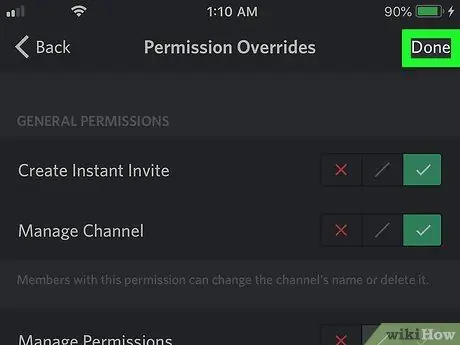
Step 8. Tap the floppy disk icon at the bottom right
This will save the permissions you gave the bot on the channel and add it to the chat.


