If you're wondering how you can create Wallace and Gromit-style animations or the funny short films starring the Lego men you see on YouTube, your search is over! While not difficult, creating a stop motion animation is a long and repetitive process. If you are a very patient person, however, it will be a very fun hobby that over time could turn into a successful career.
Steps
Method 1 of 2: Using a Stop Motion Software
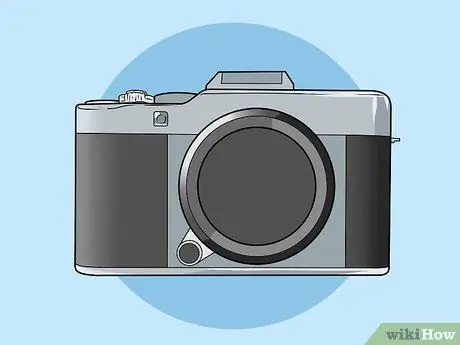
Step 1. Choose your camera
If you have a quality digital one, you can use it for this project, but remember that a cheap webcam will do just fine too. Purchase one that has manual focus so you can manually adjust it for sharp, close-up images. You can buy a webcam directly online for less than € 5.
- Make sure the webcam is compatible with the device you intend to use. In the case of a mobile device, you will most likely have to purchase a special connection cable and install an application that allows you to drive the webcam directly from the device.
- Some of the software recommended below only work using a specific webcam or model of camera. Before proceeding with the purchase, therefore check its compatibility.
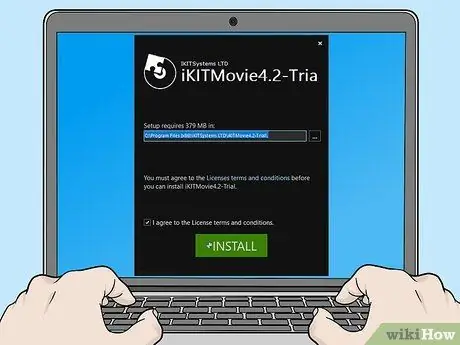
Step 2. Install dedicated software
You can install these types of programs on virtually any device, however laptops and mobile devices are easier to move around the shoot. Many programs of this kind are offered for free for a limited period, so that you can test their qualities before proceeding with any purchase. The advice is to always read the terms of the license agreement because often the demonstration versions of the program do not have all the features present in the full versions, or worse, they add a covering watermark to each image. Here are some of the recommended programs:
- Mac systems: iStopMotion, Boinx, Dragon Frame.
- Windows systems: I Can Animate 2 (recommended for children), iKITMovie or Stop Motion Pro. Although it has few features, Windows Movie Maker can be a good option because it has the advantage that it may already be present on the computer.
- iPhone or iPad: Frameographer, Stopmotion Cafe.
- Android devices: Clayframes, Stopmotion Studio.

Step 3. Find the objects and characters you want to use in your movie
Some of the best options include: clay, wire, Lego men, and any different type of toy figure. Be creative, you can use practically any object around you to make your masterpiece.
- Start with small projects, such as an orange that peels itself. Remember that it takes about 18-24 images to make a single second of video, so you will have the opportunity to do a lot of practice.
- Alternatively, you can draw the individual scenes on a whiteboard or on paper, changing the image of each frame from time to time in only small details, thus obtaining a smoother animation. If you decide to make your film this way, you need to get a stable support on which to fix the designs to prevent accidental movement.
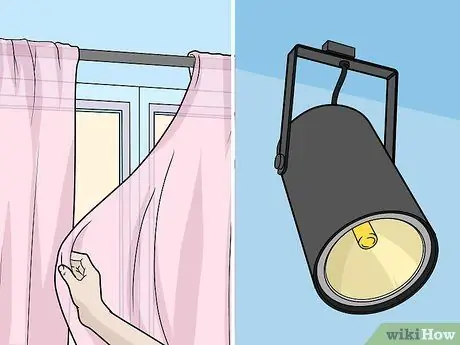
Step 4. Prepare suitable lighting
You can take advantage of any type of stable light, free from flickering or sudden changes in brightness. If clouds or other external objects create a play of shadows on the set of the shots by changing the brightness of the environment, you can decide to darken the windows with curtains or blinds.
Some types of light bulbs take some time to reach maximum brightness. Turn them on early and wait for them to warm up while you prepare the set for shooting
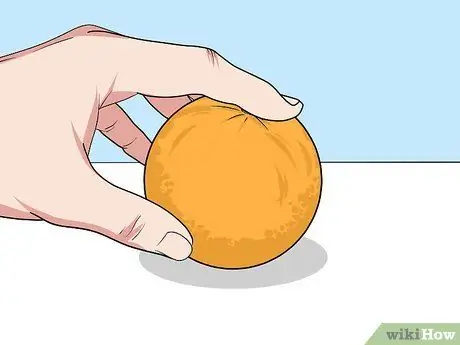
Step 5. Prepare the shooting scene
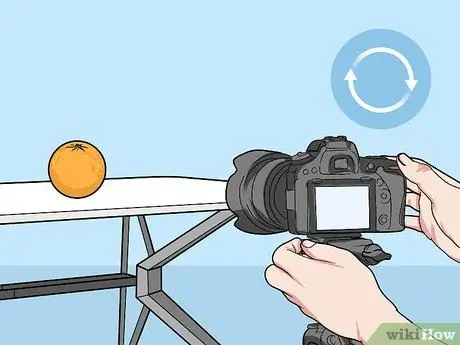
Create the set for shooting in an area that is free from wind and moving objects. Make sure that all the pieces are placed correctly and firmly in their starting position. If one of the objects falls during filming, restoring it to the correct position would take a long time.
If one of the characters seems unstable or about to fall off, pin it in place using sticky paste
Step 6. Prepare the camera
Place the camera and the chosen mounting device at the point you want to shoot from. Connect the webcam or camera to the device. Start the software and check that the image taken by the camera is also correctly detected by the program. After all the details are in place, place the camera on a tripod or tape it so it can't accidentally move. If the camera were to move during the shooting, the final result would be chaotic and without continuity.
Step 7. Start taking pictures
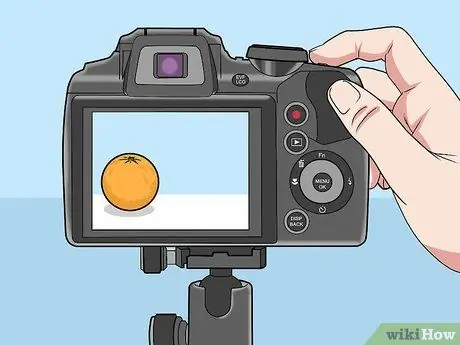
Take a single photograph of each of the objects or characters while they are in their starting position. Continue by having each object make very small movements, then take a new series of photographs for each individual movement. You can move only one piece at a time (for example, one arm, back and forth, in greeting), or choose to perform multiple movements at the same time (to reproduce a smooth walk you will have to move both the arms and legs of the character at the same time, while for shooting a more complex scene you will have to move numerous objects). Between shots, have your characters make movements of equal distance.
Before taking a picture, make sure the subject is always in perfect focus. You may need to turn off the camera's autofocus to do this. If you are using a webcam, manually move the focus ring
Step 8. Check the software
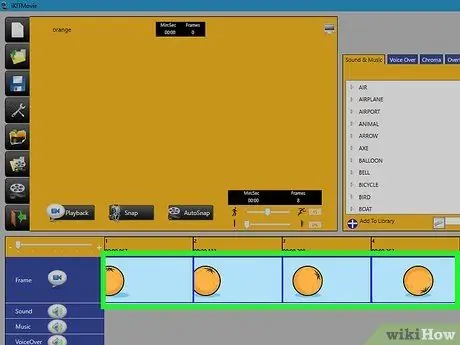
Each time you take a photograph, the single frame should appear within the "stop motion" program you are using. Each captured image will be inserted into a sequence that will make up the final movie. Normally this sequence is placed at the bottom of the program interface. You should be able to cycle through the sequence of frames or play a preview of the movie to get a rough idea of what the final result will be. At this point of the work do not worry about the quality, the final result will certainly be much smoother and sharper.
If you make a mistake, you can simply delete the frame you just captured and take a second photograph
Step 9. Look for the "Onion Skinning" feature
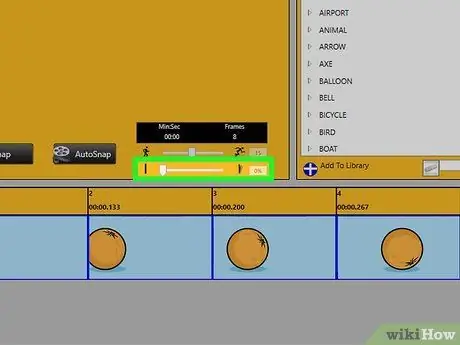
This is an extremely useful function, a fundamental reason why your choice should fall on the use of a software dedicated specifically to stop motion and not on a free video editor. When the "Onion Skinning" function is enabled, the previous frame is superimposed on the video image captured in real time by the camera. This process allows you to change the position of objects and characters in a very precise way. If you inadvertently move a character or make a mistake, thus having the need to recreate some frames, the "Onion Skinning" function, by superimposing the last useful frame on the current image, will allow you to recreate the initial scene in a very simple way, allowing you to properly line up all characters and objects.
If you can't find this feature, look for the online help menu or the Getting Started tutorial section. Alternatively, visit the program developer's website
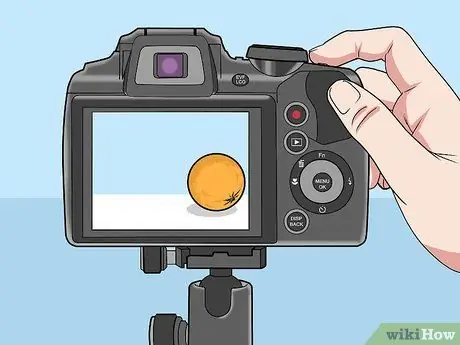
Step 10. Finish shooting
Continue by moving the characters around the set and taking all the necessary photographs until the job is done. When you're done shooting, don't disassemble the set as you may need to repeat a few frames.
Remember that it is not necessary to complete filming in one session. Taking regular breaks will transform work from a boring chore into a real pleasure
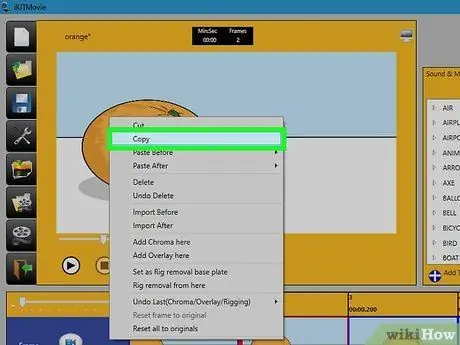
Step 11. Duplicate the frames so that the movements appear at a slower, more natural pace
Duplicating a frame increases the display time of its image for a few moments before the next one is shown. It is a good idea to make one or two copies of each frame of the movie. On some occasions, increase the number of copies to 6-8 frames, so that the character pauses before: changing his direction, making a certain movement or starting a new scene. In this way the animation will be visibly smoother and more natural.
If in doubt, always refer to the instruction manual of the software you are using
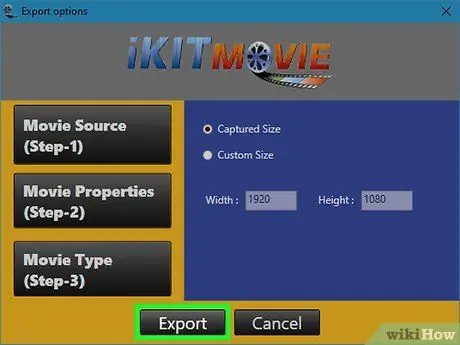
Step 12. Complete the movie
Now you can render the project to turn it into a real video file to show to friends. If you wish, you can import the finished video inside into a video editing program to add background music and sound or special effects.
Method 2 of 2: Use a Free Video Editor
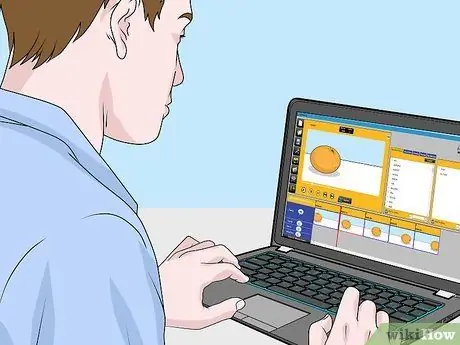
Step 1. Know the pros and cons of this choice
You may already have a video editing program and a camera or smartphone that can take digital photographs. If so, you just have to get started. However, note that the filming and editing process can take a lot of time and effort. If you want to create a movie longer than 1-2 minutes, opt for a software specially created to implement the "stop motion" technique and follow the steps of the previous method.
All you need to follow the method described above is a demo version of the software and a cheap webcam
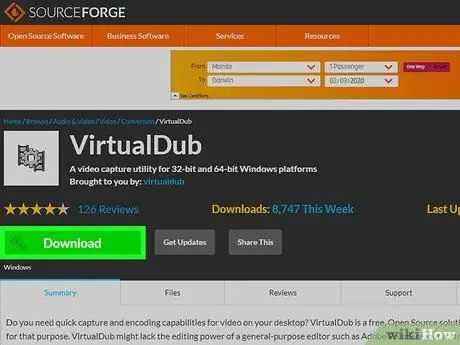
Step 2. Choose the program
Most of the free video editing software are functional for your needs. This guide shows the use of some programs that can be downloaded for free from the web:
- Mac systems: iMovie (program already pre-installed on some Macs)
- Windows Systems: Virtual Dub, Windows Movie Maker (doesn't officially support this technique, but it works sometimes; it's a pre-installed program on most Windows systems)
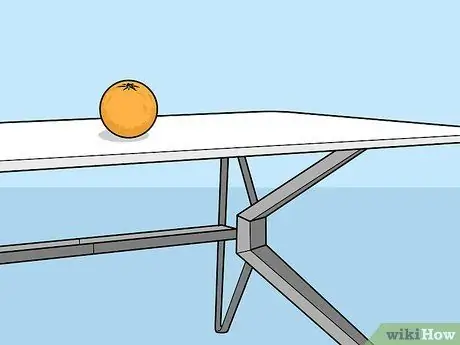
Step 3. Create the set for your movie
Find an area free of moving shadows, flickering lights, or moving objects in the background. Place all the chosen objects, firmly fixing those that appear less stable. To do this, you can use double-sided tape or simple adhesive paste.
Animations created in "stop motion" require a very long creation process. Always start with a simple and short idea - for example, a sheet of paper that rolls up on its own and jumps into the trash can
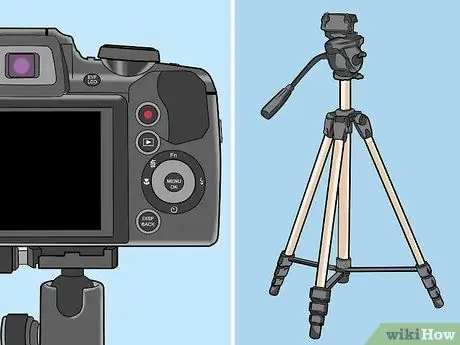
Step 4. Keep the camera still
You can use any device capable of capturing images (digital camera, smartphone, tablet or webcam). Place it on a tripod or stable stand. Alternatively, secure it with tape. The fundamental thing is that it is perfectly still, otherwise the final video will appear not very fluid and confused.
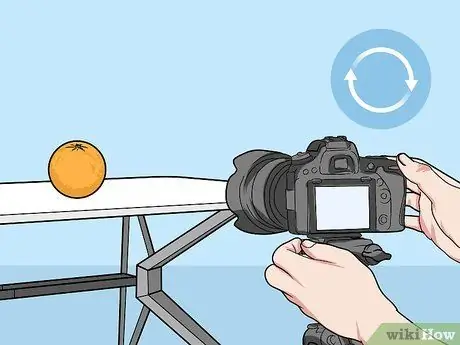
Step 5. Take the photographs
The basic idea is very simple: take a photograph of the scene, move the objects and characters involved slightly, then take a second photograph. Check the resulting image and possibly acquire a second one if the first contained errors. For added security it is always best to take 2-3 photos of each scene.
- Make sure the subjects in your scenes are always in sharp focus. If your camera uses autofocus, you may need to disable it in order to use manual focus.
- Make sure that the movements of the characters or objects are always performed at the same time.
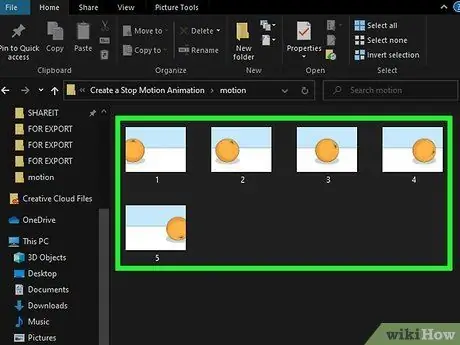
Step 6. Transfer the images to your computer
Save all scanned images to an easy-to-access folder on your computer. Do not change the file names, they should have already been numbered progressively automatically. This way you will keep the chronological order of the images.
If you use an application such as iPhoto, as a first step, create a new photo album in which to insert the images related to the movie, thus separating them from all your personal photos
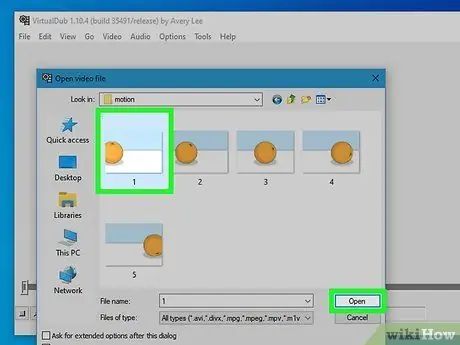
Step 7. Import the images into the video editing program
To do this, start the program and import the entire folder that contains all the images from the footage. Normally, this option is placed in the "File" menu or in a specific location, depending on the program used, as described below:
- iMovie: Make sure you are using the view mode that shows the timeline. To import pictures, press the Photos button, then choose the album to import.
- VirtualDub: access the File menu, select the Open item, then choose the Image Sequence option. Choose the first image in your photo album, VirtualDub will automatically import all the photographs present following the progressive order of the names (for example DCM1000, DCM1001, DCM1002, etc.).
- Windows Movie Maker: Do not import until you have configured the duration of the image display as described below.
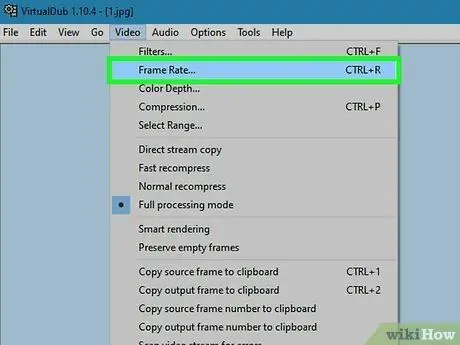
Step 8. Change the duration of the image display
This parameter determines the total display time of each image. This parameter is handled slightly differently by each program:
- iMovie: When you select images, you are asked to enter a time value. If you want to get a smooth video with a fast playback speed, try entering a value of "0:03" (ie 3/100 of a second). If, on the other hand, you want to watch a movie with a more relaxing, but at the same time less fluid pace, try using a value of "0:10".
- VirtualDub: access the Video menu and select the Frame rate item. A value of 25 FPS (frames per second) results in a very fast and smooth video. Choosing a value of 5-10 FPS will result in a less fluid movie, but with a more relaxed pace.
- Windows Movie Maker: access the {{button | Tools} menu, select the Options item, choose the Advanced tab and finally select the Image Options option. Enter the value you want (try "0, 03" or "0, 10"). You can now import images into the timeline.
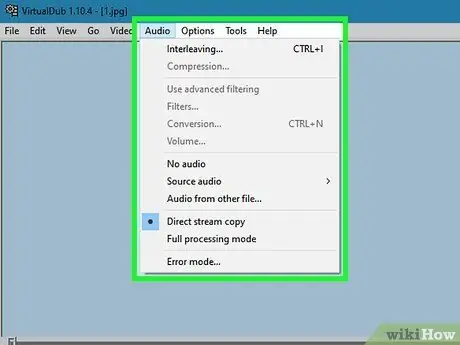
Step 9. Try using some other features
Most video editing software allows you to add: soundtrack, opening credits, closing credits and special effects. If you wish, you can experiment with using these functions, if not you can skip this step and create a silent movie. Save your work often to avoid losing any changes you've made.
- iMovie: Add dialogue by moving the playback slider (marked with an arrow pointing down) to the target frame, pressing the Audio button and choosing the Record option. If you want to add a soundtrack or sound effect, drag the related audio file from iTunes to the section of iMovie dedicated to the audio track.
- VirtualDub does not have this functionality. After exporting the complete video you can open it using another program and make any desired changes.
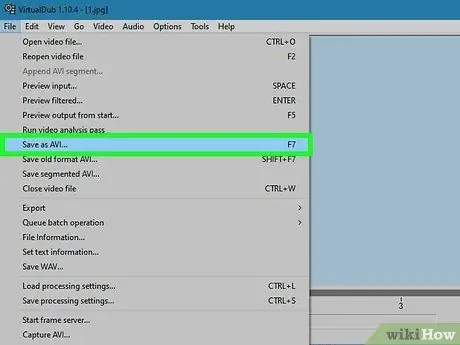
Step 10. Save the movie
To be able to see the result of your efforts, you simply have to start playing the relevant video file. Good vision!
VirtualDub: Go to the File menu and choose the Save as AVI option. The images will be transformed into a video sequence that you can edit using a video editing program, such as Windows Movie maker, Sony Vegas or Adobe Premiere
Advice
- To reduce flicker for smoother, sharper animation, set the camera's white balance and exposure time to manual settings. This way you can fine-tune both factors with each shot.
- If your characters are clay sculptures, to be sure to be able to move them and to be able to move them more easily, try inserting a wire core.
- If you need to move your characters' limbs, be sure to position them stably. You can use some paste or tape for this.
- If your computer is not powerful enough, during the editing and editing phase, the video playback may be incorrect (frames may be missing or playback may freeze). When you save the full movie, everything should be perfect.
- In the early stages, if you are depicting scenes with dialogue between characters, simply take individual pictures of their faces. In this way you will speed up the work while still obtaining a pleasant result.
- If you need to create sequences of flying objects (such as a pterodactyl or a bird), tie some transparent thread. This way you will be able to keep them in the air and take all the necessary images to create the desired flight sequence. Obviously you will need the help of a second person for this step.
- If you are not satisfied with the speed at which the software manages to create the animation, try exporting the entire project as a video file, then import it again to apply a filter that can increase its playback speed. Remember to perform this step before inserting the audio track.
- In the case of a long and ambitious project involving many scenes, try to save each sequence as a separate movie. This way, when you're done completing each individual scene, you can easily edit them into the final movie.
- The more images you have, the smoother the final animation will be.
- Make sure that the animation program you are using is compatible with the file format created by the camera. If not, you'll need to download or purchase different software to make the full movie.
- Before inserting the audio track, plan exactly the final playback speed of the animation.
Warnings
- This is a very long project; so if you start feeling bored, tired or frustrated, give yourself a break. Make a note of where you left off shooting, so that when you have the energy and desire to dive into work again, you'll know exactly where to pick up.
- Stay away from light sources illuminating the movie set, otherwise your shadow could appear in the frames and complicate the editing of the animation.
- Using the camera with too high a resolution will result in images that are too large and may slow down the processing speed of the computer excessively. If you have already taken several high-resolution photos, you can reduce their size using PhotoShop or a special image compression software. Unless you are using professional software, the best choice is to get frames with a maximum size of 500 kB.


