If you've ever visited a place with a “photographic” wallpaper, you know how suggestive this technique can be, if done well. It is not a light-hearted decision, however, for your home - the photo must be chosen carefully so that it matches the existing decor and style, as well as being valuable for years to come. However, provided you choose a suitable photo, it can help create a great wall in a room in your home.
Steps
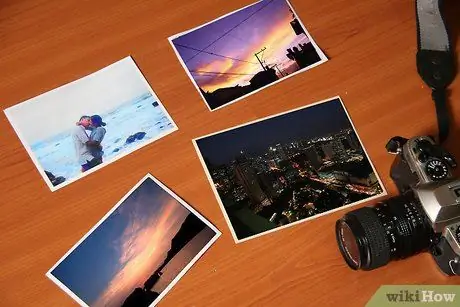
Step 1. Choose the image carefully
As already mentioned, the photo must be something you will like for years to come and must easily adapt to the existing style and furniture. Avoid passing fads and photos of people who may no longer be your friends in a short time - after all, staring at your ex won't make you want to stay in that room! Among the most suitable images we find:
- Repeated objects, such as similar trees in a wood, or a forest / beach.
- Landscapes, like a city, the sea, the view from a country house …
- Sunsets, sunrises, full moon, starry sky …
- A drawing by your child or a work of art by some other family member.
- If you want to include people, such as your children, include them in a larger landscape so that they are not the main focus. It can be upsetting to see yourself so magnified on a wall, as well as risk getting tired quickly.
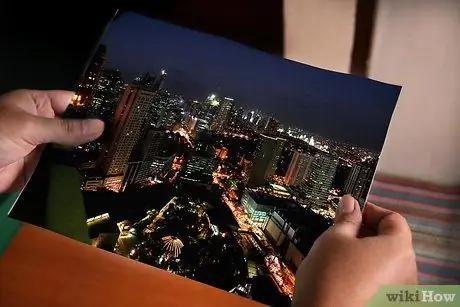
Step 2. Choose a high resolution photo
A sharp and clear photo that can be enlarged without loss of quality is essential for the wallpaper - every smudge and blur will be magnified along with the image. Old grainy photos might look cute, but carefully consider the effect of those enlarged images.
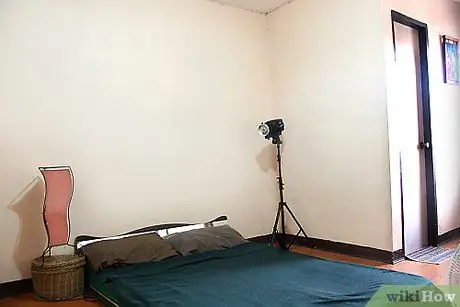
Step 3. Choose a room along with the photo
Part of the choice will be guided by the position of the wall. Is it for the living room or a playroom? Elegance in the living room or dining room is a must, so a life-size photo of the Sampdoria owners will not be ideal for these rooms, but it could be for your eldest child's bedroom. Match the photo content to the right room.
This article recommends a single decorated wall, rather than the entire room. You are free to disagree, of course, but know that often an entire decorated room is excessive
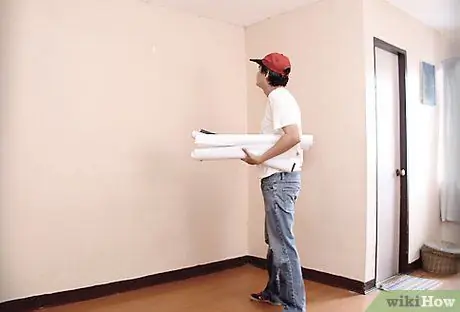
Step 4. Make a decision on both the photo and the room, then let a few days pass
At the moment, instinct could guide you in one direction, but after a few days your head could make you reconsider. These days of reflection will save you from a hasty decision in what is definitely a big change in the style of your home.
Overall, this is likely to be an expensive choice, so part of the reflection should also focus on the project budget. Find out the costs before you get too attached to an idea
Step 5. Touch up the photos if necessary
While the photo may already be decent (in which case, move on to the next step), a bit of retouching could help improve it even in view of a greater fusion with the style of the room. Some possible improvements include:
-
Try black-and-white with a pop of color. Using your photo editing software, color a single area of your photo in black and white. The color of the eyes of one of the subjects, or perhaps a building in a panorama, in short, a small touch of color (combined with the room) is enough to make the photo more interesting.

Turn Your Favorite Photo Into Wallpaper Step 5Bullet1 -
Create a retro photo using a new one. Maybe you want to "age" the photo and make it look more like a family heirloom. You can use your software or a program like Instagram to change the style of the photo.

Turn Your Favorite Photo Into Wallpaper Step 5Bullet2 -
Turn the photo into a painting. Some programs can turn an ordinary photograph into a watercolor or oil painting in a matter of seconds. For a more sophisticated room, try different types of paint; the end result can be surprising.

Turn Your Favorite Photo Into Wallpaper Step 5Bullet3 -
An outline can be ideal, to show where the image ends and the wall resumes. Plus, an outline gives you the freedom to create a photo wallpaper that covers only part of the wall, rather than all of it. it means that you could consider a very zoomed-in photo (of your kids, perhaps) placed neatly in the middle of the wall without adding anything else to the wall, apart from the paint that surrounds the photo.

Turn Your Favorite Photo Into Wallpaper Step 5Bullet4
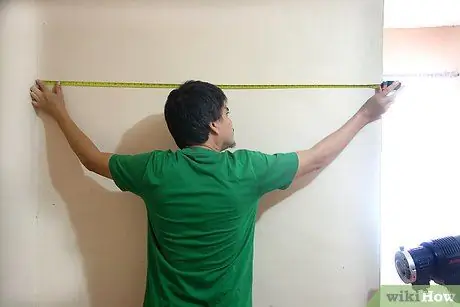
Step 6. Measure the wall for a perfect result
The size of the photo must be accurate, because any missing part, too short or too long will be immediately obvious and will ruin the whole look. It's challenging to be specific, but it's worth it. If you are not good at taking measurements, consider hiring someone more experienced; While it may seem like a waste, having the most perfect measurements possible is crucial in creating the right effect, and will prevent you from wasting wallpaper.
- It is recommended that you choose a wall free of strange shapes or curves, unless you entrust the work to a professional. Such walls are difficult to treat properly and can look terrible if done poorly. Also, many vendors don't have the tools to make wallpaper with weird shapes, so you may have to cut similar walls yourself, which could make it look unprofessional.
- See the previous steps for the possibility of not covering the entire wall, but only a part. It can reduce costs and be much easier to treat than a full wall.
Step 7. Purchase the necessary tools
In addition to the internet (which offers several choices for photo-wallpaper-to-wallpaper conversion), local copy shops and similar labs may provide this service, so you may want to consider both options to find the best deal closest to you. Make it clear what you have in mind and make sure you provide the correct measurements so they can tell you whether or not they are able to help you.
-
If you order online, use only sites with good reviews or recommended by friends, perhaps asking via Twitter, Facebook, etc. their experiences. Order only from reputable sites where you can read reviews and maybe contact previous customers. Ask how the wallpaper will be delivered to you, the shipping costs, the quality of the material and the return policies.

Turn Your Favorite Photo Into Wallpaper Step 7Bullet1 -
Consider local copy shops. Not only do many local copy shops offer this service, but some postal services and private graphic studios may also come to your rescue.

Turn Your Favorite Photo Into Wallpaper Step 7Bullet2
Step 8. Be fully aware of the wallpaper material and ease of application
Ask for wall mounting instructions. Does it work like normal wallpaper (glue) or does it have a special attachment, adhesive or similar? Ask if the adhesive is likely to damage the wall if the wallpaper is removed; it is particularly important, given that many wallpapers fade within a couple of years and must be removed and replaced - do you want to risk having to completely repaint the wall the following year?
-
Get a general idea of applying the wallpaper before ordering it. You don't want to go through the whole process only to find that it's too difficult to apply. Generally, wallpaper glue is the simplest for self-application; many other methods may require the help of a professional for the application, increasing costs.

Turn Your Favorite Photo Into Wallpaper Step 8Bullet1 -
Find out about the inks and the duration of the image. It is still a photo, and like many photos, it risks fading within a few years, with exposure to sunlight and other light sources. For many it is a good thing and serves as a reminder to change it!

Turn Your Favorite Photo Into Wallpaper Step 8Bullet2 -
Make sure the seller you select can meet any particular needs. Review each request with the seller before confirming the order. You may need a certain size or material which is not provided. Better to find out in advance than after paying for and receiving the wrong product.

Turn Your Favorite Photo Into Wallpaper Step 8Bullet3
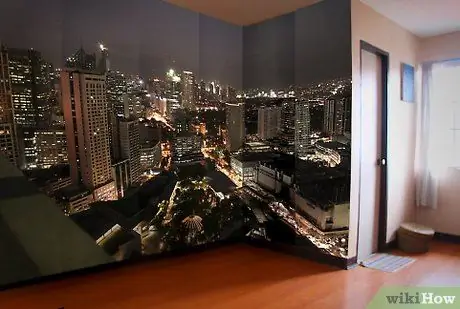
Step 9. Apply the photo to the wall
Follow the instructions provided by the seller. As with the application of wallpaper, first make sure that the wall is perfectly clean and that all traces of the old wallpaper or paint have been removed. If you are centering the magnification of a photo, measure with extreme precision. If the application is too complex for you, ask for help from friends or relatives, or contact a professional. It is better to ask for help than to perform rough work - a patchy wallpaper is immediately visible to anyone.
Advice
- Try asking about wallpaper patterns before ordering, to get a good idea of texture and strength.
- Invite a friend (or two) to help you install the wallpaper. You could even hire someone with some experience in this type of work.
- Make sure the wall is clean and ready to receive the wallpaper. It means closing any holes or removing nails, which can compromise the effect of the photo.
- This method is also great for old wallpaper. Take a picture of the damaged card and have a new one printed from the photo!
- Ask if the service can also be done for a painting or drawing, in case you want to expand a work of yours or your children.


