The art of painting wooden objects has been practiced for hundreds of years. Once upon a time mainly metal objects were decorated and this is why the art is still called "tole painting" (derived from the regional term "tolla" in metal). If you have a piece of wood that you would like to paint, you should first create a drawing or choose a stencil, then select the colors you want to use and get the tools you need, plus, of course, the paint. To paint wood, water-based paints are usually used, easy to use and to fix, which will therefore be perfect for your first objects to paint. Read the following steps to learn how to paint on wood.
Steps

Step 1. Choose an area with good ventilation
The fumes from some products can be harmful, and the air will cause the paint to dry faster.
Step 2. Sand the surface of the object
Always follow the grain of the wood. Use sandpaper from No. 140 to 180.
If you bought the item from a craft or art store it will need to be sanded down. If, on the other hand, the surface appears completely smooth, there will be no need for it
Step 3. Rub the object with a "sticky" cloth
It is a special cloth that will remove any residual dust and other debris from the object; you can find it in DIY and hardware stores.
Step 4. Apply primer or wood stain to the entire object
Many crafters use a spray primer because it is easier and faster to apply. It is important to cover all the wood with the primer, as this will fill all the pores, thus making the surface smooth and the paint uniform.
Alternatively, you can apply wood stain. There are many types of stains in different colors. Buy them preferably in specialized stores, rather than in hardware stores. If you want to keep the look of the wood, stain is the right choice

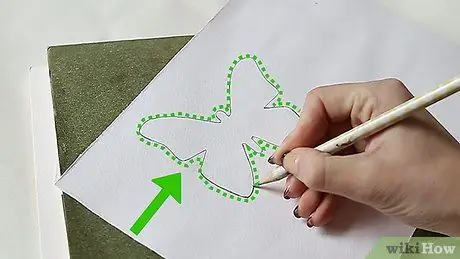
Step 5. Draw on a piece of paper what you would like to paint
Even if you have decided to paint freehand instead of using a stencil, the drawing will help you understand which acrylic paints to choose and will help you get an idea of the final work.
If you paint with a stencil, you will need to purchase graphite carbon paper, tracing paper, and a tracing tool, as well as colors and primer. Place the tracing paper over the drawing and trace it with a pencil on the tracing paper. Put the carbon paper on top of the wood, with the graphite side facing down, and put the tracing paper on top. Use the tracing tool (usually a kind of pencil with a metal ball tip) and trace the design over the primed wood
Step 6. Use a paper plate as a palette
Squeeze small amounts of the colors you want to use into the pot. Fill a cup of water and put some paper towels next to it, you will need it to wash and wring out the brushes.
If you want to put a base color all over the wood, squeeze a good amount of the chosen acrylic color into the plate. Use a small sponge brush to apply color to the object. Wait for it to dry completely before continuing with the other colors, unless you want to mix or blend the colors on purpose. If you have to follow a pattern or a drawing, do this work before putting the stencil
Step 7. Dip a flat brush in the paint and start painting the design
To paint on the curves use a flat angled brush, while for straight lines, dots and other precision strokes, use a small rounded brush.
If you would like to learn the different techniques of "tole painting", attend specialized courses. Ask for information in fine art stores about courses that may be in your area, or search for courses online
Step 8. Mix the colors; first apply one color, rinse the brush in water, then dip it in another color and apply it immediately while both are still wet
Use paper towels to blot the brush if it is too wet or if you need to change color.
If you do something wrong, it's not a big deal, because acrylics, being water based, are easy to cover. Review the error with the original color, wait for it to dry and then try again

Step 9. Let the paint dry completely before starting to work on another part of the object
Many objects have at least one front and one back to paint, as well as multiple sides. Some objects can be painted on different sides at the same time.
Many people prefer to paint the underside / hidden side with the base color before moving on to the other details. This way it will have time to dry and you can go back on it before finishing the object

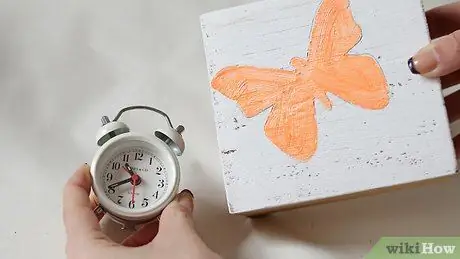
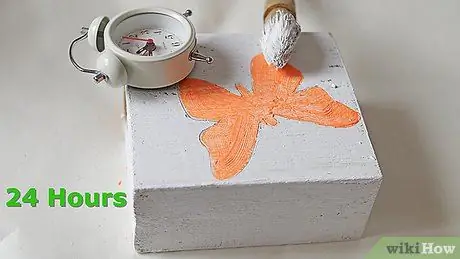
Step 10. Let the object dry completely
If there are several layers of paint, it will need to dry for at least 24 hours.
Step 11. Apply protective spray paint or brush
If the object will be handled, it is best to apply a strong varnish or shellac. You can use a sponge to spread the paint.


