Minecraft is a world of infinite creativity and the almost limitless selection of maps available on the internet bears witness to this. You can find maps for all tastes, simple or incredibly complex, created by other players and shared with the entire community. You can add maps to both the computer version of Minecraft and the Minecraft Pocket Edition (PE) for iOS or Android devices.
Steps
Method 1 of 3: Install Maps in Minecraft PE for iOS Devices
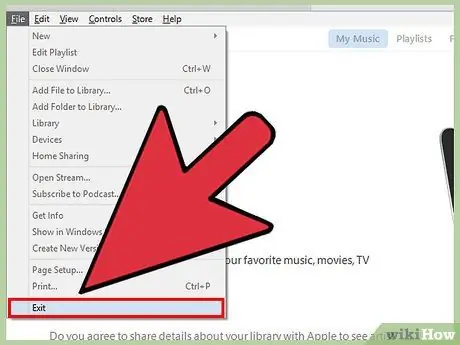
Step 1. Connect the iPhone or iPad to the computer
If iTunes starts automatically, you can close it. To access the file system of your iOS device, you need to use another program.
In order to copy the files related to the new map into the iOS device, you must necessarily connect it to the computer, unless you have performed the jailbreak, a process that is a bit difficult

Step 2. Download the new map file to your computer
You can do this by relying on numerous sites online, or you can ask a friend to share their maps with you. The maps for Minecraft PE are different from those in the computer version of Minecraft. So make sure you download the correct file. Here is a list of the most used websites for this purpose:
- Planet Minecraft Projects;
- Minecraft Forum ("Maps" section);
- Minecraft Maps.
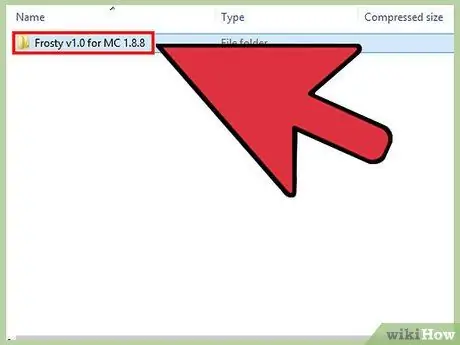
Step 3. Open the file you just downloaded
If the file in question is in ZIP format, you can simply select it with a double click of the mouse. If the downloaded file is in RAR format, to open it you can download "7-Zip", one of the most used programs for managing ZIP and RAR compressed archives. Press the "Extract" button of the program, then choose the folder in which to save the contents of the archive. Select a save folder that is easy to reach.
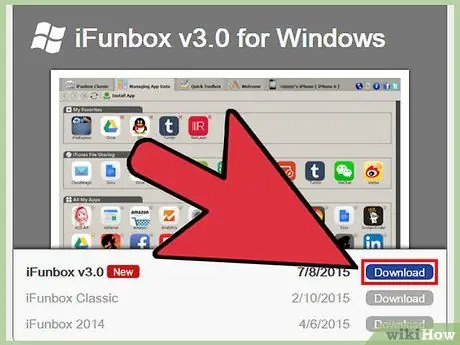
Step 4. Download and install a file manager for iOS devices
You need to use a program that allows you to access the file system of your iOS device without having to resort to using iTunes. One of the most used programs for this purpose is "iFunBox", available for free.
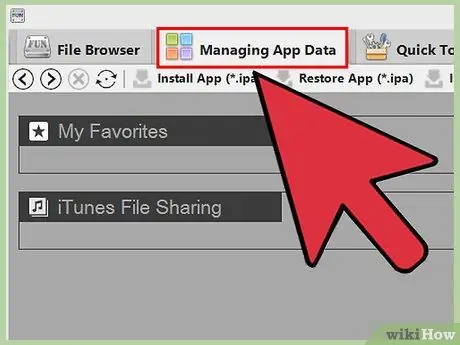
Step 5. Find your Minecraft PE data
From the "iFunBox" program window, access the "Managing App Data" tab. Browse the list of folders related to the Minecraft PE application to access the following sequentially:
Documents → games → com.mojang → minecraftWorlds
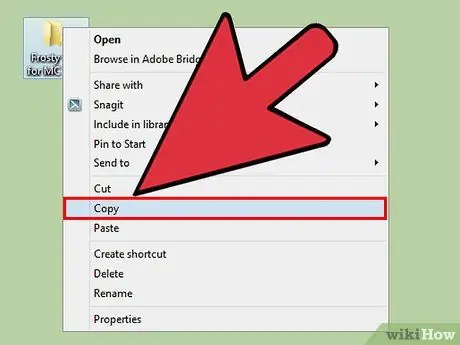
Step 6. Copy the map folder you extracted in the previous steps
Transfer the folder containing the map files you downloaded earlier into the "minecraftWorlds" directory in the "iFunBox" window. To do this quickly and easily, you can select the folder in question and drag it into the "iFunBox" window. Once the copy is complete, you can disconnect the iPhone or iPad from the computer.

Step 7. Use the new map
Launch Minecraft PE on your device. Within the list of available game worlds you will find the newly loaded map. Select it to start a new game, just like you would with another save file.
Method 2 of 3: Install Maps in Minecraft PE for Android Devices
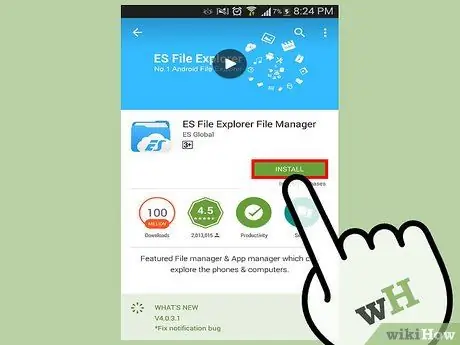
Step 1. Download a file manager
In order to install new maps directly using your Android device, you need to use a file manager. It is a program that allows you to extract the new map file and copy it to the correct folder, so that it can be loaded by Minecraft PE.
Two of the most used applications for this purpose are "AndroZip" and "ES File Explorer"
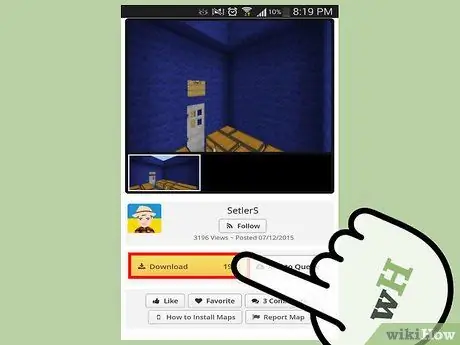
Step 2. Download a new map for Minecraft PE using your device browser
The relative ZIP archive will be saved in the "download" folder of the smartphone or tablet.
Make sure the downloaded map was created for the "Pocket Edition" version of Minecraft
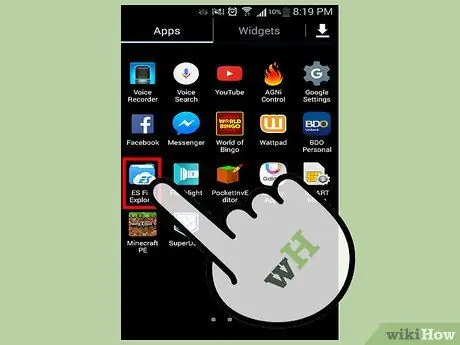
Step 3. Launch the file manager
The list of folders on the Android device will be displayed.
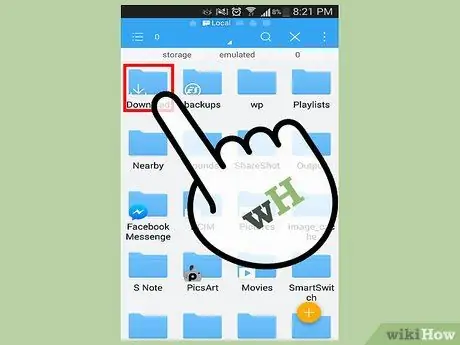
Step 4. Go to the "download" folder
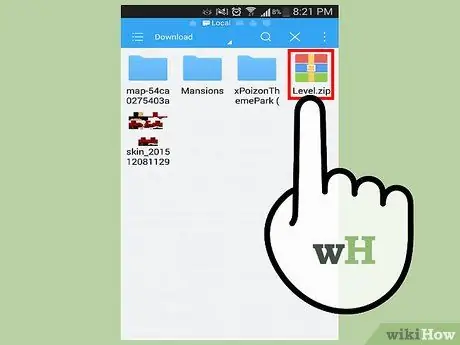
Step 5. Select the new map file
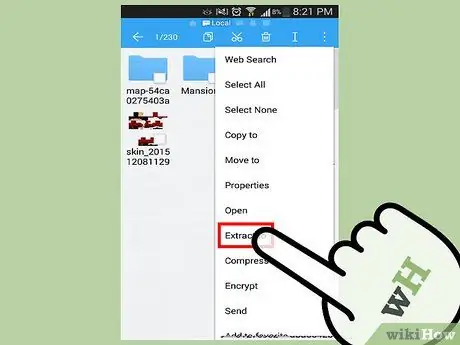
Step 6. From the contextual menu that appeared choose the item "Extract to" or "Extract to"
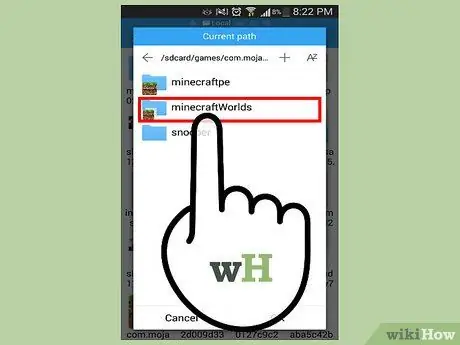
Step 7. To access the destination folder, select the following directories in sequence
games → com.mojang → minecraftWorlds.
In this way the file for the new map will be copied into the correct folder of Minecraft PE.

Step 8. Start the game
You are now able to select the new map from the list of available game worlds. Select it to start a new game, just like you would with another save file.
To consult a large collection of maps that can be installed with just a few steps, you can use the "Maps for Minecraft PE 2014" application
Method 3 of 3: Install Maps in Minecraft for Windows or Mac

Step 1. Download the new map file
You can do this by relying on numerous sites online or you can ask a friend to share their maps with you. The maps are free and should only be downloaded from reliable and safe sources. Here is a list of the most used websites for this purpose:
- Planet Minecraft Projects;
- Minecraft Forum ("Maps" section);
- Minecraft Maps.
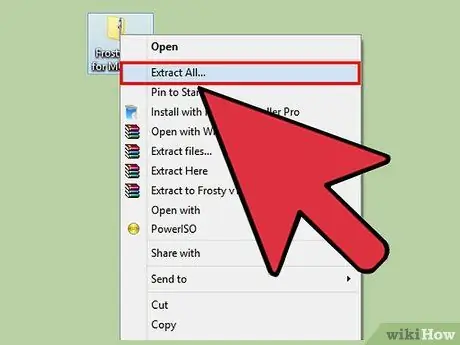
Step 2. Extract the new map file using a program for managing compressed archives (ZIP and RAR)
The archives in ZIP format can be easily managed by any operating system, while the archives in RAR format require the use of a special program. In this regard, you can download "7-Zip", one of the most used free software for managing ZIP and RAR compressed archives. Press the "Extract" button of the program, then choose the folder in which to save the contents of the compressed archive. Choose a folder that is easy to access, such as the desktop or the "Documents" directory.
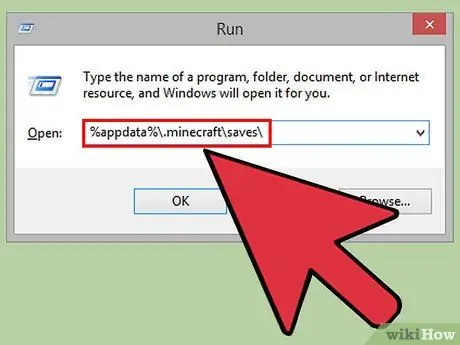
Step 3. Navigate to the Minecraft installation folder
- Windows: open the "Start" menu, then select the "Run" item. Alternatively, you can use the "Windows + R" hotkey combination. In the "Open" field of the window that appears, type the following string% appdata% \. Minecraft / saves \, then press the "Enter" key.
- OS X: access the "Go" menu from the Finder window, then choose "Go to folder". Type the string ~ / Library / Application Support / minecraft / saves, then press the "Enter" key.
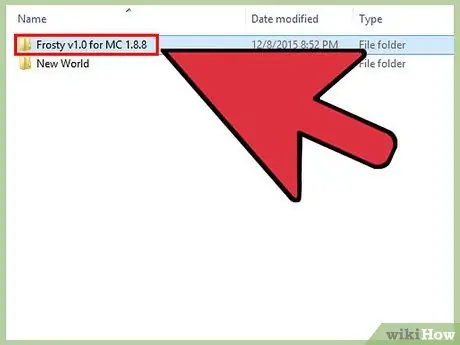
Step 4. Copy the folder for the new map into the Minecraft "saves" directory
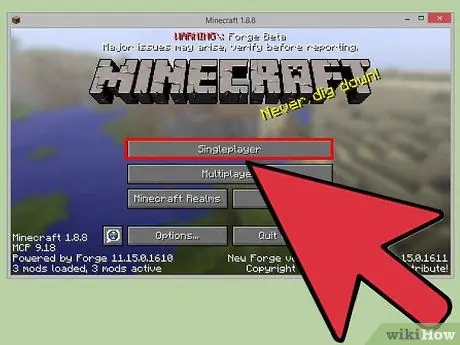
Step 5. Start the game
The new downloaded map will be available within the list of selectable game worlds. Choose it to start a new game. Have a good exploration!


