On Android operating systems, applications are automatically updated when the device is connected to Wi-Fi. However, if you are not connected to a wireless network or if you have canceled automatic updates, you need to take care of them manually. In both cases, these are quick and easy procedures.
Steps
Method 1 of 4: Manually Update Android Applications
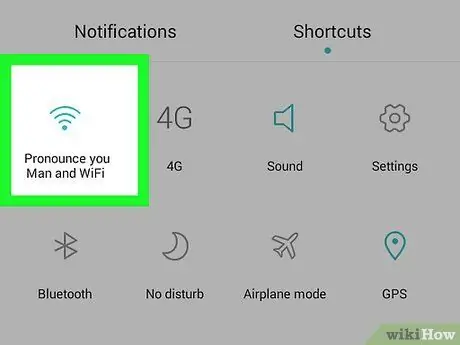
Step 1. Connect to Wi-Fi
It is not strictly necessary that the device is connected to the wireless network to update applications; you can also do it with 3G or 4G LTE cellular connection. However, updates often require a lot of data to be downloaded, so use Wi-Fi if you don't want to consume too much data.

Step 2. Find the Google Play Store icon on your Android device
Search the phone screens for the app icon. If you don't see it anywhere, open the app drawer and you will find it.
In the bottom bar of the device you will see an icon that looks like a grid of white squares. Press it and a screen will open that contains all installed applications. Scroll through the pages until you find the Play Store

Step 3. Open the Play Store
Once you find the app, press its icon with your finger to open it. Wait for it to fully load before the next step.

Step 4. Tap the menu icon, which looks like three overlapping horizontal bars
From the menu that appears, tap My apps.
- Once you open the My Apps page, you will see all the applications installed on your Android device.
- Applications that can be updated will be labeled "Update".
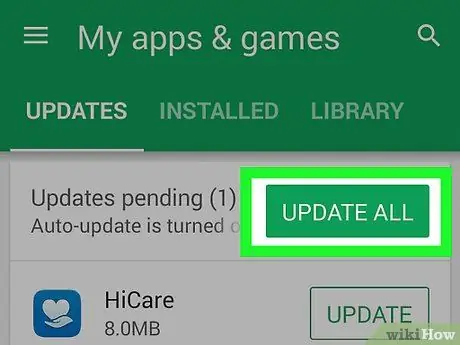
Step 5. Press Update or Update All
On the My Apps page, you will see all installed applications that can be updated. You can choose whether to install individual updates by pressing Update next to the apps you are interested in, or automatically download all new content by pressing Update all.
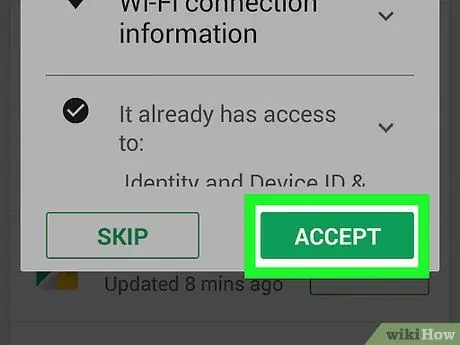
Step 6. Accept the terms of the app
In most cases, a window will open in which you will see what information the app can access in order to use its features. To download the update you have to press Accept. Otherwise, the program will remain at the current version.
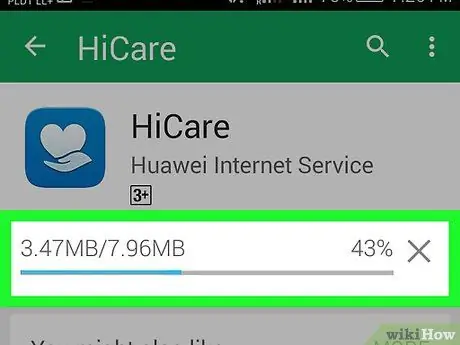
Step 7. Wait for the update to finish
During the operation you can open other apps, but not completely close the Play Store, otherwise the update will be interrupted. You can check its progress in the notification panel by swiping down from the top of the screen. During the process, you will also see an arrow pointing to a short horizontal line further down the notification bar at the top of the screen.
Method 2 of 4: Update Android Apps Manually from the Notification Bar
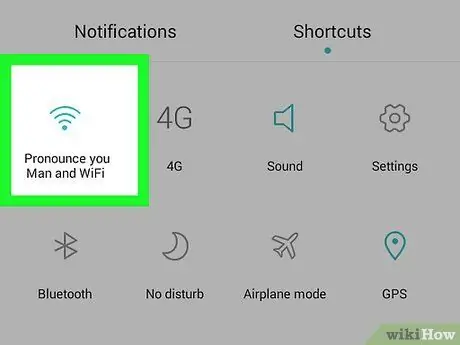
Step 1. Connect to Wi-Fi
It is not strictly necessary that the device is connected to the wireless network to update applications; you can also do it with 3G or 4G LTE cellular connection. However, updates often require a lot of data to be downloaded, so use Wi-Fi if you don't want to consume too much data.
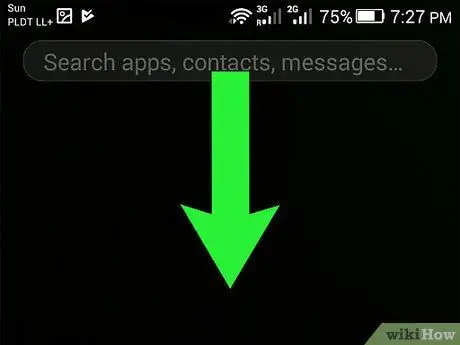
Step 2. Swipe down from the top of the screen with your finger
You should see a small rectangular icon with an arrow inside. This means that some apps can be updated. Scrolling down will open the notification bar and you can see which apps are out of date.
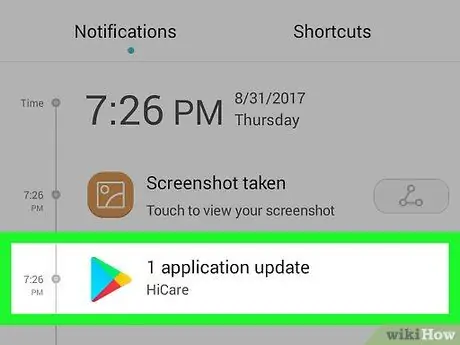
Step 3. Press the notification of the apps to update
The Play Store will open, where you can complete the update.
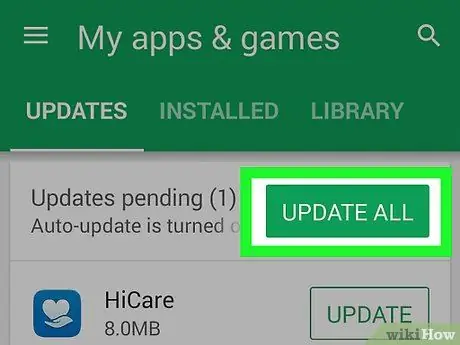
Step 4. Press Update or Update All
On the My Apps page, you will see all installed applications that can be updated. You can choose whether to install individual updates by pressing Update next to the apps you are interested in, or automatically download all new content by pressing Update all.
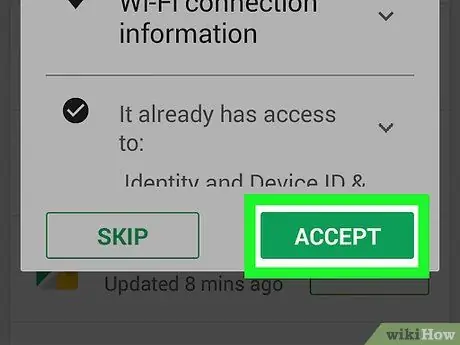
Step 5. Approve the terms of use of the app
In most cases you will need to press Accept in a window that indicates what information the application you are updating has access to to complete the operation. Otherwise, the program will remain at the current version.
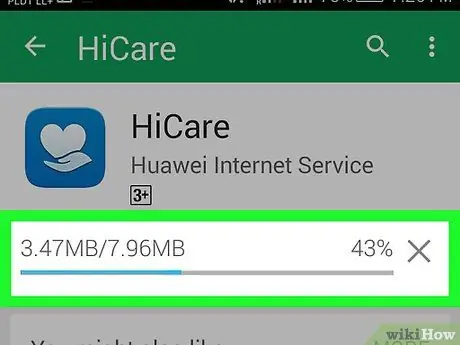
Step 6. Wait for the update to finish
During the operation you can open other apps, but not completely close the Play Store, otherwise the update will be interrupted. You can check its progress in the notification panel by swiping down from the top of the screen. During the process, you will also see an arrow pointing to a short horizontal line further down the notification bar at the top of the screen.
Method 3 of 4: Update Android Applications Automatically

Step 1. Find the Google Play Store icon on your Android device
Search the phone screens for the app icon. If you don't see it anywhere, open the app drawer and you will find it.
In the bottom bar of the device you will see an icon that looks like a grid of white squares. Press it and a screen will open that contains all installed applications. Scroll through the pages until you find the Play Store

Step 2. Open the Play Store
Once you find the app, press its icon with your finger to open it. Wait for it to fully load before jumping to the next step.

Step 3. Tap the menu icon, which looks like three overlapping horizontal bars
From the menu that appears, tap My apps.
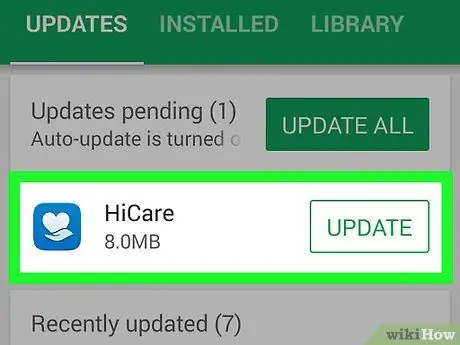
Step 4. Select the app you want to set up automatic updates for
Once the app settings page opens, press the new Menu icon, which looks like three vertical dots, then select "Automatic Updates" by pressing the button next to that item.
Repeat this for all the applications you want to automatically update
Method 4 of 4: Set Up Automatic App Update Via Wi-Fi

Step 1. Find the Google Play Store icon on your Android device
Search the phone screens for the app icon. If you don't see it anywhere, open the app drawer and you will find it.
In the bottom bar of the device you will see an icon that looks like a grid of white squares. Press it and a screen will open that contains all installed applications. Scroll through the pages until you find the Play Store

Step 2. Open the Play Store
Once you find the app, press its icon with your finger to open it. Wait for it to fully load before reading the next step.
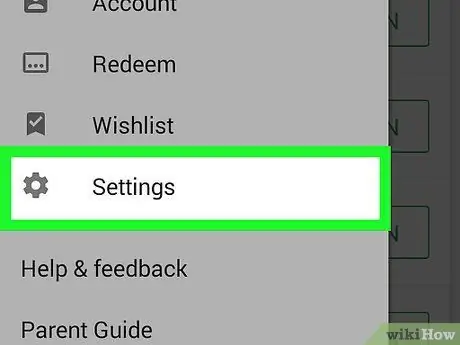
Step 3. Tap the menu icon, which looks like three overlapping horizontal bars
From the menu that appears, tap Settings.
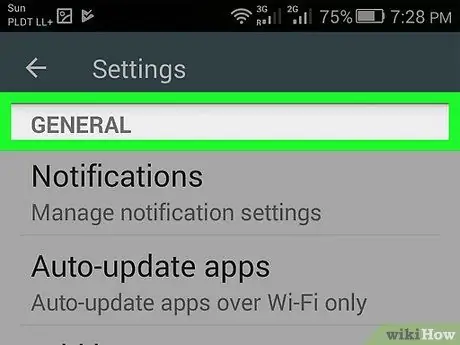
Step 4. Open the General settings
Look for the "Automatic app update" option and press it with your finger.
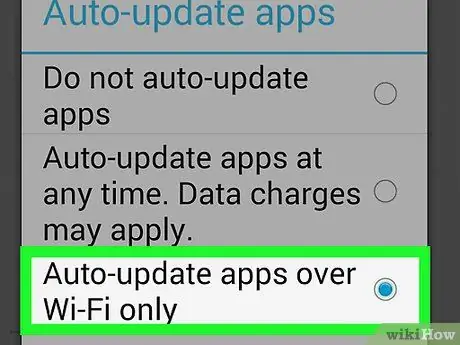
Step 5. Select Automatic app update via Wi-Fi only
With this option, the device will automatically update applications only when connected to the wireless network, saving cellular data and ensuring your safety.


