If you're planning a reunion, small home party, or birthday party, you may want to send informal invitations to friends and family. This type of invitation can be created directly in Microsoft Word. It gives you the ability to create custom invitations using a large library of tools and templates, then print them. In addition to saving you some money, this solution allows you to add your own personal touch.
Steps
Method 1 of 2: Use Word Templates
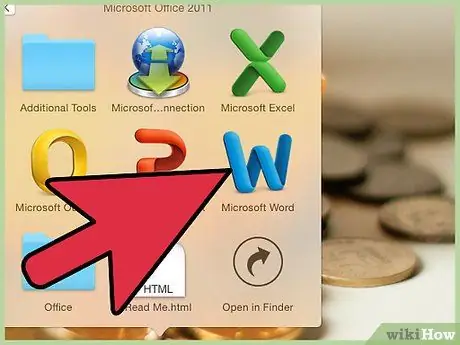
Step 1. Open a new document in Word
To launch the program, double click on the Microsoft Word icon on the desktop or in the Programs Menu. A new blank Word document will open.
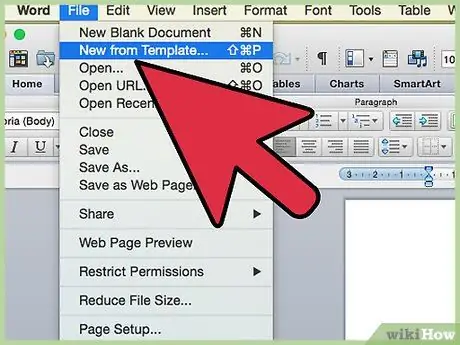
Step 2. Open the template options
Click "File" in the top toolbar and then click "New". A window will open with the templates to choose from; in the left panel you can choose a category, while on the right a preview of the templates available for that specific category will be shown.
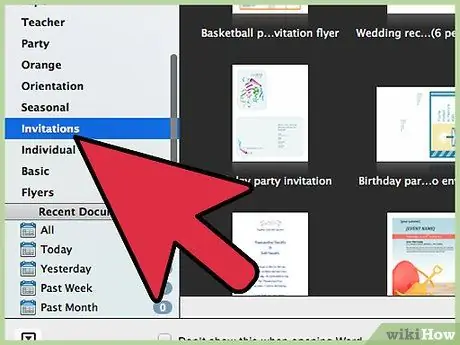
Step 3. Choose "Invitations" from the categories
The categories are in alphabetical order, so you will find the section by scrolling down to the letter "I". The preview in the right section of the window will show the templates available for the invitations.
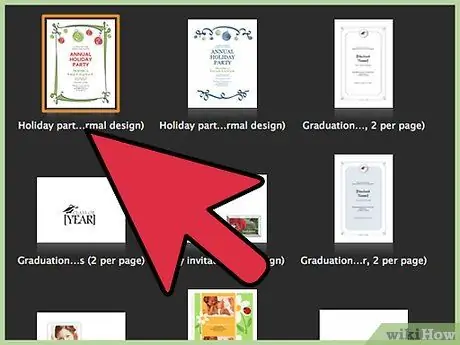
Step 4. Select an invitation template that fits the occasion in the right panel
Double-click the chosen template to open it in a new document.

Step 5. Customize the template
Depending on the selected template, the graphics and texts will be in text / image boxes. Click on the text to edit it. Make sure the information for the event is included in the invitation, such as the event name, date, time, address, and other details.
In most of the templates you will find graphics and images. You can adapt them according to your preferences by clicking and dragging the various elements and then repositioning them, or you can replace them using Word's "Insert Image" tool
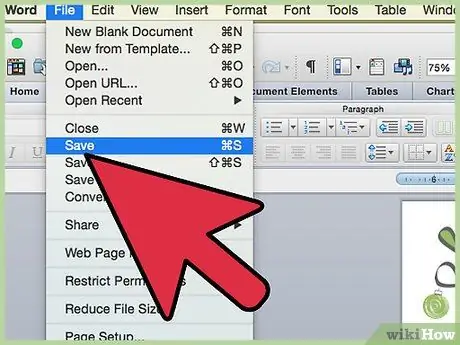
Step 6. Save the invitation
Once you have finished editing, save by clicking "File" -> "Save as" "Word 97-2003 document". Select the folder in which to save the invitation through the window that will open by clicking "Save as". Type the name you want to give the file and click on "Save".
Saving the file as a Word 97-2003 Document will make it readable on all versions of Microsoft Word. You can also print the invitation using your printer, or save the file on a USB stick and take it to the print shop
Method 2 of 2: Using a Blank Word Document
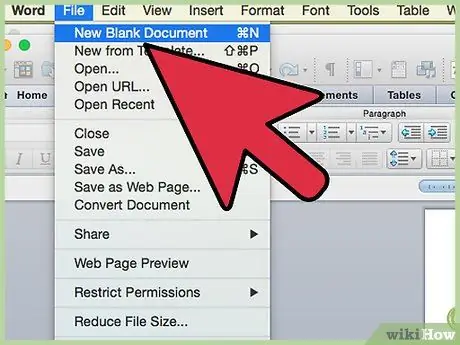
Step 1. Open a new Word document
To open the program, double-click the Microsoft Word icon on the desktop or in the Programs Menu. A new blank Word document will open.
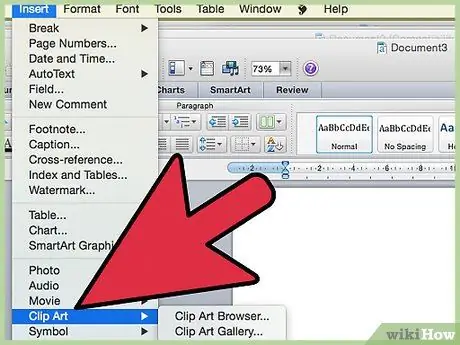
Step 2. Insert graphics or images
Creating an invitation using a blank document will allow you to be more creative, as you won't be limited by what you would find in a ready-made template. To insert an image, click on "Insert" from the toolbar and, from the insertion options that will appear, select "Insert Clip Art" or "Insert Image".
- If you already have the image or graphic you want to insert saved on your computer, use "Insert Image". A window will open to explore the resources on your computer from where you can find the one to insert. Use "Insert Clip Art" to check the clipart available in MS Word. Double-click on the clipart to insert it into the document.
- Once the element is inserted, you can drag it to the desired position or resize it by clicking on the edges.
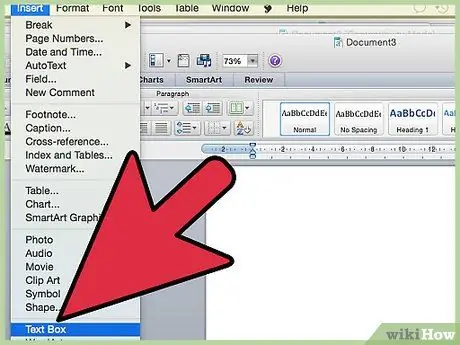
Step 3. Add the text
There are two ways you can add it: by using the "Text Box" function or by typing the invitation information directly. The "Text Box" tool will restrict the text in the created box, while typing the text normally will use the lines of the document.
- To create a "Text Box", click "Insert" at the top and then "Text Box". It is located between "Page Number" and "Quick Parts". Select a style for the "Text Box" from the drop-down menu and then enter the details in the box that will appear on the document.
- In both cases, using the text box or typing in the information normally, you can change the text type and size, as well as bold, italic and underline. You can also change the color of the text using the options under the "Home" tab at the top of the window.
- Make sure you have entered all the information in the invitation, such as the name, date and time, address and other details.
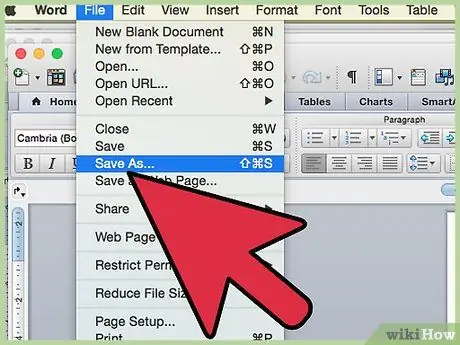
Step 4. Save the invitation
Once you have finished creating the invitation, save it by clicking "File" "Save as" "Word 97-2003 document". Select the folder in which to save the file through the window that will open by clicking "Save as". Type in the file name and click "Save".


