This article explains how to mount a file in MDF format (from English "Media Descriptor File") using a Windows computer or a Mac. An MDF file represents a disk image, just like an ISO file, and is created using a Windows application called Alcohol 120%. The contents of the disk image are only accessible after mounting the corresponding file exactly as if it were a CD / DVD or hard drive. If you are using a Windows computer, you can use the free Alcohol Portable app. Mac system users will need to convert the MDF file to ISO format before being able to mount it.
Steps
Method 1 of 2: Using the Alcohol Portable App for Windows

Step 1. Visit the URL
Alcohol Portable is a free program that allows you to mount an MDF file on any PC.
Since it is a portable application, you can opt to install it on a USB drive. This is a very useful option if you need to mount MDF files on multiple PCs, as you won't have to download the program every time
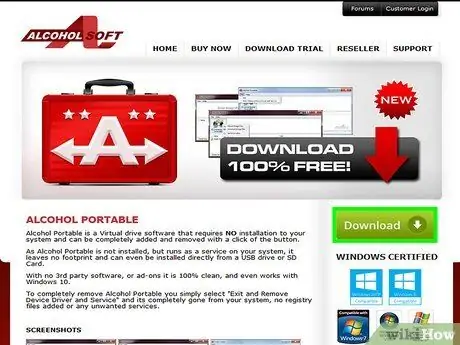
Step 2. Click the Download button
It is green in color and is located on the right side of the page. You will be redirected to a new page and the download of the installation file should start automatically.
If the "Save As" system window appears, select your computer's Downloads folder, listed in the left pane of the window and press the Save button

Step 3. Launch the pAlcoholSetup.exe app
Normally you just need to click on the file name displayed at the bottom of the browser window when the download is complete. If the indicated button is not visible, go to your computer's "Downloads" folder and double-click on the file named pAlcoholSetup.exe.
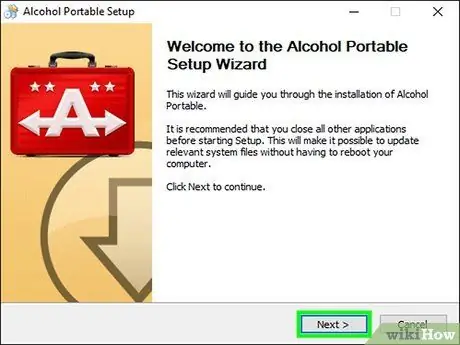
Step 4. Click the Next button displayed on the welcome screen of the installation wizard
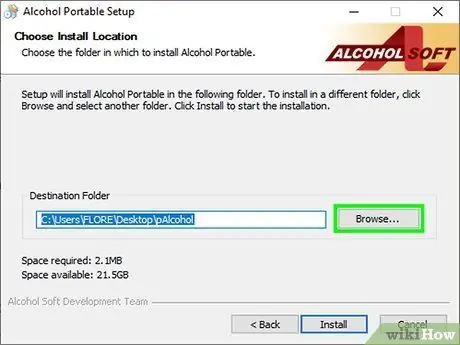
Step 5. Select the installation folder
You can also choose to use the default path. If you need to install the program on a USB drive, connect it to your computer now, click the Browse button, then select the USB device.
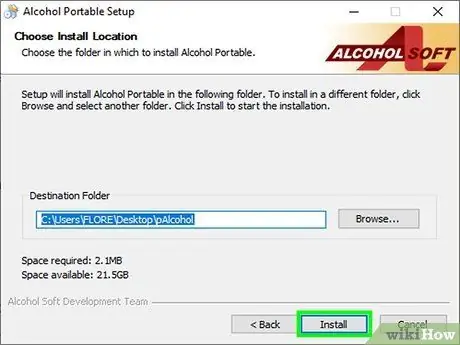
Step 6. Click the Install button
This will copy the application to the specified destination folder.
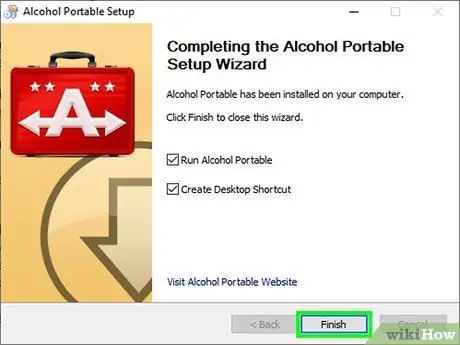
Step 7. Click the Finish button to start the program
When you first start the app, you will need to give it the necessary permissions to run.
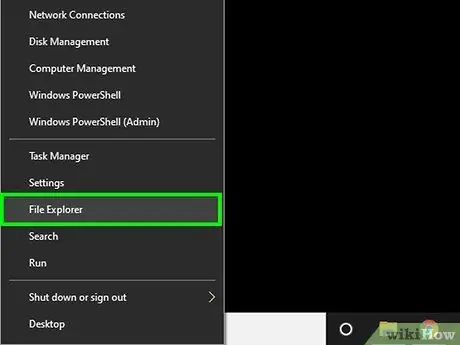
Step 8. Open the Windows "File Explorer" window
You can do this by pressing the key combination ⊞ Win + E or by clicking on the icon depicting a yellow folder located on the Windows taskbar, next to the "Start" button.
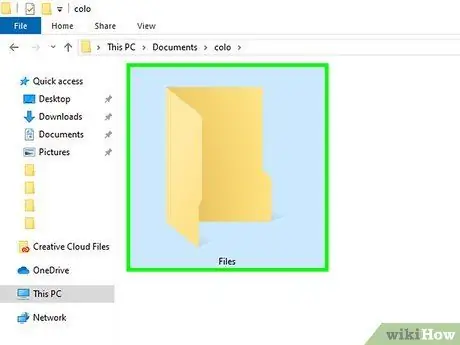
Step 9. Navigate to the folder that contains the MDF file you want to open
If you downloaded the file from the web, you will most likely find it inside the "Downloads" folder. The file name will be characterized by the extension ".mdf".
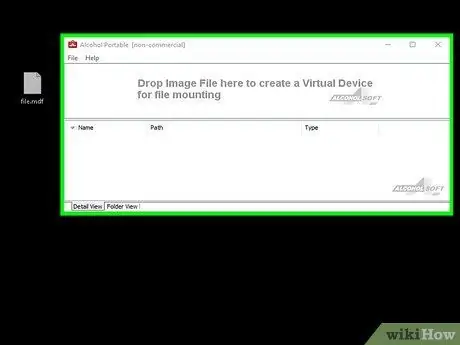
Step 10. Drag the MDF file into the Alcohol Portable app window
Drop the file into the area named "Drop Image File Here to create a Virtual Device for file mounting". A new DVD icon will appear.
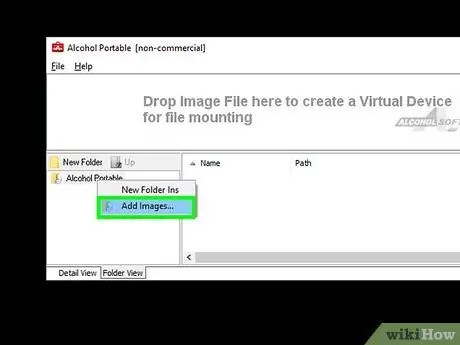
Step 11. Click on the DVD icon using the right mouse button, then select the Mount Image File option
This will mount the MDF file using a virtual device and appear in the Windows "File Explorer" window as an optical drive or hard drive. A drive letter will be assigned to the virtual device which will allow you to access the MDF file, for example "D:" or "E:". A new folder will also be displayed within the panel located at the bottom of the window.
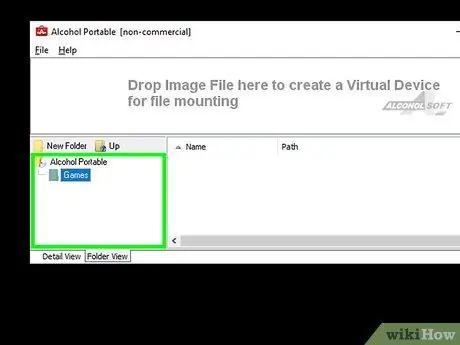
Step 12. Double-click the folder that appeared inside the lower panel of the program window
This will display the contents of the MDF file.
Method 2 of 2: Using the Disk Utility App on Mac
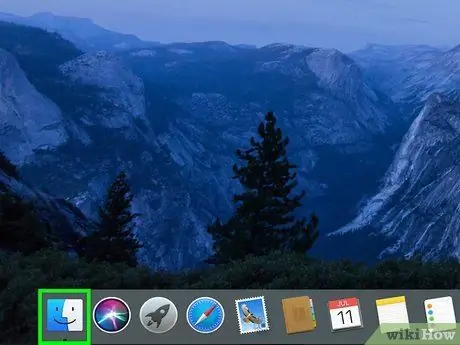
Step 1. Open a Finder window by clicking on the icon
It is the first visible icon on the System Dock which is normally docked at the bottom of the screen.
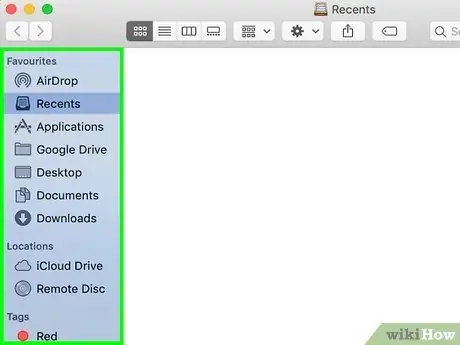
Step 2. Navigate to the folder that contains the MDF file
The file name is characterized by the extension ".mdf".
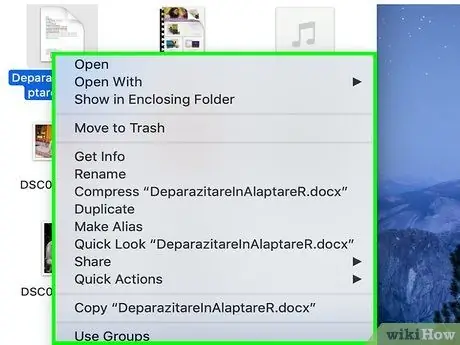
Step 3. Hold down the Ctrl key while clicking on the MDF file icon
A context menu will be displayed.
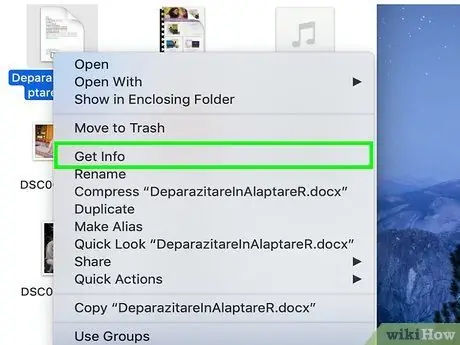
Step 4. Click on Get Info
A new window will appear containing a series of information about the file in question.
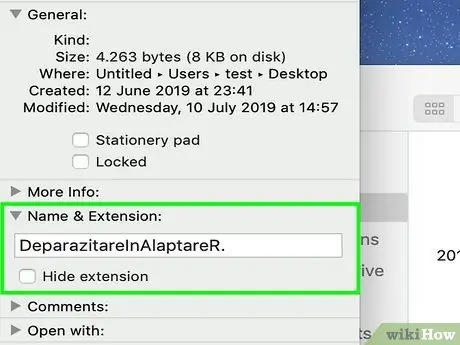
Step 5. Click on the small icon with an arrow next to "Name and extension"
It is located at the top of the window. The full file name will be displayed, along with the ".mdf" extension.
If the ".mdf" extension is not visible at the end of the file name, uncheck the "Hide extension" check button
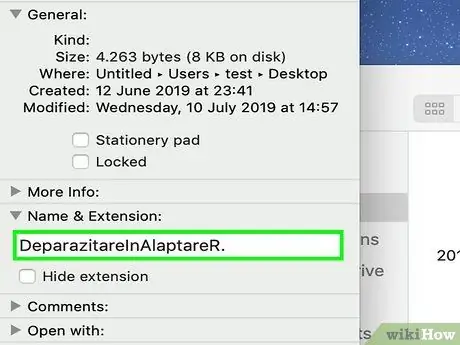
Step 6. Replace the.mdf extension with the new.iso
Since these are image files with a very similar structure, to convert an MDF file to an ISO file, simply replace the original extension with the.iso extension. This way you can mount on the Mac without any problem.
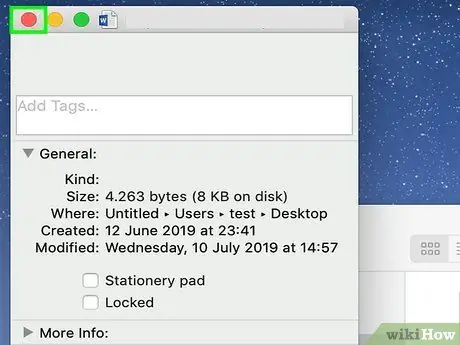
Step 7. Click the red circular icon to close the window
It is located in the upper left corner of the window.
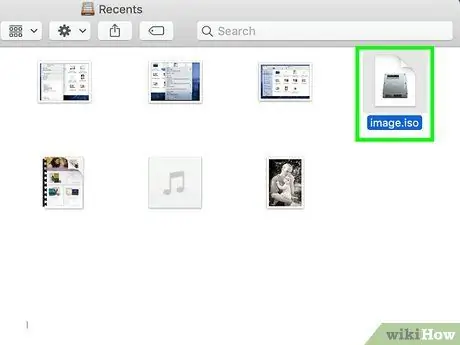
Step 8. Double-click the file you just renamed
It will mount on the Mac using the Disk Utility app.


