To back up all your images in one place, you can install Google Photos on your iOS, Android, macOS and Windows devices. Google Photos works "behind the scenes" to copy photos. If the images do not exceed a certain quality, the backup is free and unlimited. Once done, you can erase photos from your device to reclaim valuable disk space.
Steps
Part 1 of 8: Set up Google Photos for iOS and Android
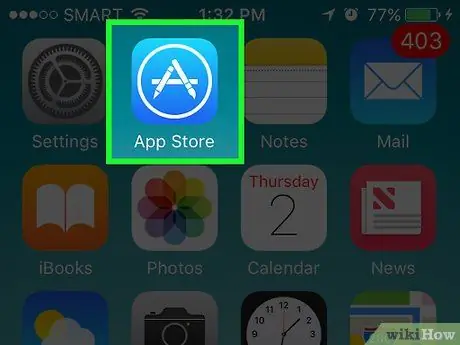
Step 1. Open the App Store (iOS) or the Play Store (Android)
To make the most of Google Photos features, such as automatic and unlimited photo backup, install the application by downloading it from your device's app store.
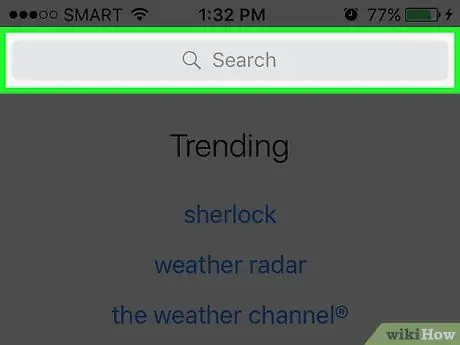
Step 2. Tap the search box
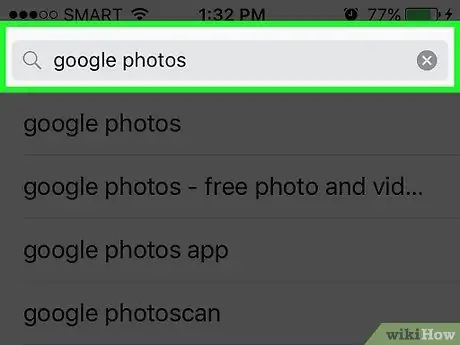
Step 3. Type google photos
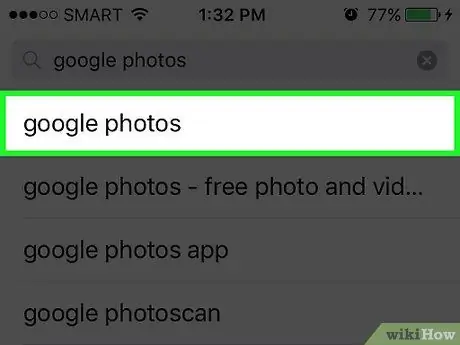
Step 4. Select "Google Photos" from the search results
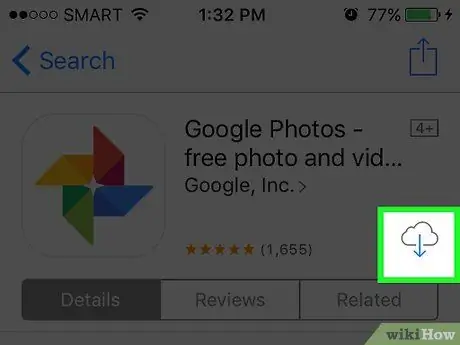
Step 5. Tap Get (iOS) or Install (Android)
If you see the Update button, the application has been installed, but needs an update. Tap Update to get the latest version
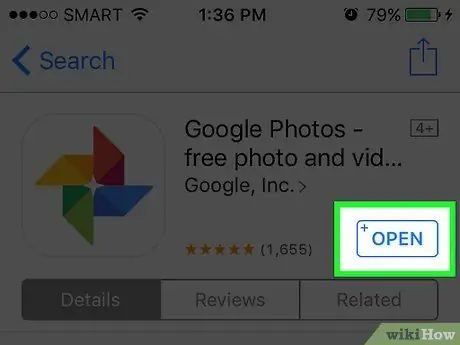
Step 6. Tap Open
Step 7. Tap Get Started
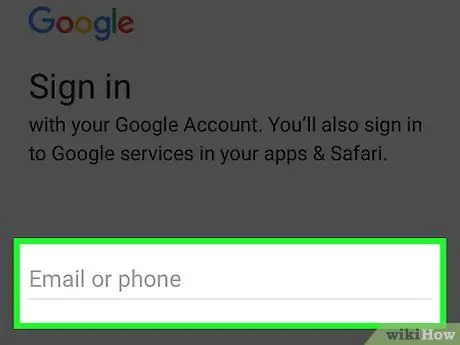
Step 8. Log into your Google account when prompted
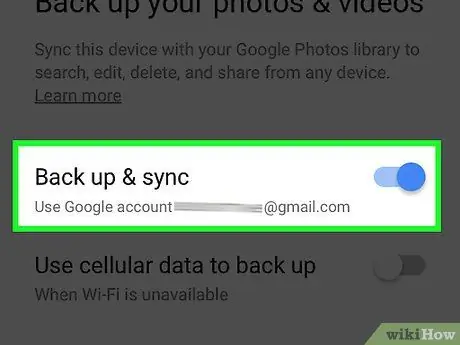
Step 9. Make sure the "Backup and Sync" option is enabled
This will automatically upload your photos to Google Photos.
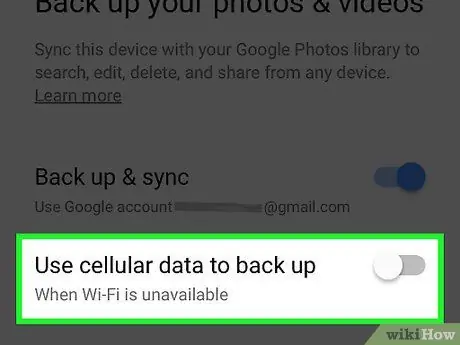
Step 10. Make sure the "Use cellular data to backup" feature is turned off, otherwise your phone will automatically start backing up photos when it is not connected to Wi-Fi
Remember this could cost you dearly!
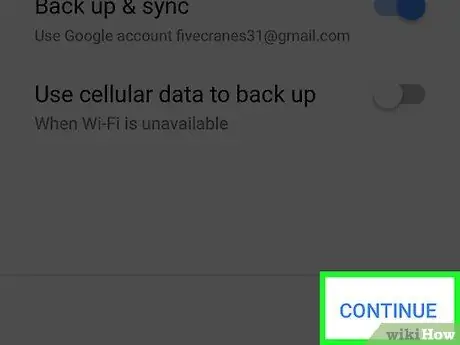
Step 11. Tap "Continue"
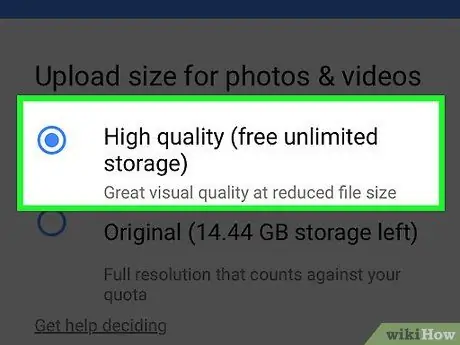
Step 12. Select the upload size for photos and videos
- High Quality: This option is good for almost anyone, as it offers unlimited space for uploads. The photos and videos will be uploaded at a maximum resolution of 1080p and 16 megapixels.
- Original: This option allows you to upload higher quality photos and videos, but it is beyond the capacity of your Google account (regardless of size). Choose it in case you are a professional photographer who already pays for more cloud storage space on Google.

Step 13. Tap "Continue"
You will see a short tutorial.
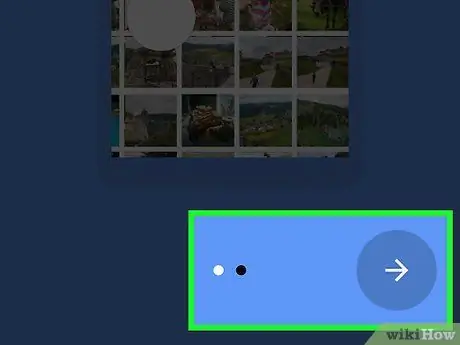
Step 14. Swipe left to see the tutorial
Once done, the main Google Photos screen will open.
Part 2 of 8: Set up Google Photos on Computer
Step 1. Open a browser
If you also save photos on a computer running macOS or Windows, you need to install Google Photo Backup for them to be automatically copied to the cloud.
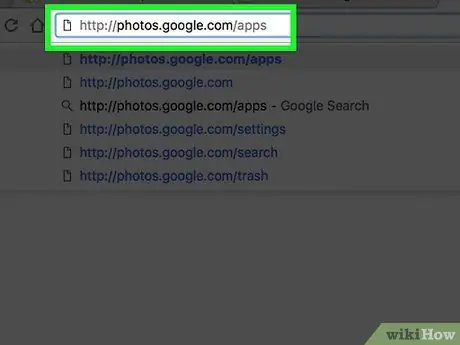
Step 2. Go to
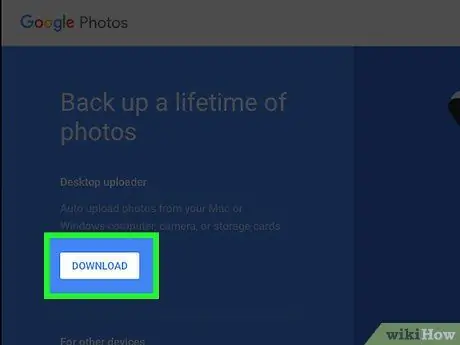
Step 3. Click Download
Follow the browser instructions to save the installer on your computer.
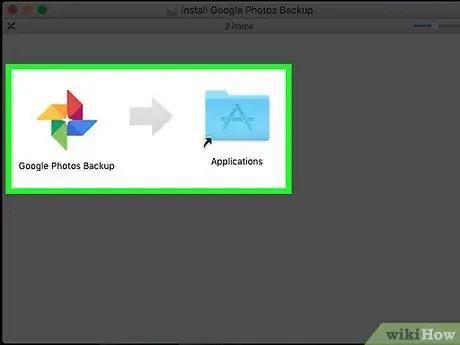
Step 4. Launch the installer file
This procedure varies depending on the computer.
- Mac: drag the "Google Photos" icon onto the "Applications" icon, then double-click "Google Photo Backup". If prompted, click Open to confirm.
- Windows: double click on the installer in the "Download" folder.
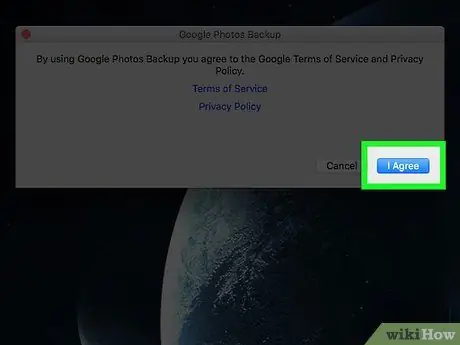
Step 5. Click Accept
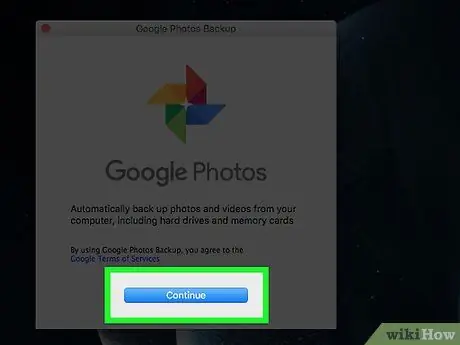
Step 6. Click Continue
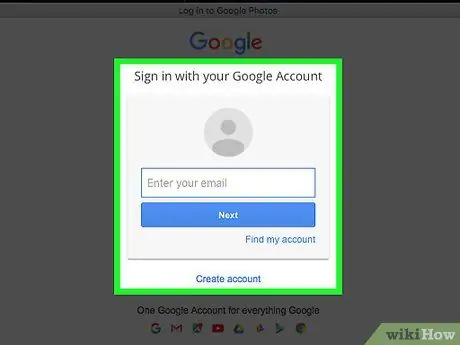
Step 7. Log into your Google account
Once logged in, a screen titled "Select backup sources" will appear.
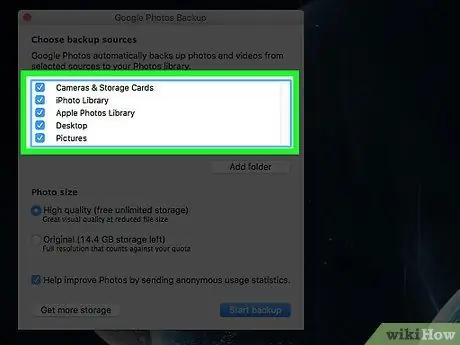
Step 8. Place check marks next to the photo folders
All images saved in these folders will be automatically copied to Google Photos.
If you don't see the folder you want to copy, click Add folder and select the right one
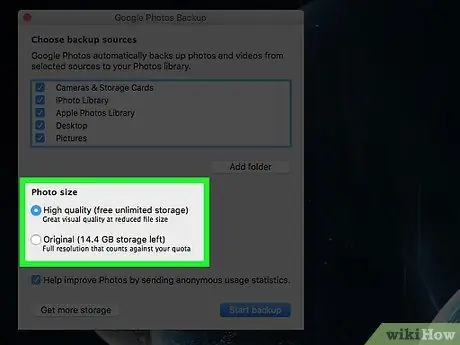
Step 9. Choose the upload size for the photo
- High Quality: This option is recommended for almost anyone. It offers unlimited space for uploads. Photos and videos will be uploaded at a maximum resolution of 1080p and 16 megapixels;
- Original: This option allows you to upload higher quality photos and videos, but it is beyond the capacity of your Google account (regardless of size). Choose it if you are a professional photographer who already pays for additional storage on the Google cloud.
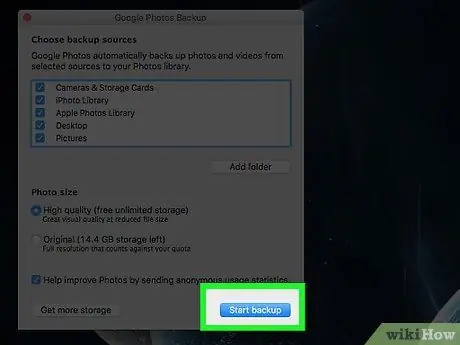
Step 10. Click Start Backup
A pop-up window will appear to confirm that the backup has started.
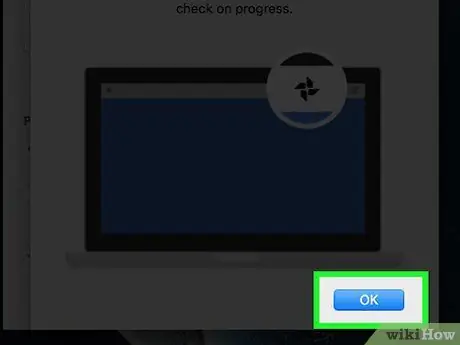
Step 11. Click Ok to close the window
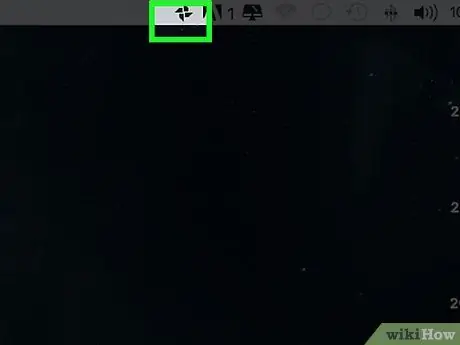
Step 12. Click on the Google icon
It is a colored pinwheel located at the top right (macOS) or bottom right (Windows), near the clock. A small menu will appear.
If you do not see the icon on Windows, click on the arrow pointing upwards (next to the clock) to view the hidden icons
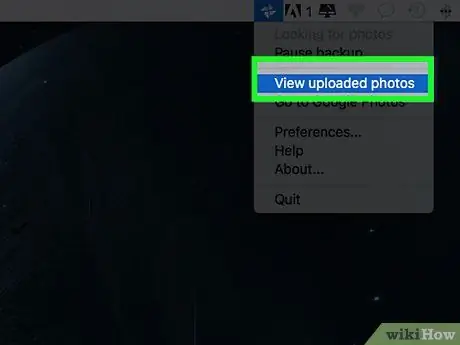
Step 13. Click on "View uploaded photos"
Google Photos will open in your default browser, where all copied images will appear.
Part 3 of 8: See the Photos
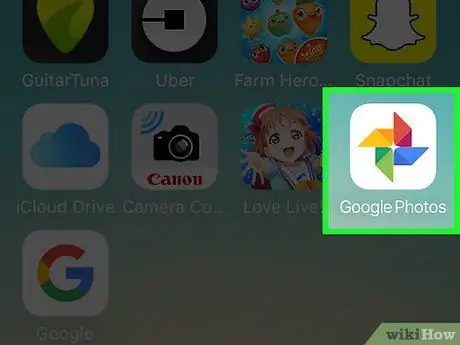
Step 1. Open the Google Photos application
Once opened, you will see the list of added photos.
- The photos will appear in the order they were uploaded, so you'll see the most recent first.
- You can also see your photos by going to
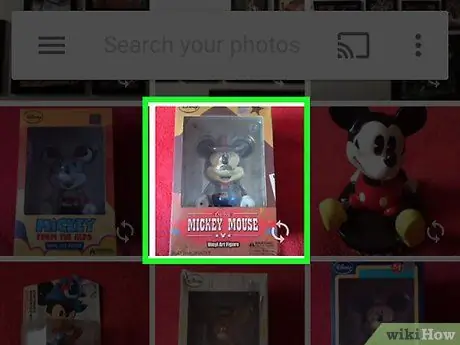
Step 2. Tap a photo to enlarge it
If the image is displayed in this mode, it is possible:
- Pinch the screen to zoom in or out;
- Swipe your finger left or right to see the previous or next image;
- Touch the "Share" icon to share the photo on other applications;
- Touch the pencil icon to edit the photo;
- Touch the "i" icon to see the details of the photo, such as the date it was taken and the size of the file;
- Touch the trash can icon to delete the photo.
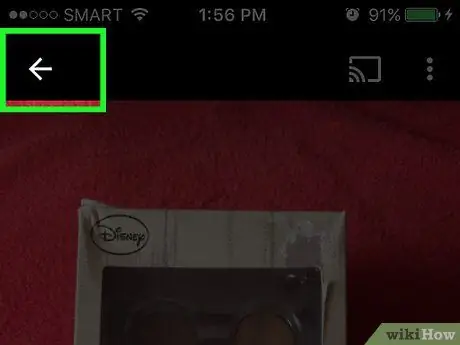
Step 3. Tap the top left arrow to go back
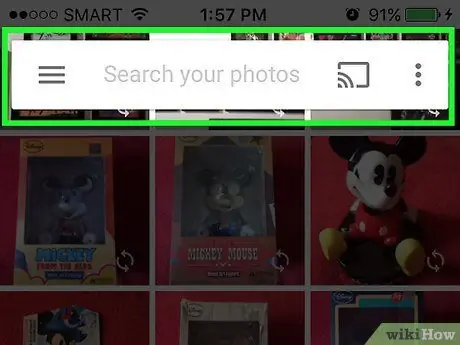
Step 4. Tap the magnifying glass (mobile) or search box (web)
In this you will open a panel where you can perform searches.
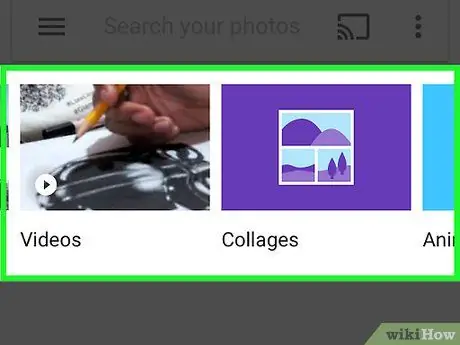
Step 5. Review the categories listed
Google Photos sorts photos into these categories to help you find them more easily.
- "People": Google tries to group photos with similar faces. Read Tag Faces on Google Photos to learn how to best use this feature;
- "Places": tap on a location to see all the photos taken in a certain place. This feature can only be applied to photos taken in a place where you had enabled geolocation;
- "Things": in this section you will find sub-categories of various types of photos, such as "Selfie", "Cats", "Screenshots", "Sunsets", etc.
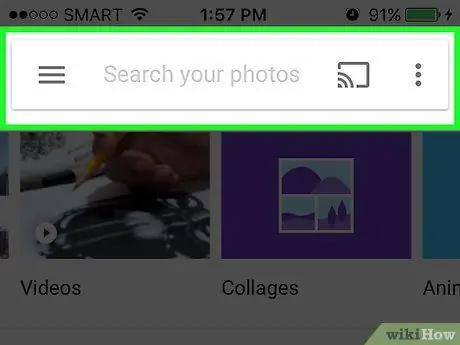
Step 6. Type a keyword in the search field
Try searching for an item that is actually in the uploaded photos, such as "dogs" or "selfies". If there are any images that match the keyword, they will appear in the search results.
Part 4 of 8: Editing the Photos
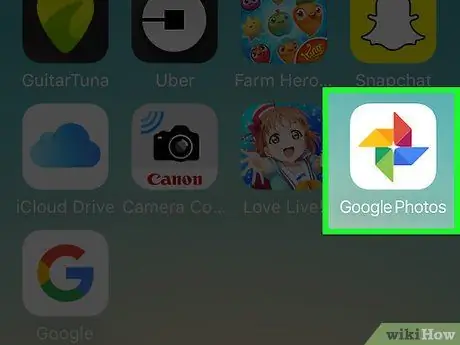
Step 1. Open Google Photos
Google Photos has built-in tools that help improve image quality. It can be accessed within the mobile application or at
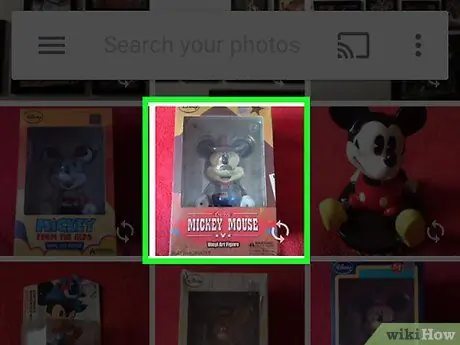
Step 2. Tap a photo you want to edit
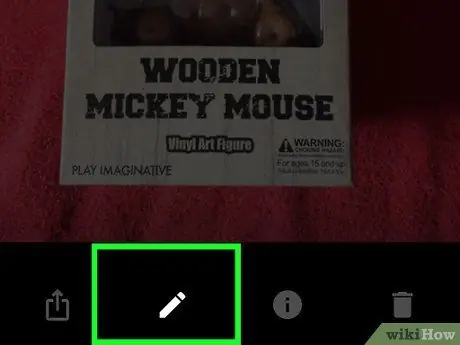
Step 3. Tap the pencil icon to start editing a photo
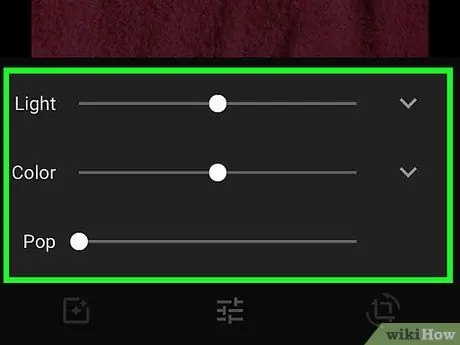
Step 4. Tap the "Basic Adjustments" icon
It is located at the top right. Once selected, it will be highlighted. The icon depicts three broken horizontal lines. Here are what actions you can perform in this mode:
- Tap "Automatic" to have Google Photos correct the main elements of the image, such as brightness and color;
- To change the light, slide the slider labeled "Brightness" to the right to lighten the photo and to the left to darken it;
- Tap "Color" to determine the color saturation of the photo. Move the slider to the right to increase it and to the left to decrease it;
- Tap "Detail" to make the colors and shadows more vibrant;
- Tap "Vignette" to add a dark frame;
- Tap the "X" to discard the changes, otherwise tap the check mark to save them.
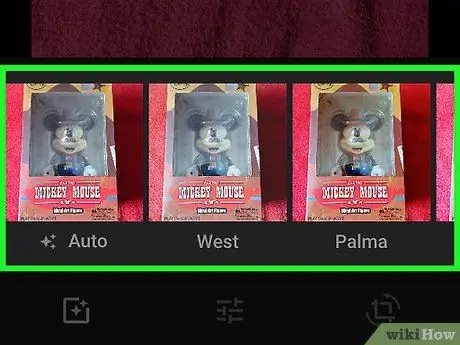
Step 5. Tap the filters icon
It is the first icon in the upper right and represents a small square containing the "+" sign.
- Touch any filter to see the preview;
- Drag the slider to increase or decrease the intensity of the filter;
- Tap the "X" to discard the changes or the check mark to save them.
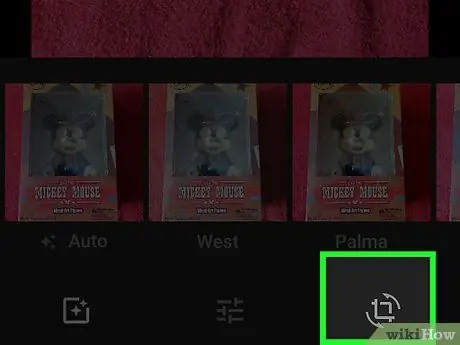
Step 6. Touch the icon to crop the photo
It is located at the top right, next to the previous icons. This tool helps you to crop only the part of the image you want to keep.
- Drag the corners inwards until you select only the area of the photo you want to keep;
- Tap the check mark to save the new version of the photo;
- Tap "X" to discard the changes.
Part 5 of 8: Manually Uploading Photos to a Computer
Step 1. Open a browser
Automatic backup is not the only tool you can use to copy images to Google Photos: you can also manually upload individual photos (such as those downloaded from the internet).
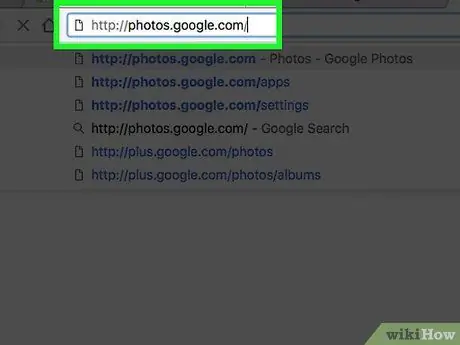
Step 2. Go to
If you are not already logged in to Google Photos, do so when prompted
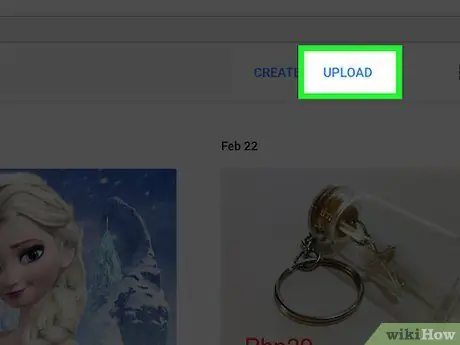
Step 3. Click on "Upload"
It is located at the top of the screen, next to "Create".
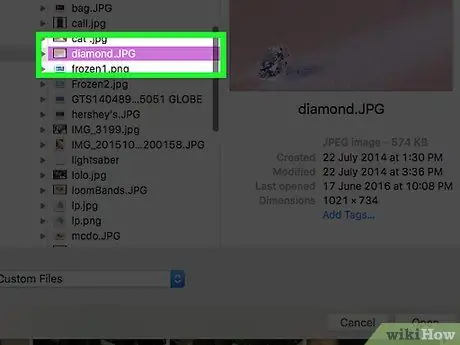
Step 4. Select the photo you want to upload
To select more than one photo at a time, hold down ⌘ Cmd (macOS) or Ctrl (Windows) as you click on each file
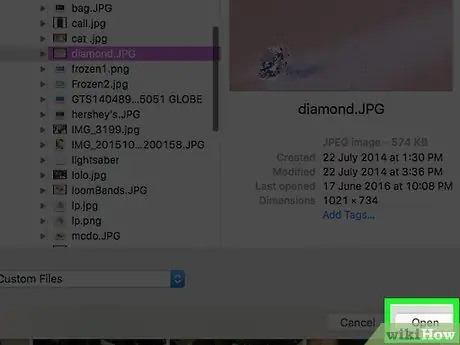
Step 5. Click Open
The photos will be uploaded to the Google Photos account.
Part 6 of 8: Using the Assistant
Step 1. Open Google Photos
You can organize photos, create collages and other projects with the help of the Google Photos Assistant.
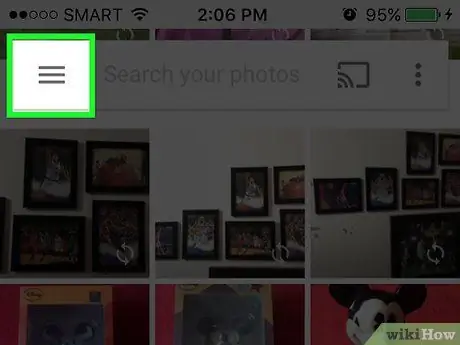
Step 2. Touch the ☰ icon
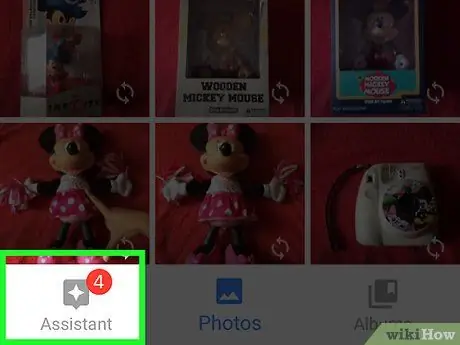
Step 3. Select "Assistant"
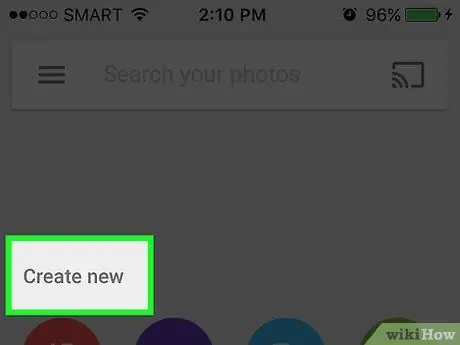
Step 4. Tap the "+" icon
It is located at the top right of the mobile application, while it does not appear on the website (but this is not a problem).
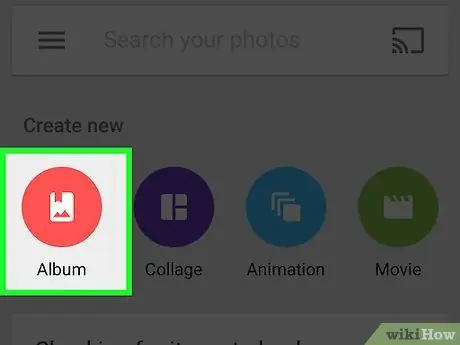
Step 5. Select "Album" to create a new one
This method is great for organizing photos by whatever criteria you prefer.
- Tap or click on the photos you want to add to the album;
- Click on "Create";
- Give the album a title;
- Touch or click the check mark at the top of the screen to save the album;
- Read this article to learn more about how to use albums to keep photos organized.
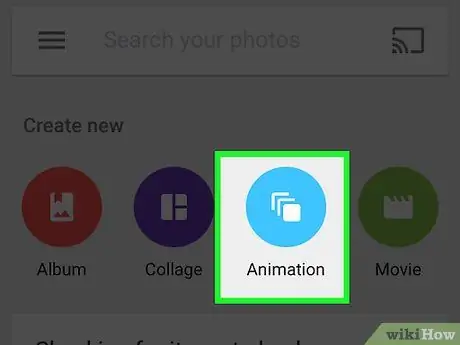
Step 6. Select "Animation" to create a short animation with the photos
- Touch or click on the photos (maximum 50) that you want to insert in the animation;
- Tap or click on "Create" to see the animation.
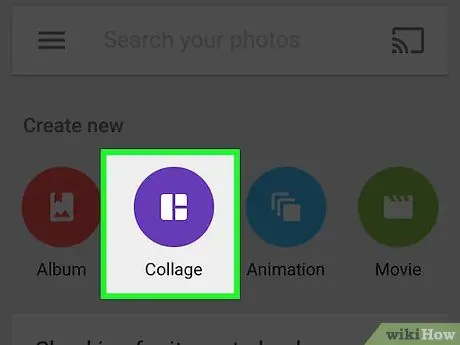
Step 7. Choose "Collage" to combine several photos into one image
- Touch or click on the photos (maximum 9) to add to the collage;
- Click on "Create" to see the collage.
Part 7 of 8: Sharing Photos with Other Users
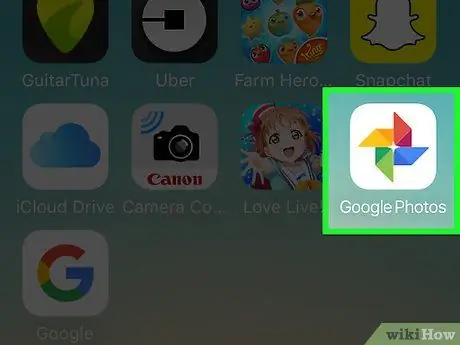
Step 1. Open Google Photos
The images remain private unless you decide to share them with other users. With Google Photos, you can share your content via email, Snapchat, Facebook, Instagram and many other applications.
Sharing options vary by device and operating system
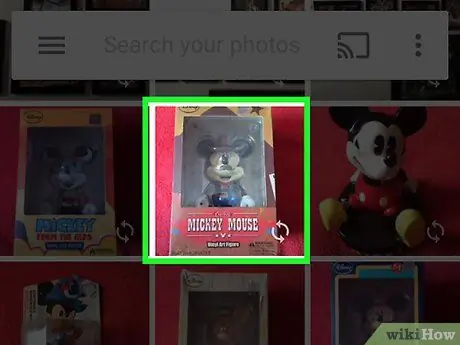
Step 2. Tap or click on the photo you want to share
- To select more than one photo on the mobile application, tap the ⁝ icon and choose "Select", then tap the images you want to share.
- To select more than one photo on https://photos.google.com, hover the mouse cursor over the thumbnail of each image: a check mark should appear at the top left. Click the check mark on all the photos you want to send.

Step 3. Tap the share icon
If you're using iOS or macOS, it looks like a square containing an arrow. On Android it depicts the sign of the minor with circles on the ends.
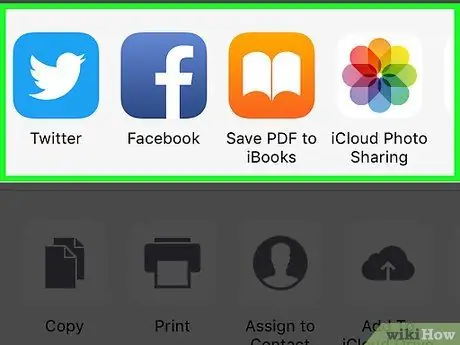
Step 4. Select the sharing method you prefer
The options vary by device.
- Select "Get link" to create a URL to share with the recipient on any platform;
- Enter an e-mail address to send the link to the recipient;
- Enter a phone number to send a text message with the link to the photo;
- Choose a social network application to share the photo with users. The image or link will be opened within the application.
Part 8 of 8: Free Up Space on iOS or Android Device
Step 1. Open the Google Photos application
Copy the images to Google Photos, you don't need to keep them on your mobile or tablet. The safest way to recover disk space is to use the "Free up space" feature, offered by the application itself.
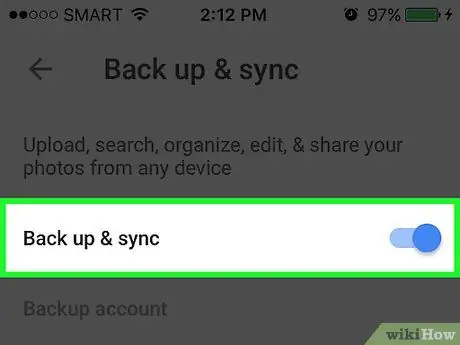
Step 2. Make sure you have copied the photos
If you see previews with a crossed out cloud icon, then these images have not been copied. Before trying this method, make sure you have backed up your photos.
If the backup has been set to run only when you connect to Wi-Fi, make sure the connection is reliable
Step 3. Tap the ☰ icon
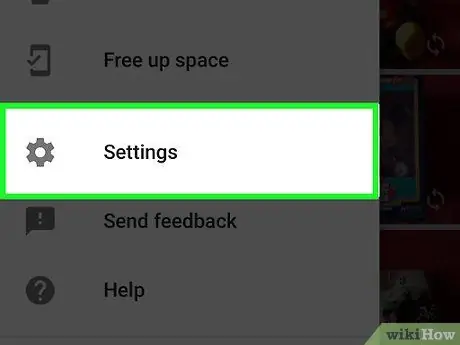
Step 4. Tap "Settings"
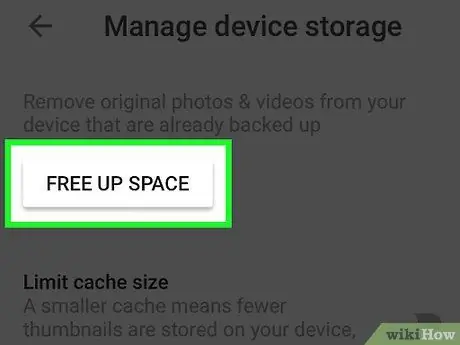
Step 5. Tap "Free up space on device"
A pop-up window will appear to confirm how many photos will be deleted and how much space you will recover.
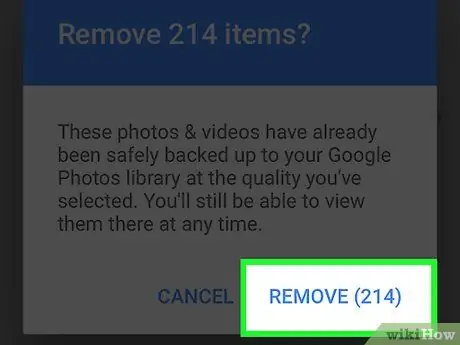
Step 6. Tap "Delete"
The photos will be moved to the trash (Android) or the "Recently Deleted" section (iOS), so you can restore them if necessary.
- The photos in these folders will continue to take up space on your device until they are permanently deleted (after 60 days on Android and after 30 days on iOS).
- If you don't want to wait, read on to know how to permanently delete deleted photos.
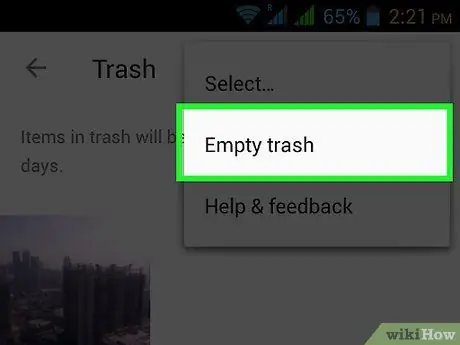
Step 7. Follow these steps to remove photos from trash on Android:
- On Google Photos, tap ☰ and select "Trash";
- Tap the ⁝ menu and select "Empty Trash".
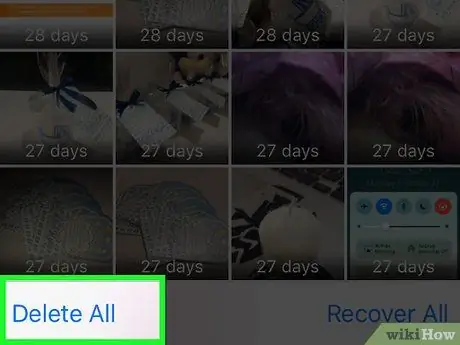
Step 8. Follow these steps to remove images from the "Recently Deleted" section on iOS:
- Go back to the main screen;
- Tap the "Photos" application (the one pre-installed on the mobile phone);
- Tap "Albums" and select "Recently Deleted";
- Tap "Select" at the top right;
- Tap "Delete All".


