This article explains how to create, customize and share a new questionnaire on Google Forms to collect information from your contacts about a certain topic using an iPhone or iPad.
Steps
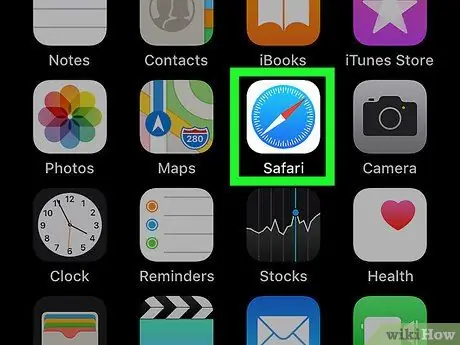
Step 1. Open Safari on your device
The icon looks like a blue compass and you can find it on the Home screen or in an application folder.
You can also use another browser, such as Firefox, Opera or Chrome
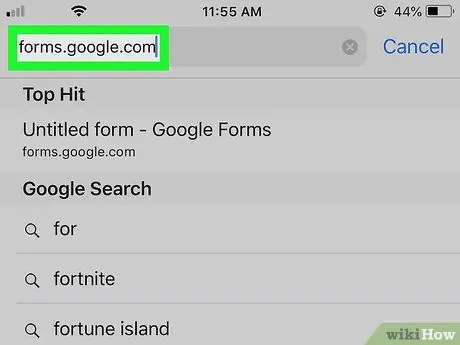
Step 2. Visit forms.google.com using your browser
Type forms.google.com in the address bar and press the blue Go button on your keyboard.
- This will open a new blank form that you can customize and share.
- If you do not log in automatically, you may be prompted to log in with your Google account at this point.
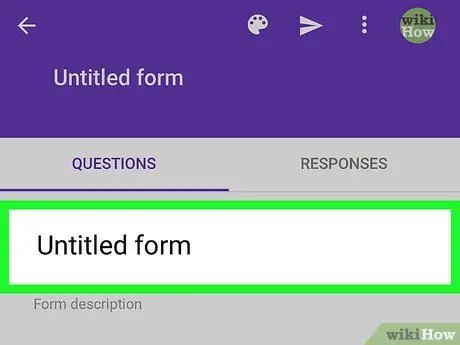
Step 3. Give the form a title
Tap the "Untitled Form" field at the top of the screen and enter a title.
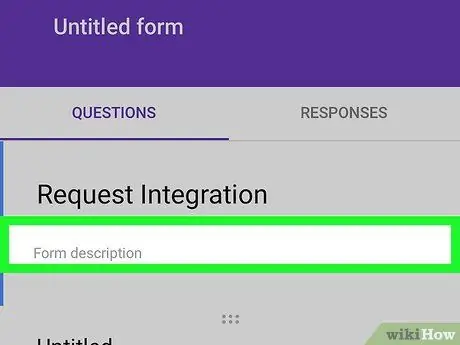
Step 4. Add a description under the module title
Tap the "Form Description" field under the title and write explanations or descriptions that you think will help your contacts answer questions.
This step is optional. If you don't think you need a description or are short on time, you can skip it and post the form without additional explanation
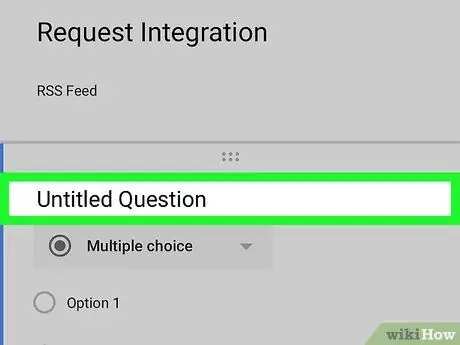
Step 5. Create the first question
Tap the "Untitled Question" field, located under the title and description of the form, then enter the first question.
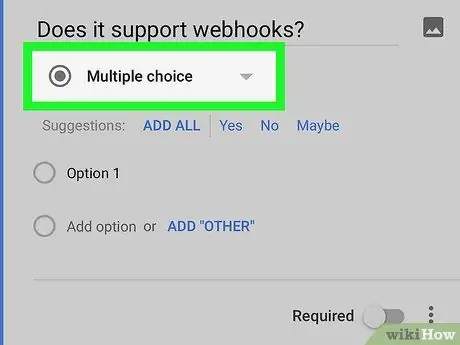
Step 6. Select an answer type for the question
Tap the drop-down menu below the first question and select the type of response you prefer to be given by the attendees.
- The "Multiple Choice" option is set by default. If you select this type of answer or "Drop-down list", your contacts will be able to choose only one answer for each question.
- If you want your contacts to be able to give multiple answers to a question, select "Checkboxes".
- You can also select "Multiple Choice Grid" or "Grid with Checkboxes" if you want to create a grid of options that can be chosen by the participants.
- If you select "Short answer" or "Paragraph", participants will have to write their answer to the question.
- If you select "File Upload", attendees will need to upload a file from their computer to respond.
- If you choose the "Linear scale" option, participants will have to select a number on a scale.
- If you select "Date" or "Time", attendees will need to enter a date or time to respond.
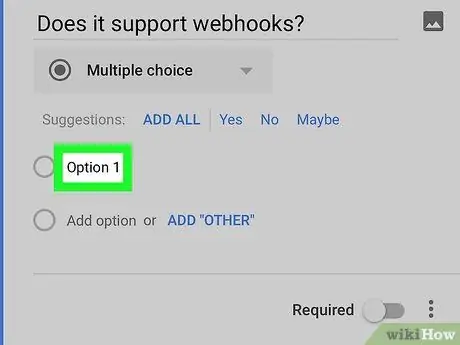
Step 7. Customize your response options
Tap "Option 1" under the question and enter the first possible answer.
You can add other possible answers by tapping "Add option" at the bottom of the question
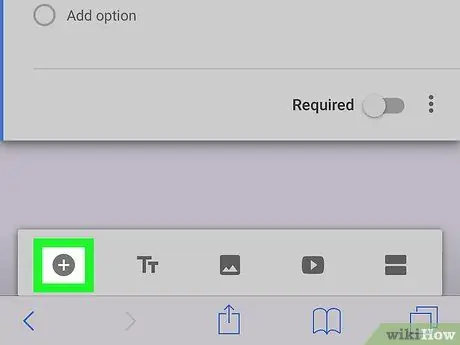
Step 8. Add a new question to the form
Tap the "+" icon in the lower left corner of the screen to enter a new question.
You can select a different type of answer for each question in the form and customize all the options
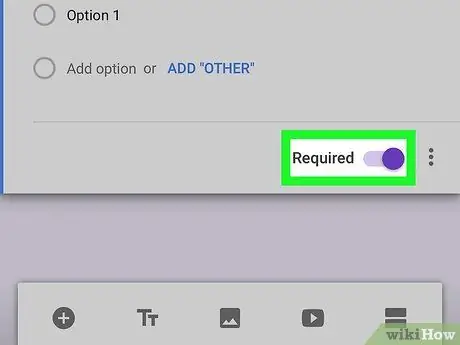
Step 9. Indicate which questions must be answered compulsorily
Swipe the "Required" button
below are all the questions that need to be answered.
If an attendee does not select or enter an answer to a mandatory question, they will not be able to submit the form
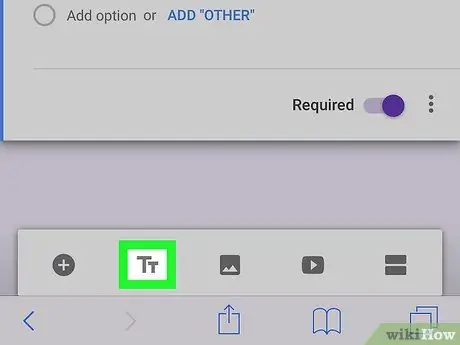
Step 10. Add a text box
Tap the "TT" icon at the bottom of the screen to insert a floating text box into the form.
This box can be used to enter disclaimers or to give additional information to potential participants
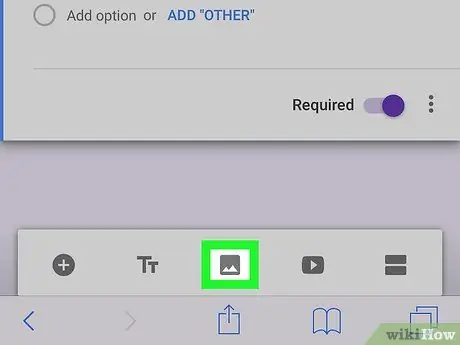
Step 11. Add an image or video to the form
Tap the icon
at the bottom of the screen to insert an image or tap the play button icon next to it to add a video.
- The image can be loaded from the camera roll or imported from a URL.
- If you've decided to add a video, you can search for one on YouTube or paste a link to import a video from another site.
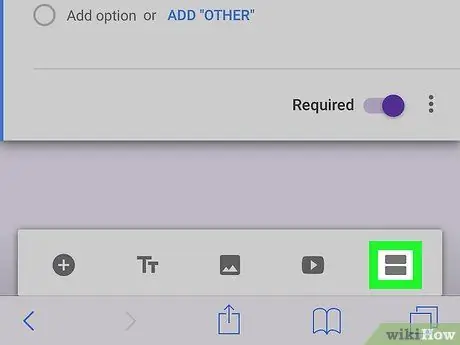
Step 12. Add a new section to the form
Touch the icon represented by two horizontal lines in the lower right corner of the screen to insert a new section in the same questionnaire.
You can use different sections in the same form to group questions focused on a certain topic
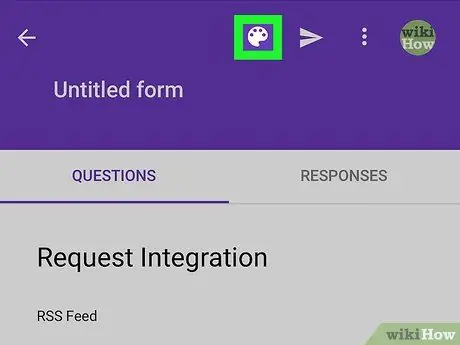
Step 13. Tap the palette icon at the top of the page
A pop-up with different color options will open allowing you to select a theme for the module.
-
Alternatively, in this section you can tap the icon
and select or upload an image to use as the module theme.
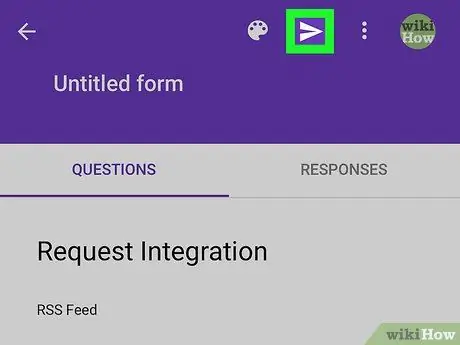
Step 14. Tap the icon
at the top of the screen.
The form will then be saved and you will be able to share it with other people.
- In this section, you can share it via email by entering the email addresses of your contacts and tapping "Send" at the bottom of the window.
- Alternatively, you can tap the chain icon at the top of the page and copy the form link for the purpose of sharing it via message or social network.


