This article explains how to create, customize and share a new questionnaire on Google Forms using an Android device.
Steps
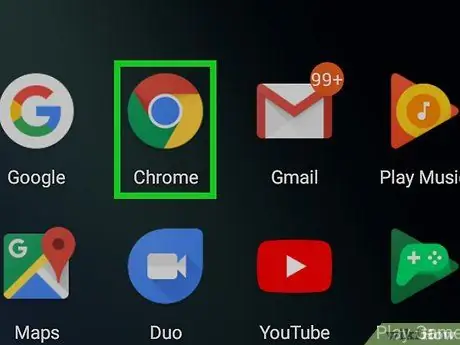
Step 1. Open a browser on your device
You can use any mobile browser, such as Firefox, Chrome or Opera.
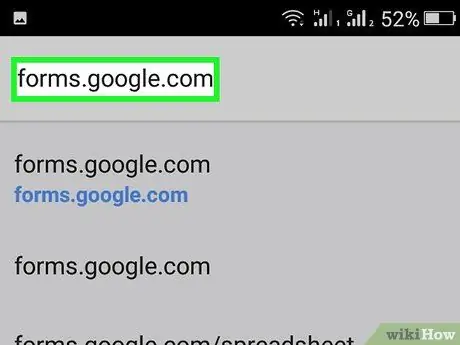
Step 2. Type forms.google.com into your browser
Type forms.google.com in the address bar and tap the "Go" button on your keyboard.
- A new blank form will open that you can fill out and post.
- If logging into your Google account does not happen automatically, you will be prompted to log in by entering your email address or phone number and password.
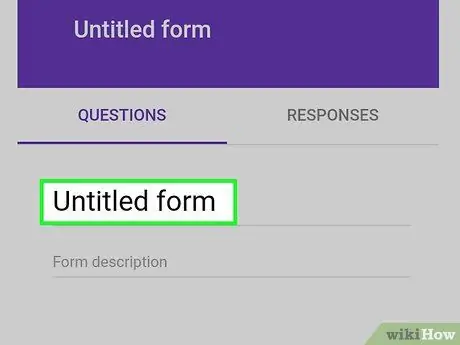
Step 3. Give the form a title
Tap the "Untitled Form" field at the top of the page and enter a title or header.
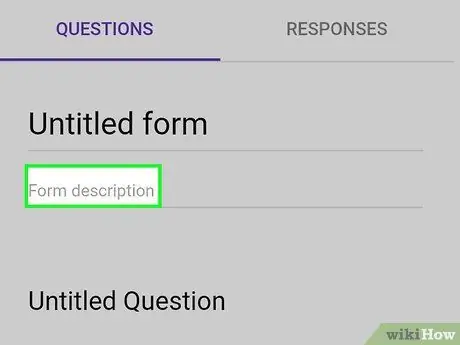
Step 4. Enter a description under the module title
Tap the "Form Description" field under the title and use it to explain or describe it to users who might participate.
Adding a description is optional. You can skip this step and publish the form without any description
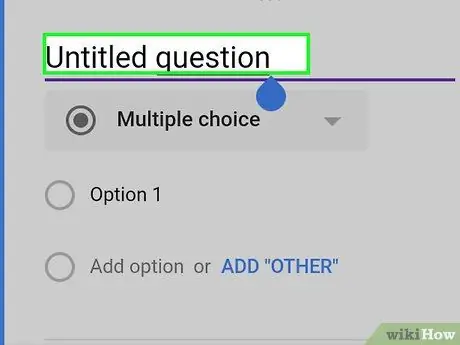
Step 5. Enter the first question of the form
Tap the "Untitled Question" field below the title and description boxes, then enter your question.
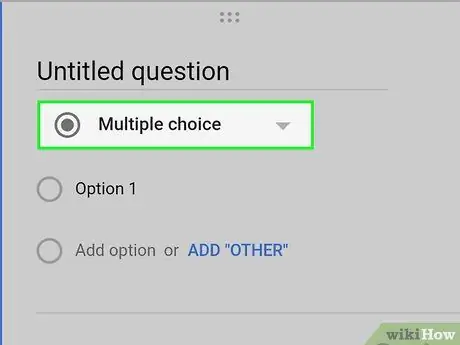
Step 6. Tap the Multiple Choice menu below the question
A pop-up list will open with all types of questions you can use in the form.
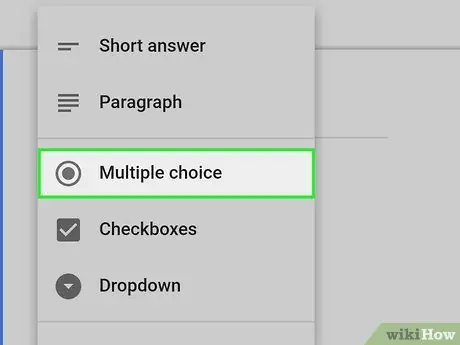
Step 7. Select a question type for the first question
Each question is preset to be multiple choice. You can select a different question type for each individual question on the form.
- If you want participants to answer in their own words and write a response, select "Short answer" or "Paragraph".
- The "Multiple Choice" and "Drop-Down List" options allow users to select a single answer from a list of options.
- The "Checkboxes" option allows participants to select multiple responses from a list of options.
- The "File Upload" option allows users to upload a file from their computer.
- The "Linear Scale" option allows users to select a number from a scale.
- The "Multiple Choice Grid" and "Grid with Check Boxes" options show multiple answer options in a grid.
- The "Date" and "Time" options allow users to select a date or time from a calendar or clock to give an answer.
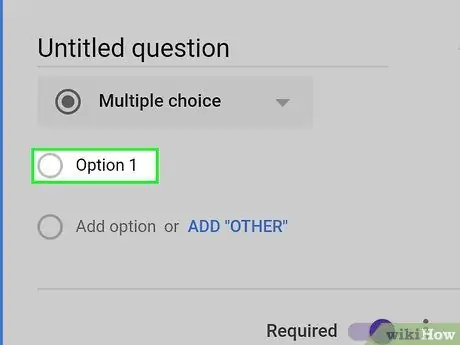
Step 8. Enter the first option for the question
Tap "Option 1" under the first question and enter the first answer option for the question.
- If you select question types such as "File Upload" or "Date", you will not need to enter any options in this section.
- If you select "Linear scale", you will need to label and number the two ends of the scale.
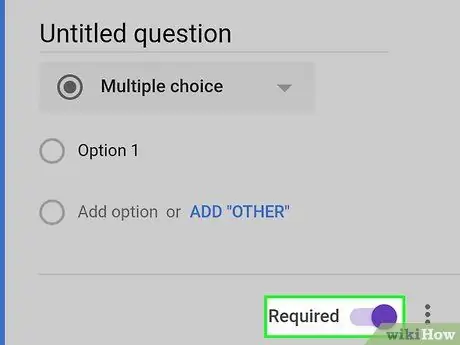
Step 9. Swipe the "Required" button to activate it
This option is located in the lower right corner of the question.
- If you enable this option, users who do not answer a mandatory question will not be able to submit the form.
- If you want users to have the option not to answer a certain question, leave the button disabled.
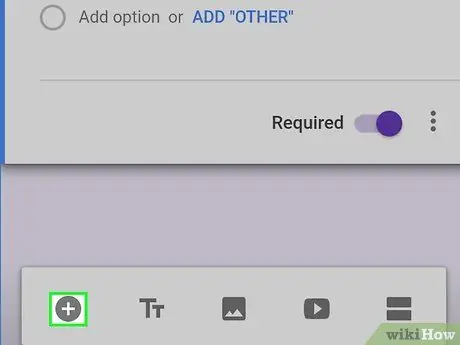
Step 10. Tap the icon
to add a new question.
This button is located in the lower left corner of the screen. It allows you to add a second question to the form and to customize the question, the type of question and the answer options.
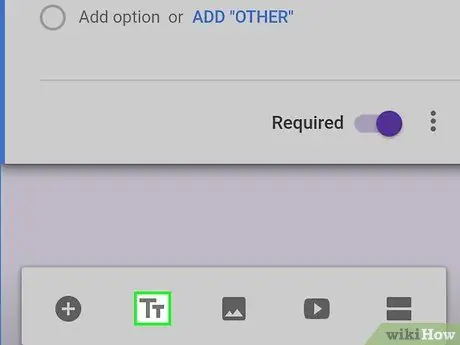
Step 11. Tap the "TT" icon at the bottom to add a text box
You can find this button next to
in the lower left corner of the screen. A text box will be integrated into the form.
The box can be used to give further explanations, insert disclaimers and add descriptions
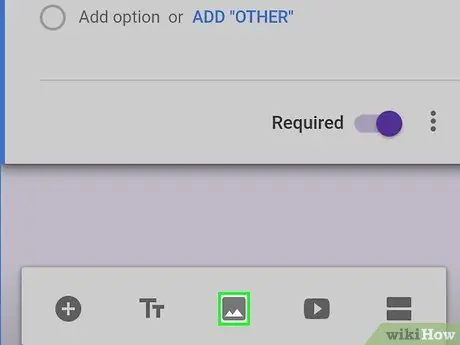
Step 12. Tap the icon
at the bottom.
This will allow you to insert an image into the form.
In this case you can tap the "Choose a photo to upload" button to select and upload an image from the Android gallery. Alternatively, tap "More" to take a photo, upload an image from a link or from cloud storage
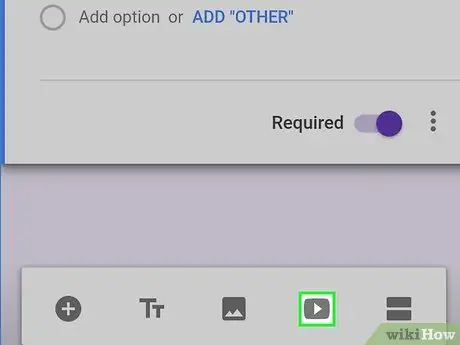
Step 13. Tap the video icon at the bottom
This button looks like a play button in a gray triangle and is next to the icon
. It will allow you to add a video to the form.
In this case you can do a YouTube search to find and upload a video or tap "URL" at the top of the window to upload a video by pasting a link
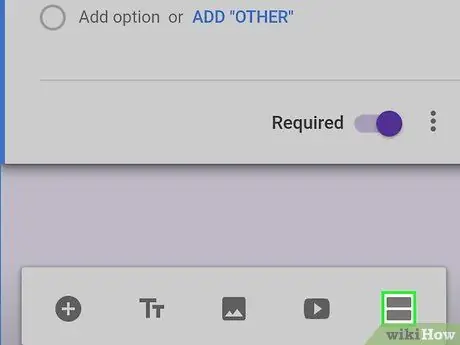
Step 14. Tap the icon that looks like two horizontal lines at the bottom of the screen
This button is located next to the video icon in the lower right corner of the screen. Allows you to add a new section to the module.
You can use the sections of the form to group questions that focus on a certain topic or theme
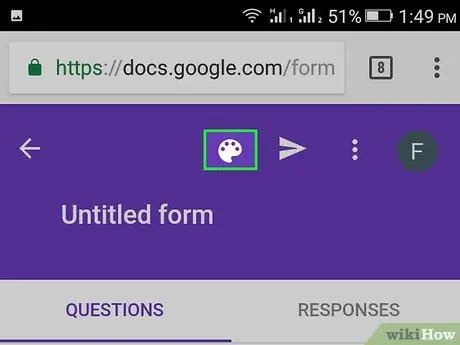
Step 15. Tap the palette icon at the top of the screen
You can find this button at the top right. Allows you to open a pop-up menu with colors that you can use for the module theme.
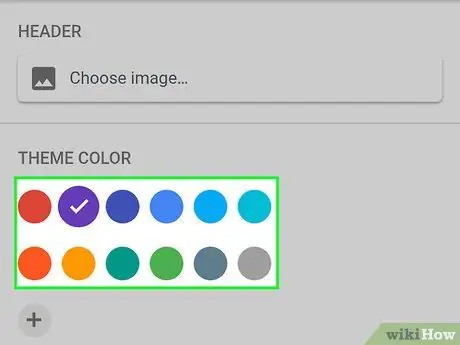
Step 16. Select a color for the module theme
Tap the one you want to use to apply it.
-
Alternatively, you can tap the icon
in the pop-up menu and select or upload an image to use as a module theme.
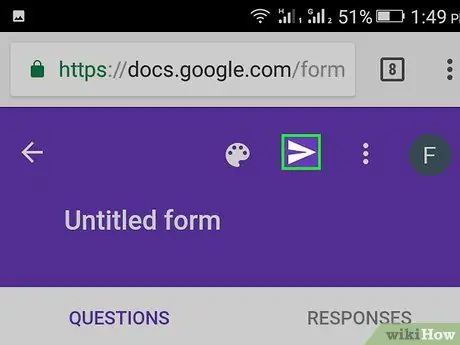
Step 17. Tap the icon
at the top of the screen.
The form will then be saved and you can share it with potential participants.
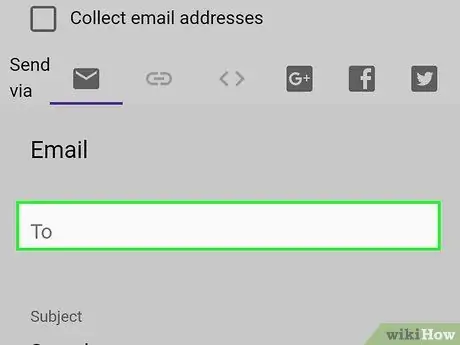
Step 18. Enter the email addresses of your contacts in the "Email" section
Tap the "To" field and enter the email addresses of potential attendees.
- Alternatively, you can tap the chain icon at the top of the window and copy the direct link to the form. This way you can paste it into a message or post on social networks to share it with more people.
- You can also tap on a social network icon in the top right corner to share the form on Facebook or Twitter.
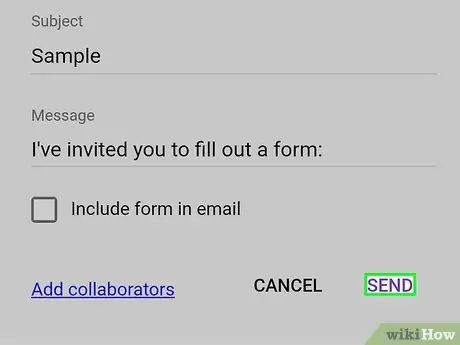
Step 19. Tap the Send button at the bottom of the window
This button is located in the lower right corner of the submission window. The form will be sent to potential attendees by email.


