To add a drawing on a note on your iPhone, you need to install the iOS 9 or later operating system, as well as update the Notes app. Press the Draw button that appears above the keyboard when you press "+". The canvas will open, allowing you to create illustrations with your finger. Drawing tools are only available on iPhone 5 and newer models.
Steps
Part 1 of 2: Access the Drawing Tools
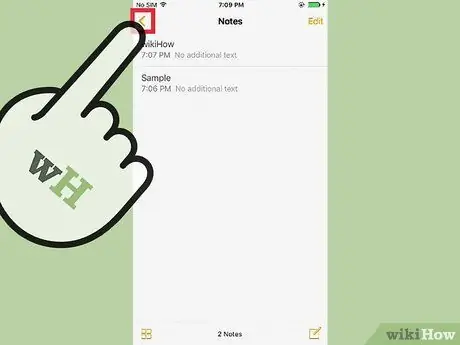
Step 1. Update the Notes app
To draw on the notes, you need to install the operating system iOS 9 or later. You also need to update the Notes app. You will be prompted to do this the first time you open it after updating the iOS. If not, press the "<" button to display the folders screen, then press the "Refresh" button in the corner.
- To update your iPhone to iOS 9, open the General section of the Settings app, or connect it to your computer and open iTunes. Read Update iOS for more details.
- Drawing tools are only available for iPhone 5 or later. IPhone 4S and earlier models do not support this feature.
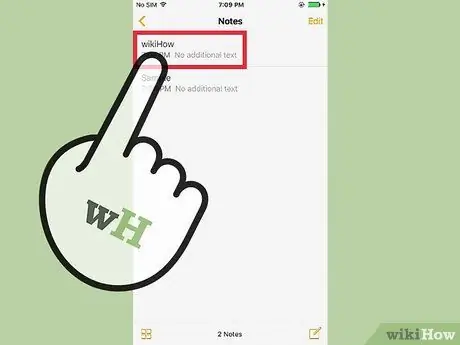
Step 2. Open the note you want to add a drawing to
After updating the app, you can draw on any of the existing notes, or create a new one.
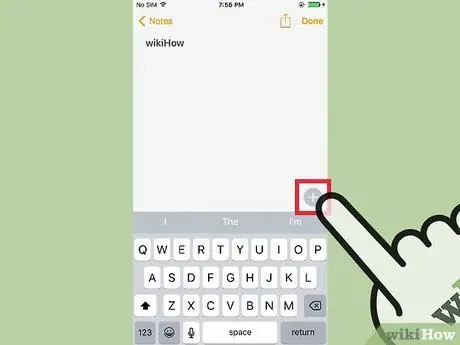
Step 3. Press the "+" button above the keyboard to the right of the screen
You will see the "+" inside a gray circle. The different attachments you can add will open.
To lower the keyboard, you can also press "Done" in the upper right corner. The attachments button will appear at the bottom of the screen
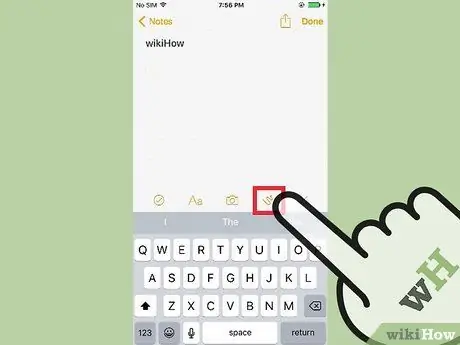
Step 4. Press the Draw button
It looks like a wavy line. The canvas will open and many tools will appear at the bottom of the screen.
If you don't see this option, your phone is too old. You must be using an iPhone 5 or later
Part 2 of 2: Drawing on Notes
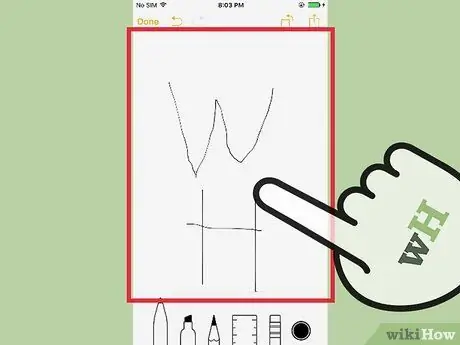
Step 1. Drag your finger on the screen to draw
A line will appear with the style of the selected tool, in the color you have chosen. As you go over the lines already drawn, the color will become darker.
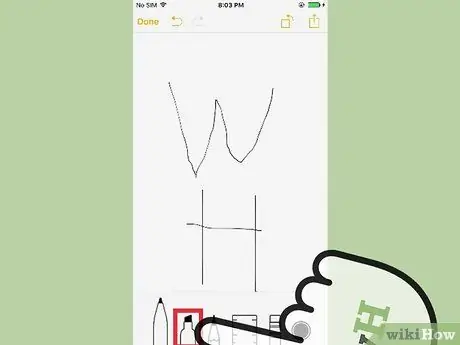
Step 2. Press the pen, marker or pencil to change the line style
Thanks to these buttons you can change the way the stroke is generated on the screen. Experiment with different styles to find the one you like best. The pen creates fine solid lines, while the marker works as a highlighter, with sweeping strokes. The pencil creates fine lines that are not as full as those of the pen.
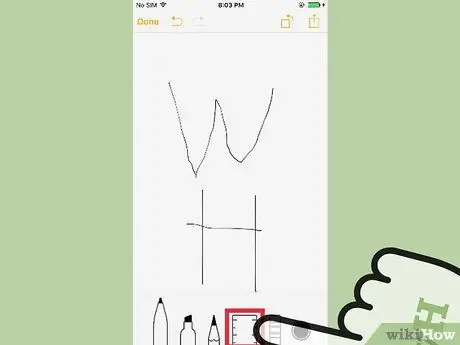
Step 3. Press the ruler to make it appear on the screen
It will help you draw more precise lines. You can drag and rotate it with your fingers.
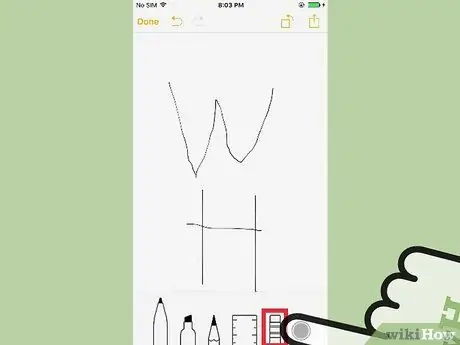
Step 4. Press the eraser to erase parts of the design
Thanks to this button you can use your finger as an eraser: pass it on the parts of the drawing you want to delete. You cannot adjust the thickness of this tool.
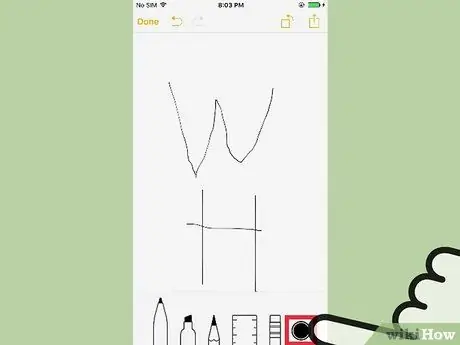
Step 5. Press the color to view all available ones
You can swipe left and right on the palette to see which colors to choose. Press the one you want to use and you will see it appear next to the drawing tools.
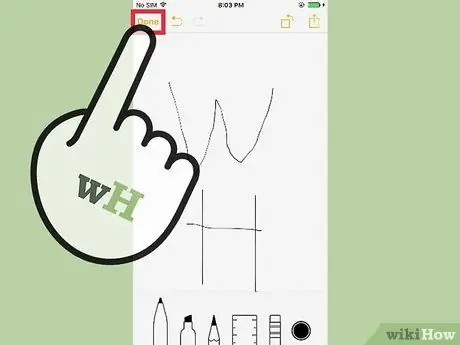
Step 6. Press "Done" when you are done drawing
The image will be inserted into the note where the cursor was when you pressed the "Draw" button.
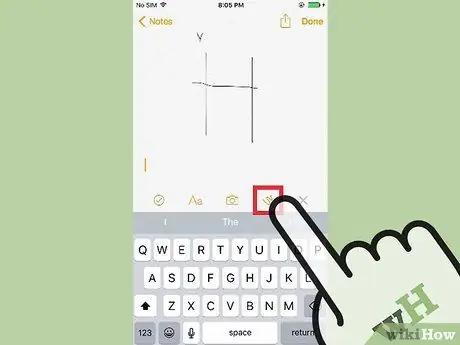
Step 7. Add multiple drawings to a single note
You are not limited to one illustration per note. Move the cursor to where you want to insert the figure, then press the Draw button again.
You can insert text and other attachments between two drawings. This can be useful for adding captions, or for using drawings as illustrations for long pieces of text. To add text, just move the cursor between the figures and start typing on the keyboard, while to insert an image or video you can press the Camera button
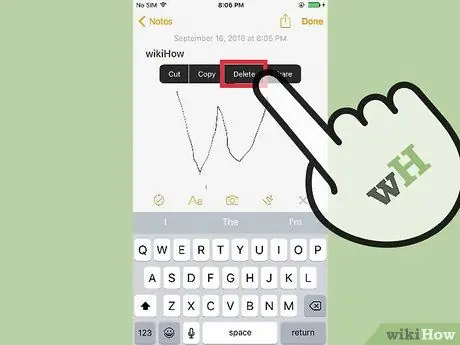
Step 8. Press and hold a design to delete it
If you want to remove it from the note, hold it down for a moment, then press "Delete" from the menu that appears.
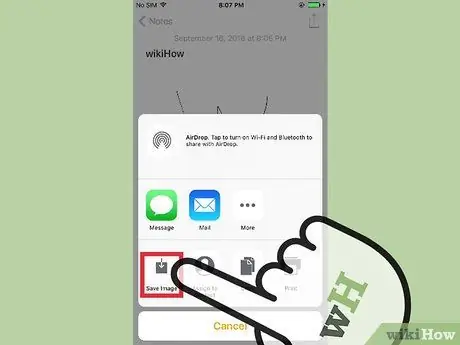
Step 9. Save a drawing to the roll
If you really like a drawing you have done, you can save it separately to the note. This allows you to use it like all other photos taken with your phone and to save a copy with a white background and not with that of the Notes app.
- Press the Share button in the upper right corner, then select "Save Image". The drawing will be saved in the roll.
- When you share a note that contains multiple drawings, each of them will be saved and shared as a separate image.


