This article explains how to reactivate an iPhone that has been disabled automatically after entering the wrong passcode too many times.
Steps
Method 1 of 2: Restore an iTunes Backup
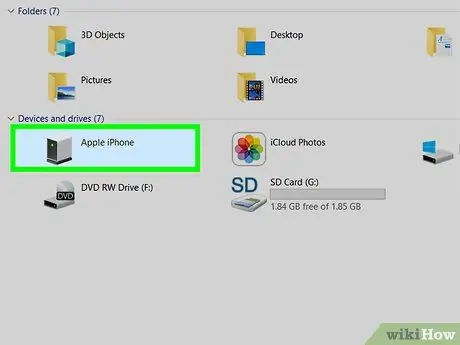
Step 1. Connect the iPhone to the computer on which iTunes is installed
If the text message "iPhone is disabled connect to iTunes" appears on the screen of your iOS device, you will need to connect it to the computer where you have stored the backup data.
The procedure described in this method only works if you have backed up your iPhone and know the passcode

Step 2. Launch iTunes
If the program does not open automatically when you connect the iPhone to the computer, click on the iTunes icon located on the system Dock (on Mac) or in the section All apps from the "Start" menu (on Windows).
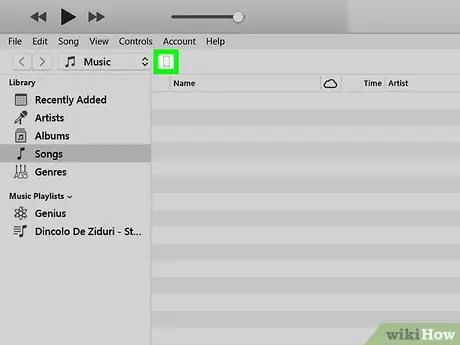
Step 3. Click on the iPhone icon
It is located in the upper left corner of the iTunes window.

Step 4. Click the Synchronize button
You will be asked to enter the iPhone passcode.

Step 5. Enter the security code and click on the Reset button
The iPhone will be restored automatically using the data in the most recent backup file.
Method 2 of 2: Use Recovery Mode

Step 1. Check the number of minutes indicated in the notification message
After the time interval indicated in the message that appeared on the iPhone screen has elapsed, you can try to log in again by entering the appropriate security code.
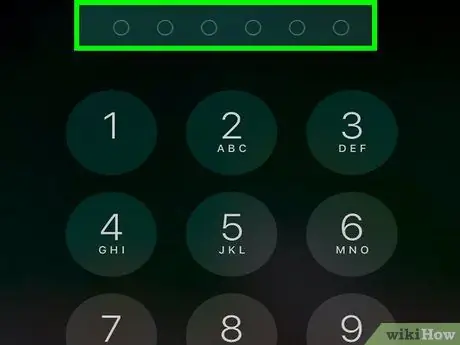
Step 2. Enter the correct security code
If you don't remember, read on.
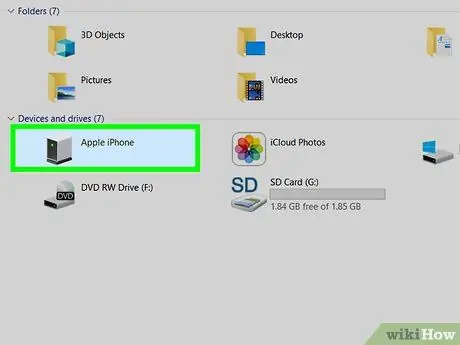
Step 3. Connect the iPhone to any computer that has iTunes installed
Use the USB cable that came with the iOS device at the time of purchase or use a compatible one.
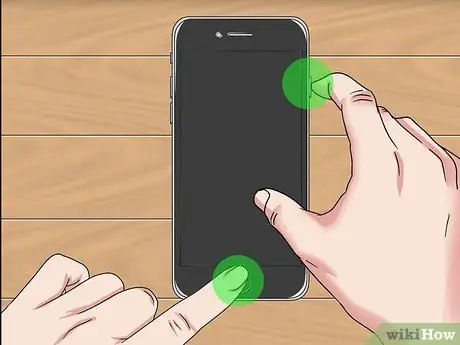
Step 4. Force restart the iPhone
The steps to follow vary by device model:
-
iPhone X, 8 and 8 Plus:
press and quickly release the "Volume +" key, the "Volume -" key, then hold down the key located along the right side of the device until it restarts in recovery mode.
-
iPhone 7 and 7 Plus:
hold down the "Volume -" and "Power" keys until the device restarts in recovery mode.
-
iPhone 6 and earlier models:
hold down the "Home" and "Power" keys until the device restarts in recovery mode.

Step 5. Launch iTunes
If the program does not start automatically as soon as you connect the iPhone to the computer, click on the iTunes icon located on the system Dock (on Mac) or in the section All apps from the "Start" menu (on Windows). When the iTunes window appears, the recovery mode screen will appear.
If the option is present within the recovery mode screen Update, select it to check if you can regain access to the device with this solution. If the iPhone update did not give the desired result, continue reading.
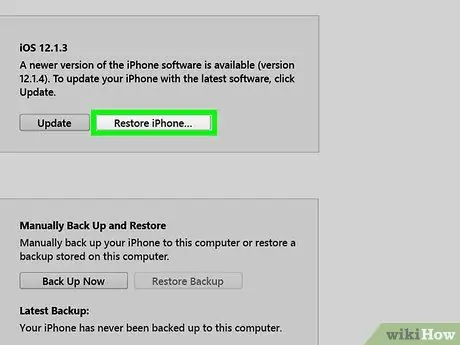
Step 6. Click on the Restore iPhone… button
A message will warn you that continuing will restore the iPhone's factory configuration settings.
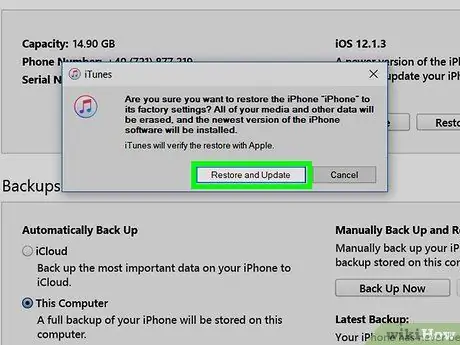
Step 7. Click the Restore button
This will restore the iPhone's factory configuration settings. Once the reset is complete, you will need to go through the initial device setup procedure and you will be able to set a new passcode.


