If your old Xbox is starting to get into trouble and you're thinking about fixing it yourself, or if you want to install a modification, the first step is to open the case. Fortunately, with the right tools, opening it is easy. Follow this guide to learn.
Steps
Part 1 of 3: Open the Case
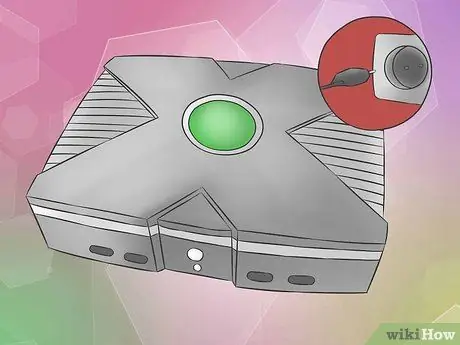
Step 1. Turn off the Xbox
Unplug the console from both the television and the power outlet.
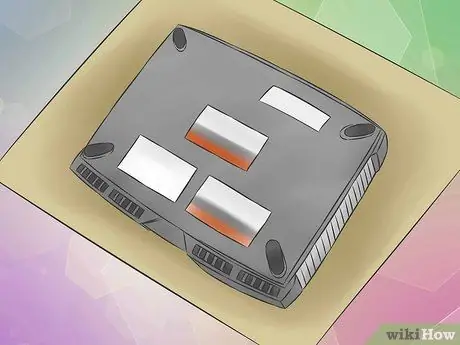
Step 2. Place the Xbox upside down on a flat, sturdy surface
The underside of the Xbox is covered in manufacturer warning stickers. Remove the feet and stickers to reveal six screws.
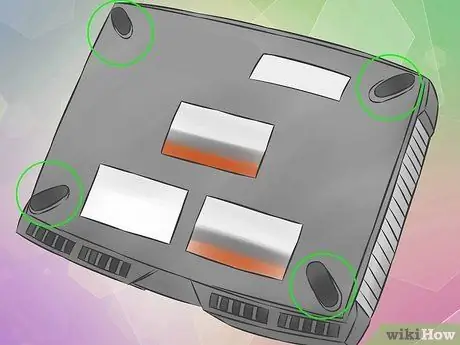
Step 3. Remove the rubber feet from the bottom of the Xbox
There is one in every corner. Use a flat-blade screwdriver to remove them. There is a screw under the feet.
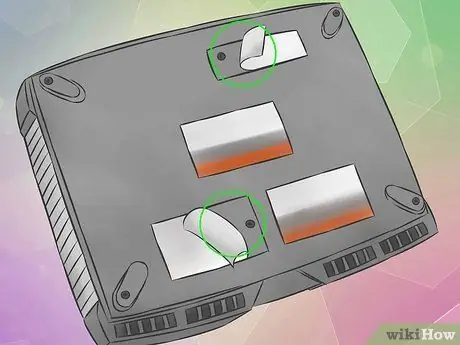
Step 4. Remove the serial number and warranty stickers with a utility knife
You should see a screw under each sticker. You can set them aside by sticking them on wax paper.
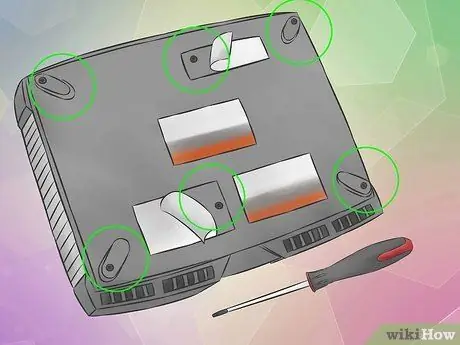
Step 5. Unscrew the six screws using a 20-bit Torx screwdriver
Torx screwdrivers have a hexagonal star tip. These screws are typically used in computers and other electronic devices.
Set the screws aside so you don't lose them
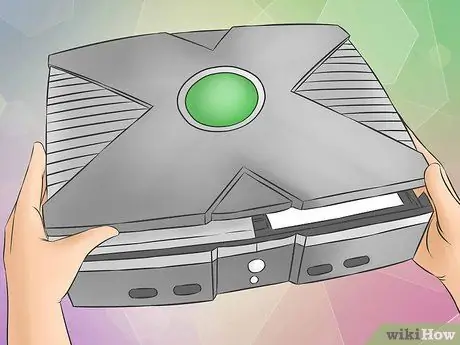
Step 6. Turn the console over
Remove the top by pulling it up, shaking it slightly. The entire top of the case should come off. If you have difficulty removing it, check that you have removed all six screws from the base.
Part 2 of 3: Remove the Drives
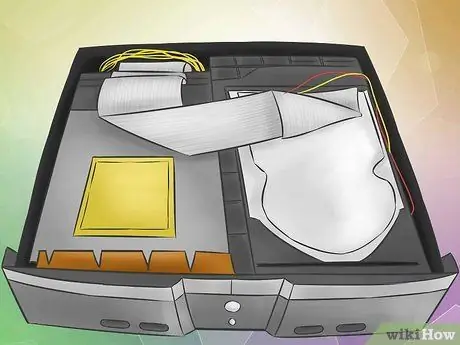
Step 1. Locate your hard drive and DVD player
If you are looking at the front of the Xbox, the hard drive should be on the right and the DVD player on the left. The hard drive is probably shiny, while the DVD player is dull gray with a yellow sticker on it.
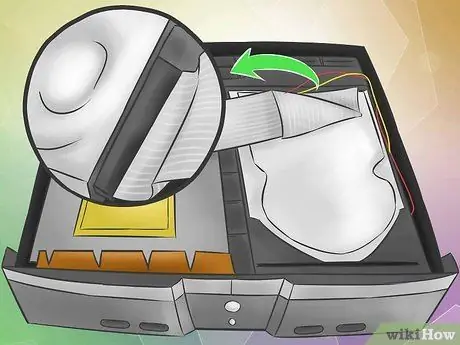
Step 2. Unhook the IDE cable (the large gray cable) from the back of the hard drive
Squeeze the connector firmly on both sides and pull it back from the hard drive. The cable may be trapped and difficult to remove. Move it back and forth if you find it difficult to remove it.
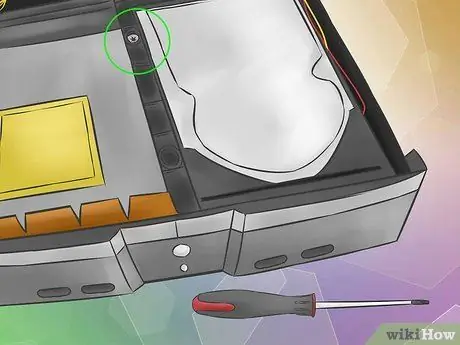
Step 3. Remove the screws under the IDE cable with a 10-bit Torx screwdriver
The screws are located on the divider between the hard drive and the DVD player.
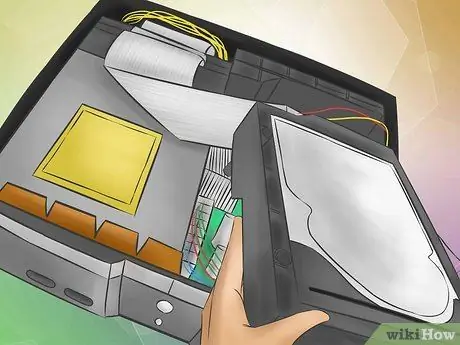
Step 4. Pull out the hard drive bay
Once you have removed the Torx screws securing it, you can take out the hard drive housing.
- The hard drive is connected to a power cable. You probably won't need to remove the cable to eject the drive, but if you're replacing the hard drive, you can already unplug it.
- You can remove the drive from its bay by unscrewing the small screws that hold it in place.
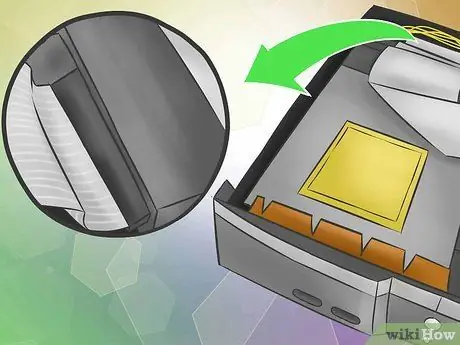
Step 5. Unplug the IDE cable from the DVD player
Remove the cable as you did previously with the hard drive.
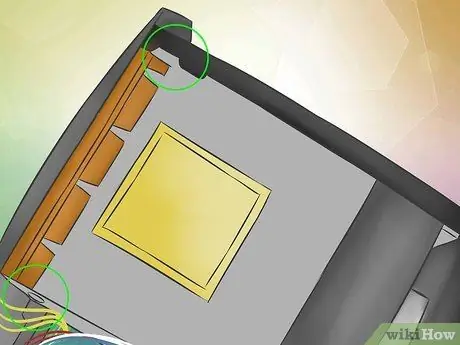
Step 6. Remove the screws from the DVD player
There are two screws holding the player in place, one on each side.
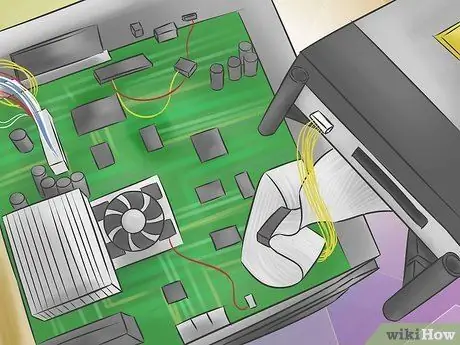
Step 7. Take out the DVD player
Once you've removed the screws and IDE cable, you can take the drive out.
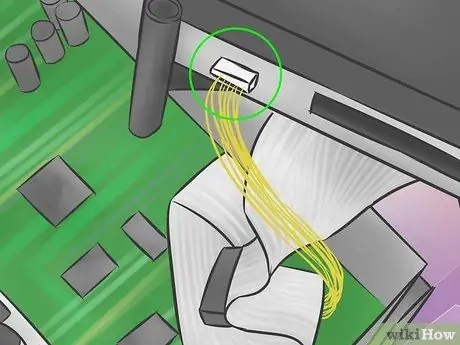
Step 8. Remove the DVD player's power cord
Pull it away from the unit. Be careful when removing the cable as it is a dedicated model for the Xbox and is difficult to replace.
Part 3 of 3: Remove the Motherboard
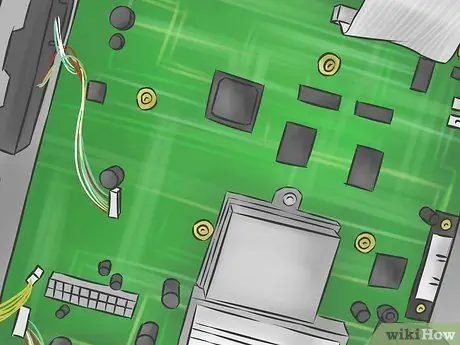
Step 1. Identify the motherboard
The board is the large green one to which all units are connected.
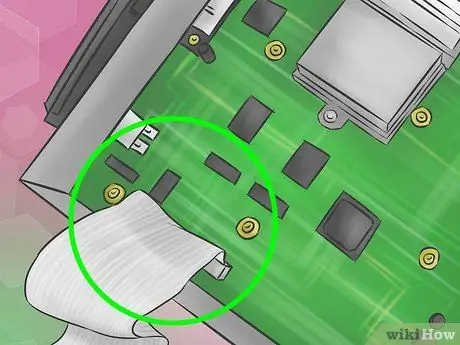
Step 2. Find and remove the IDE cable from the motherboard
It will detach from the card in the same way as the hard drive and DVD player.
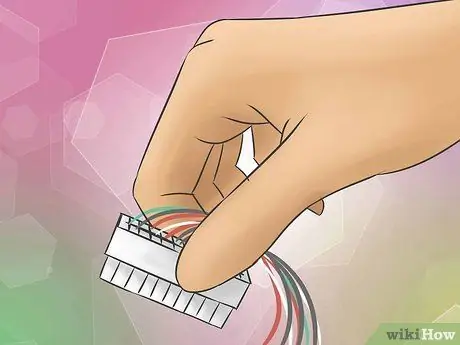
Step 3. Remove the power cable from the motherboard
Firmly grasp the large connector and raise one side to 45 °, then raise the other side. If you raise it all together it will be difficult to remove. You can grab the connector with pliers if you have difficulty.
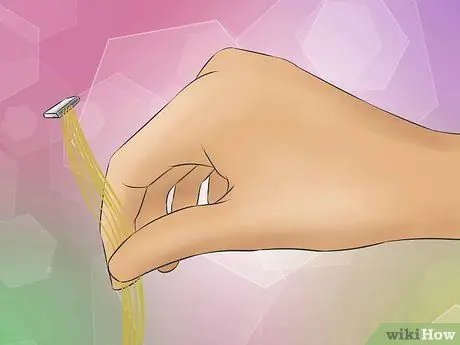
Step 4. Remove the connectors
There are two connectors that need to be removed before taking out the motherboard. Take them off and make a note of where they were connected.
- There is a yellow cable that connects the motherboard to the fan, power switch and reset switch.
- There is also a cable that connects the USB ports to the motherboard.
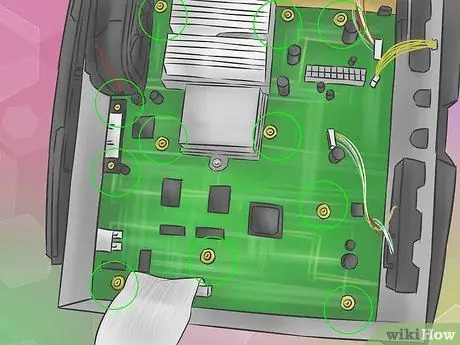
Step 5. Find the 11 screws holding the motherboard in place
They are located in different places on the board. If you're looking at the motherboard from the front of the Xbox, five are above the CPU fan, five below, and one is to the right of the fan, a few inches away.
Remove the screws with a 10-bit Torx screwdriver
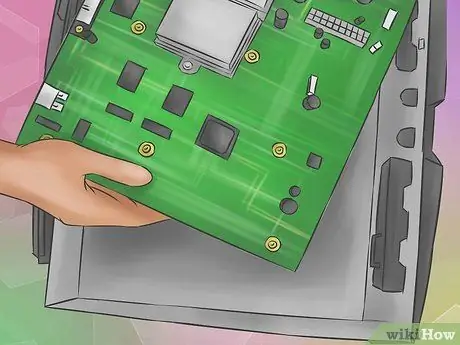
Step 6. Pull out the motherboard
Lift it with your fingers on the edges. Make sure you store it in a place where it won't get damaged while it's out of the case.
Advice
- You can use a magnet to hold the screws in place, avoiding losing them.
- You can preserve the stickers by placing them on strips of wax paper.
- Put the screws you removed from the various components in different places on your workspace so you don't get confused. Sorting them in the same configuration as you removed them will make reassembling your Xbox much easier.
Warnings
Opening your Xbox voids the warranty with Microsoft. Do not try to open or repair it if you can send it to the manufacturer for repairs
Which You Will Need
- Xbox
- Torx screwdriver with 10 and 20 bits
- Cutter
- Waxed paper (optional)
- Screw collector (optional)


