This article explains how to disassemble the classic model of Xbox 360. The steps required are different from those required for the 360 Slim or 360 E. Remember that disassembling your console invalidates the warranty.
Steps
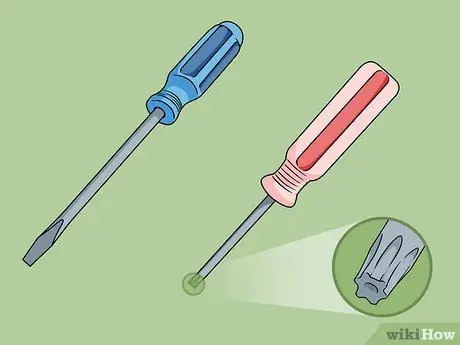
Step 1. Get the tools you need
You will need the following tools to open an Xbox 360:
- Flat head screwdriver;
- Torx T12 screwdriver.
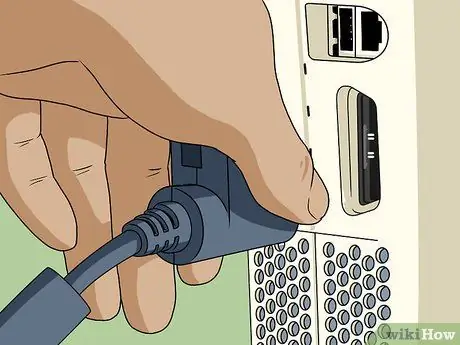
Step 2. Disconnect the Xbox 360 from all input and output cables
The console should be completely disconnected from all cables and accessories, including external drives, audio / HDMI cables, and the power cord.
If your console contains a disc, remove it and store it in a safe place before unplugging the Xbox
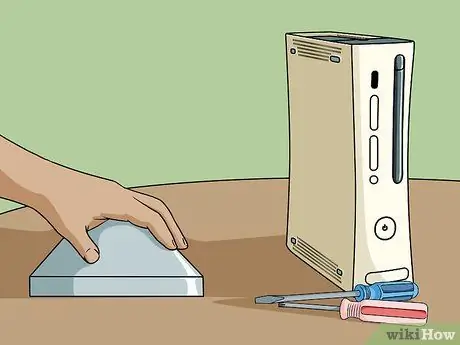
Step 3. Discharge static electricity before disassembling the Xbox 360
Static electricity can permanently damage circuits, so be sure to adopt proper grounding techniques, such as touching a metal surface, before continuing with work.
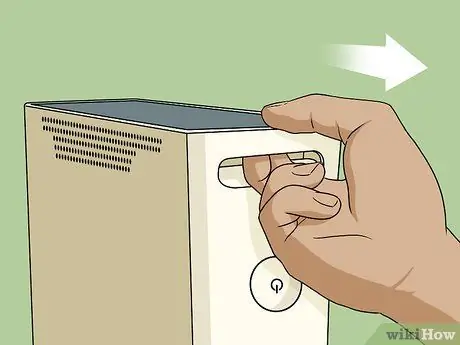
Step 4. Remove the front plate
Insert your fingers into the section of the USB port located to the right of the power button and pull the plate towards you. You can apply a firm push at this stage; the Xbox 360 has no fragile or touch-sensitive electronic devices behind this plate, unlike later models.
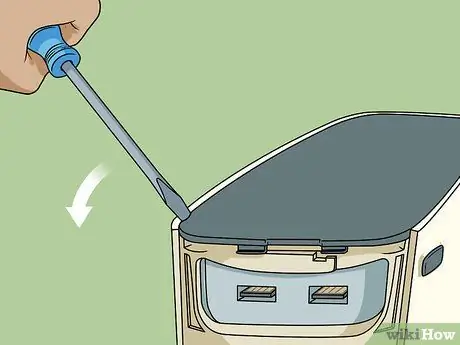
Step 5. Unhook the side grilles
These are the grids that are located at the left and right ends of the console. You can remove them in two ways:
- Insert a large bent paper clip inside each of the holes in the top row of ventilation ducts on the Xbox 360's outer casing, pulling up each time. This will release the clips that hold the grids in place.
- Insert a flat-blade screwdriver into the slot where the grille meets the rest of the console, then slide it along the grille, pulling up. This method is faster than the previous one, but you run the risk of breaking the clips that hold the grids in place.
- If your Xbox 360 has a hard drive, please remove it before continuing.
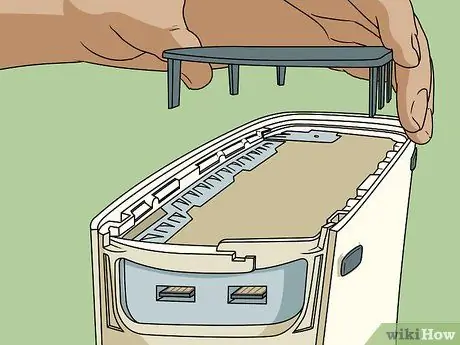
Step 6. Remove the side grilles
Just take them off the console and set them aside.
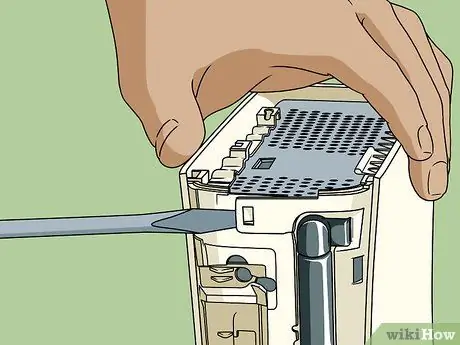
Step 7. Unhook the front of the device
You'll find four clips on the front of the Xbox 360, which hold the top and bottom halves of the console together; to release them, pull the top of the clip towards you while holding the lower one. You will find them in the following locations:
- Two on the sides of the disc player;
- One to the right of the power button;
- One at the far right of the front of the Xbox 360.
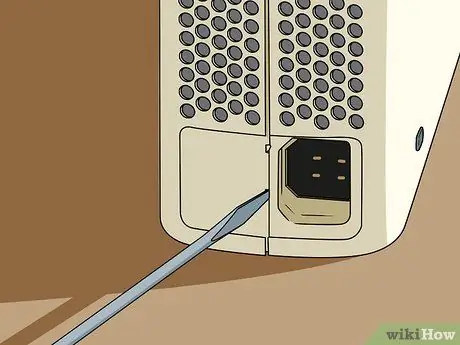
Step 8. Unclip the back of the console
Turn the Xbox 360 so that you have the back of the device in front of you. Place your hand inside the space on the right where the grille used to be, then apply upward and downward pressure on the connected halves of the console, while inserting the flathead screwdriver into the small rear compartments.
In total, there are seven small slots on the back of the console
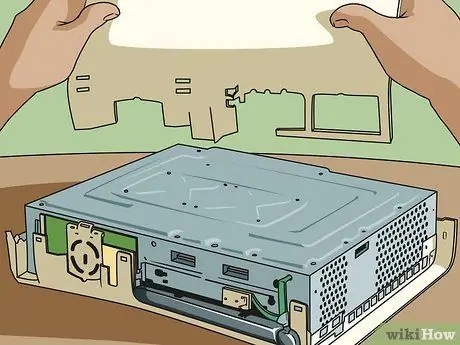
Step 9. Remove the bottom part of the device
Turn the Xbox 360 over so that it faces upside down, then pull the bottom side up to detach it from the console. You should now see the inner metal part.
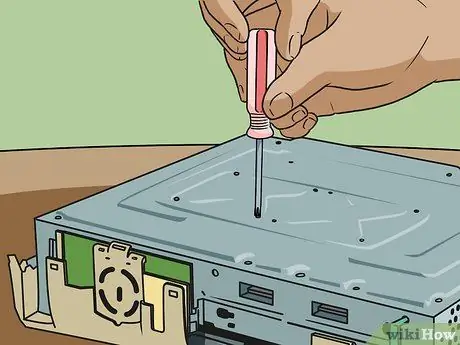
Step 10. Remove the screws holding the console top in place
To do this, use the Torx screwdriver; if you notice a screw that does not fit that tool, do not unscrew it, as it is not needed to disassemble the Xbox 360. In total, you will need to remove six screws in the metal part of the console:
- Two on the right side;
- Two on the left side;
- Two on the indented circles in the center;
- Make sure you put the screws in a plastic bag or other safe place where you won't lose them.
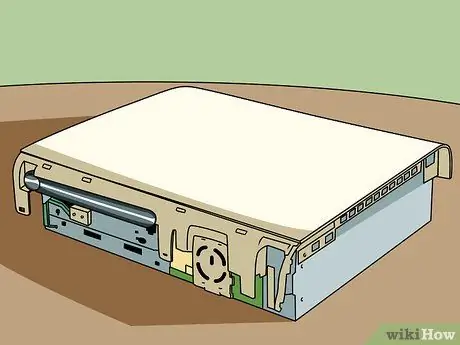
Step 11. Turn the console over again
Now the metal part should be facing down, while the front side (the one with the power button) should be on your side.
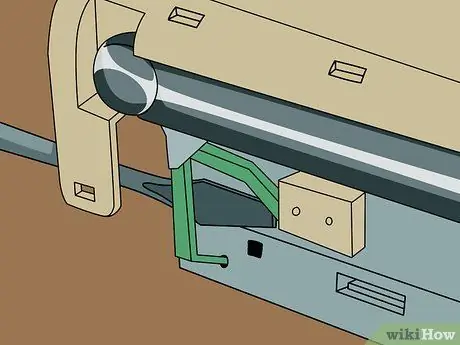
Step 12. Remove the eject button
You'll see it on the left side of the console's front plate. Gently slide the flathead screwdriver under the green tape, located on the left side of the front of the Xbox 360, then pull towards you. The eject button should pop out.
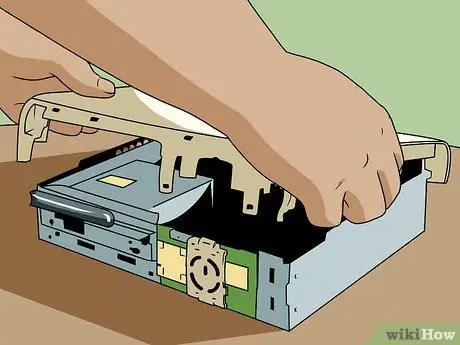
Step 13. Lift the top of the console
The plaque should come off smoothly and you should see the internal components of the Xbox 360.


