This article explains how to recharge the battery of a Nintendo Switch. There are two ways to recharge. You can charge a Nintendo Switch using the dedicated USB-C cable or using the docking station called Dock. The latter allows you to recharge the Nintendo Switch and connect it to a TV.
Steps
Method 1 of 2: Using the Dock
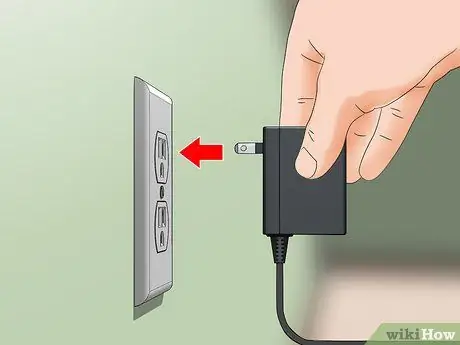
Step 1. Plug the charger into a power outlet
It is always good to use the official charger, that is the one supplied with the Nintendo Switch at the time of purchase.
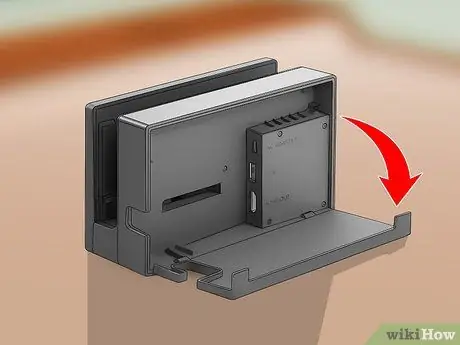
Step 2. Open the back panel of the Nintendo Switch Dock
The Dock is a rectangular shaped device included in the Nintendo Switch box. It features a slot at the top into which the console can be inserted. The back panel features the oval Nintendo logo. Gently pull the rear panel towards you to open it and gain access to the interior.
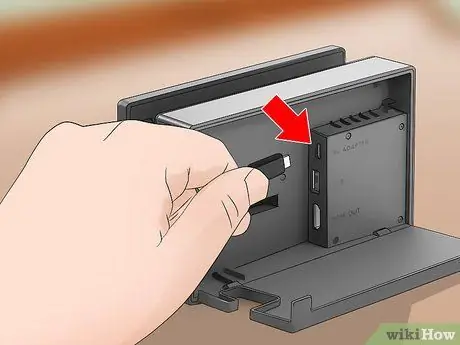
Step 3. Connect the USB cable from the charger to the Dock
Plug the connector of the USB-C cable into the port on the Dock labeled "AC Adapter". The connection ports are located on the side of the small protruding box inside the dock housing. To close the side panel of the Dock, run the USB cable through the small opening on the side.
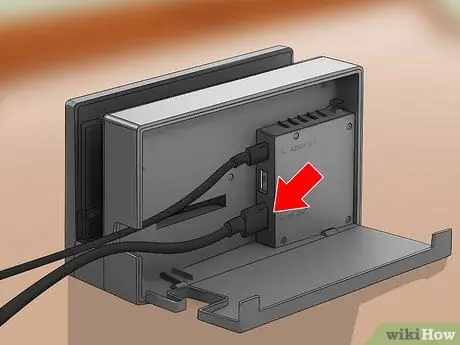
Step 4. Connect the HDMI cable from the TV (optional) to the Dock
While this is an unnecessary step to get your Nintendo Switch's battery to recharge, you will need it to connect it to your TV and enhance your gaming experience. Connect the HDMI cable to the "HDMI Out" port on the inside of the rear panel. Again, in order to close the side panel of the Dock, pass the HDMI cable through the small opening on the side. Plug the other end of the HDMI cable into a free port on your TV.
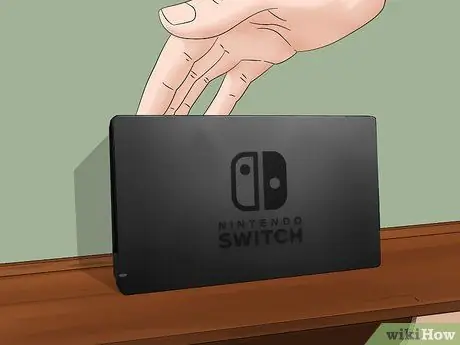
Step 5. Close the back panel and place the Dock on a flat, stable surface
After connecting all the cables to the Nintendo Switch docking station, you can close the back panel and place it on a stable and flat surface with the open side facing up. The side of the Dock where the Nintendo Switch logo is printed is the front side.
If you have chosen to place the Nintendo Switch on a shelf, make sure there is enough space to ensure proper cooling of the console and Dock
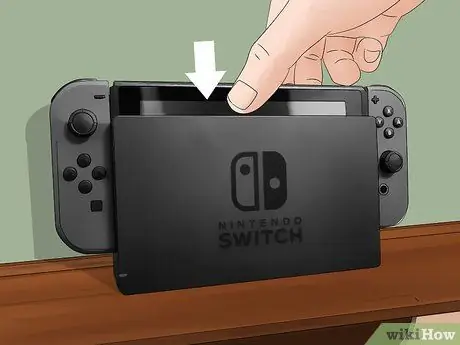
Step 6. Install the Nintendo Switch in the Dock
Insert it into the slot on the top of the docking station, making sure the side of the screen faces the same direction as the Nintendo logo on the front of the Dock. The green light in the lower right corner of the console should turn on to indicate that it is properly connected to the Dock.
Method 2 of 2: Use a USB cable
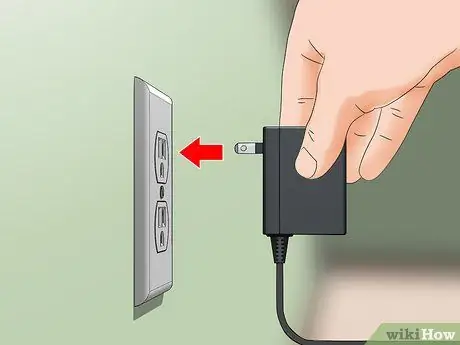
Step 1. Plug the charger into a power outlet
It is always good to use the official charger, that is the one supplied with the Nintendo Switch at the time of purchase. However, if you don't have it handy, you can use any standard USB charger.
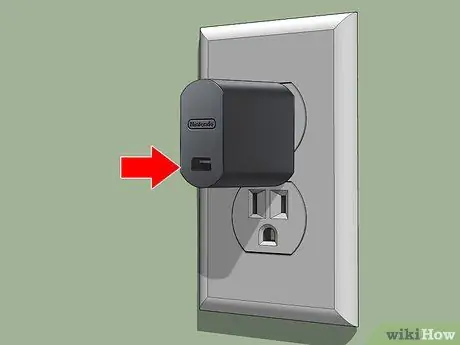
Step 2. Connect the USB-C cable to the charger (if possible)
The official Nintendo Switch charger (the one supplied with the console) comes with a fixed non-removable USB cable. If you're using a standard charger, plug it into the corresponding USB-C cable. USB-C cables feature an oval-shaped connector that is slightly thinner than micro-USB connectors.
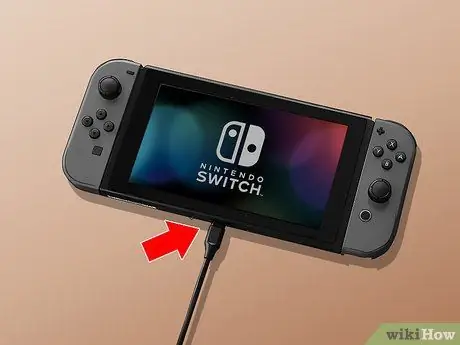
Step 3. Plug the USB connector into the Nintendo Switch port
The console communication port is located in the center of the underside and, being a standard USB-C port, has an oval shape. To charge, connect the charger's USB-C connector to the Nintendo Switch communication port.


